
Overhead Tripod Height Guide for Flat-Lay Photos: Heights by Frame Size
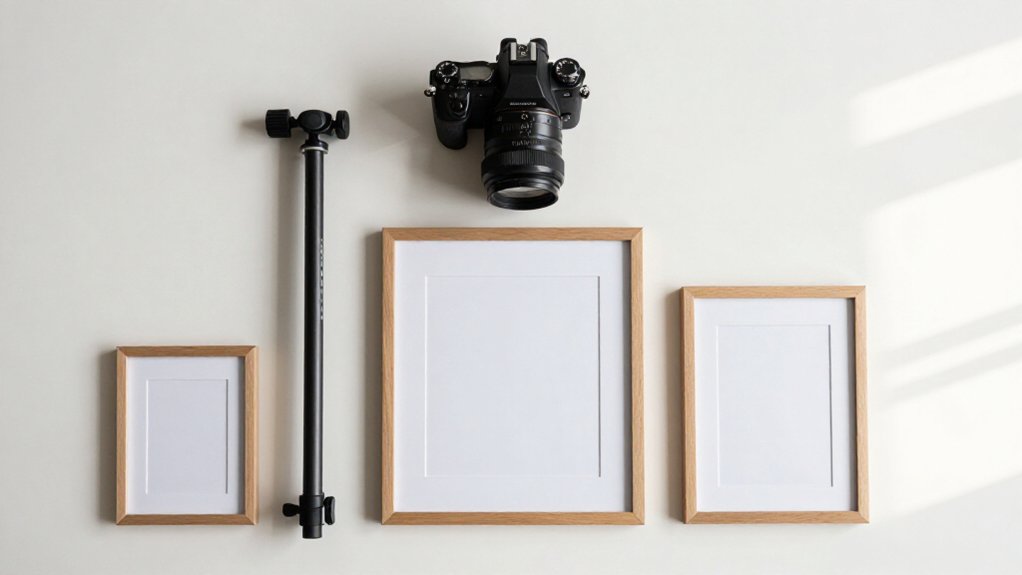
Start with the guide height √(frame width × frame length) × 1.5, measured from the surface to your camera. For a 12×12-inch frame, begin at 18 inches; use 24 inches for 16×16, and 31 inches for 24×18.
Keep your camera near 90° overhead; adjust height in small steps to refine framing. Wide 24–35mm lenses may need extra height, while longer lenses often suit lower positions.
Check clearance, edge margins, and tripod stability before locking your rig. Test your setup.
Lens Focal Length Adjustments
Focal length changes how much of the flat-lay enters the frame, so adjust tripod height in small increments while keeping the camera close to 90° overhead. With a short 24–35mm lens, keep the camera slightly higher to limit edge distortion and maintain a flatter product field. For a tighter view with a 50mm prime, you can usually use your normal flat-lay height without a major adjustment.
For tighter views with an 85mm-or-longer lens, raise the camera less or crop less; longer focal lengths can magnify perspective errors and edge keystoning. If you must preserve framing width, adjust height to keep similar view geometry. Lock your overhead angle and exposure while swapping lenses, then fine-tune height by a few inches or centimeters.
This keeps shadow softness and product scale consistent; focal length primarily changes framing, not the ideal overhead angle. Keep movements small between setups each time.
Frame-Size Height Chart
Once you’ve set the lens, use the frame dimensions to choose a starting camera height: height ≈ √(frame width × frame length) × 1.5. Measure from the surface to your camera, then treat each value as a starting point; refine it for your lens and crop.
| Frame dimensions | Starting height |
|---|---|
| 12×12 in | 18 in |
| 16×16 in | 24 in |
| 24×18 in | 31 in |
For a 12×12-inch surface, 18 inches gives you a compact, readable composition. At 16×16 inches, 24 inches usually covers a small product set without making edges look stretched. A 24×18-inch layout calls for about 31 inches, preserving the flat appearance across a broader arrangement. If framing feels awkward, shift toward 24–31 inches for small-to-medium flat lays rather than changing your frame setup mid-shoot.
Camera Clearance and Reach
For overhead flat lays, set the camera high enough to clear your largest item and capture the full surface without vignetting: typically 24–48 inches above the set, depending on product size.
Use your frame dimensions to estimate reach: multiply width by length, take the square root, then multiply by 1.5. Treat that result as a starting height, and confirm your lens covers every edge cleanly.
Choose a tripod that reaches the required position while keeping the camera head clear of the set. A fully extended tripod of about 60 inches lets you work near eye level without bending to frame or adjust. Extend the legs rather than relying on the center column when possible.
Before shooting, shift or rotate the camera a few inches on its ball head; maintain clearance so it won’t strike the surface or let the rig cast shadows. Check for wobble: overhead vibration can soften fine textures at the frame edges.
APS-C Versus Full-Frame Heights
Because an APS-C sensor captures a narrower field of view than full-frame at the same lens and height, your flat lay appears tighter. To match full-frame framing, raise the tripod a few inches or choose a wider lens, then check edge coverage for distortion.
Use minimal-distortion glass when consistent framing matters.
Sensor Size Differences
How high you set an overhead tripod depends partly on sensor size: at the same focal length and height, a full-frame camera captures a wider area than an APS-C camera. With the same lens, APS-C crops the scene by about 1.5× (1.6× on most Canon models), making the subject appear larger in the frame.
To match a full-frame composition, you’ll generally raise the tripod slightly or use a wider lens; the required adjustment depends on your lens and working distance. A more reliable comparison uses equivalent focal lengths: a 50mm full-frame lens pairs with roughly 33mm on APS-C at the same overhead angle, so you can keep the camera height more consistent.
After switching formats, check the whole tabletop, especially the corners. The smaller sensor changes edge coverage, and a small height correction may be needed to preserve the intended layout and keep objects near the frame boundaries, to retain your intended flat-lay geometry.
Field of View
At the same focal length, a full-frame camera covers more of the tabletop than an APS-C camera, so it needs a lower tripod height to match the framing.
With the same lens, APS-C’s narrower field of view makes the composition look magnified. To capture the same frame dimensions, you’ll typically raise APS-C to about 1.5 times the full-frame height.
Measure your frame width and length on the copy surface, then calculate height from those dimensions.
When changing formats, apply the crop-factor adjustment to maintain composition scale, or choose a wider lens to bring APS-C closer to full-frame’s field of view. At your overhead angle, often 87–90°, take a test shot and inspect edges for clipped props or margins; height errors matter more with APS-C’s tighter view.
Framing at Equal Heights
For equal framing at the same focal length and overhead angle, an APS-C camera needs to sit higher than a full-frame camera: its narrower field of view captures less of the tabletop from the same height.
At equal tripod height, you’ll see a tighter crop with APS-C; frame edges pull inward, and border objects may disappear. Use your full-frame height estimate as a starting point, then raise the APS-C camera until the intended tabletop boundaries reach the viewfinder edges.
This can be noticeable when you’re close to the surface. If you scale height from frame dimensions, remember sensor format changes effective coverage, so the same calculation won’t guarantee identical framing. Check test shots for each format; compare the crop with your target before locking the tripod position.
Lens Choice Matters
Lens choice changes how much of the tabletop fits at a given height: an APS-C body typically needs a shorter focal length than a full-frame body to match the same framing, which may let you shoot slightly lower. Sensor size alters field of view, so the same focal length covers less of the scene on APS-C. To keep a product’s edges and negative space consistent, pair APS-C with roughly 35–50mm equivalent lenses; full-frame often suits 50–85mm primes.
These ranges help preserve natural proportions without making the tabletop look stretched near the frame edges.
Set your overhead height for the intended frame, then check coverage through the viewfinder; if you change sensor formats, reassess how much of the scene fits before each new setup, too.
Height Adjustment Tips
Because an APS-C sensor’s 1.5× crop factor captures a narrower view, you’ll generally need to place the camera closer to the tabletop than a full-frame camera to match the same framing. Divide your full-frame height by about 1.5 for APS-C, then fine-tune coverage across the entire tabletop surface. For a 60 in (152 cm) full-frame setup, start near 40 in (102 cm); adjust until your product fills the intended frame.
If you change bodies but keep the same focal length, framing will shift. Match the full-frame-equivalent focal length or reset the height for the new field of view.
Once you’ve set the distance, lock camera settings and reuse composition markers or grid lines; consistent exposure and white balance matter more than tiny height differences.
Reading the Height Chart
Treat the listed height as a starting point, then preview the frame. Check that the subject fits and assess edge margins and visible tabletop.
For tighter detail, lower the camera slightly; for more negative space, raise it. Recheck composition after each change, because vertical movement alters apparent scale and spacing inside your image.
Overhead Mount Stability Limits
Once your framing looks right, secure the overhead rig to prevent movement that can soften fine detail. Fully extend the legs, then lock every section at your shooting height; loose joints can show as blurred edges or doubled contours. Keep the center column low whenever you can. Raising it lengthens the lever arm, making a heavy DSLR-and-lens combination more prone to vibration.
Test the tripod at minimum and maximum heights, because stiffness can decline near the top of its rated range. Choose a mount with a standard ¼-20 camera screw and enough load capacity to resist flex under the overhead angle.
At tall, fully extended positions, use a sturdy, heavy base, tighten every lock, and avoid sudden head adjustments once you’ve set the composition.
Overhead Tripod Safety Margins
Set a minimum usable height that keeps the camera clear of the frame, with roughly 10–15% extra clearance above your lowest test height. If you use a roughly 60-inch operating height for viewing, add margin before raising the center column or tilting the head; either change can shift the camera and threaten your crop. Make vertical adjustments in small steps, then recheck the frame.
Tight compositions can lose corners through edge drop-off after even slight height changes.
Run a dry test with products arranged as they’ll appear in the final image. Confirm the camera clears the tallest prop plus your margin, since styling may add protrusions that weren’t present during setup. Extend fully only when the rig can stay motionless; overhead exposures need rock-solid support to limit vibration blur near maximum extension.
Recheck clearance after each change, and keep final framing safely inside the frame edges.
Avoiding Tripod-Leg Shadows
To keep tripod-leg shadows outside the composition, start near 6 ft and use the framing guideline: ideal height ≈ 1.5 × √(frame width × frame length), with all measurements in the same units. Raise it slightly if shadows enter at your widest planned angle.
- Keep legs and overhead arms angled away from direct light to steer shadows beyond your frame.
- Choose diffuse, overhead-centered window light softened by a curtain or softbox for softer edges overall.
- Avoid hard directional LEDs; they cast sharp, extended shadows across your set and background at once.
- If shadows persist, tighten framing with a longer focal length or crop later; don’t lower the tripod.
- Inspect the frame edges at your widest planned angle before you lock height for unwanted legs.
Sensor Crop-Factor Adjustments
Because crop factor narrows the field of view, you’ll need to raise the camera or use a wider lens to maintain the same overhead coverage. After calculating your base height for the frame size, remember crop factor describes diagonal coverage: a 1.5× APS-C body captures roughly one divided by 1.5× the area at equal height. Without adjustment, your product appears tighter and edges leave the composition.
- Raise the camera 25–35% when moving from full-frame to APS-C.
- Choose a wider focal length instead if your rig can’t rise.
- Match the surface rectangle, not just the measured height.
- Store each body’s height once you’ve matched coverage.
- Recheck framing after locking exposure and white balance; sensor size can alter edge distortion, vignetting, and the sharp area.
Conclusion
Use the chart as a starting point, then you’ll verify your framing with your camera mounted at height. Adjust for focal length, sensor crop, and frame size before you lock the overhead mount. Keep the lens centered, preserve clearance above the subject, and leave a safety margin beyond the camera’s reach.
Tighten every joint, check balance, and inspect the image for leg shadows. If the composition shifts, reposition the tripod, not your hands beneath it.
