How to Use Face Tracking on a Gimbal for Hands-Free Filming
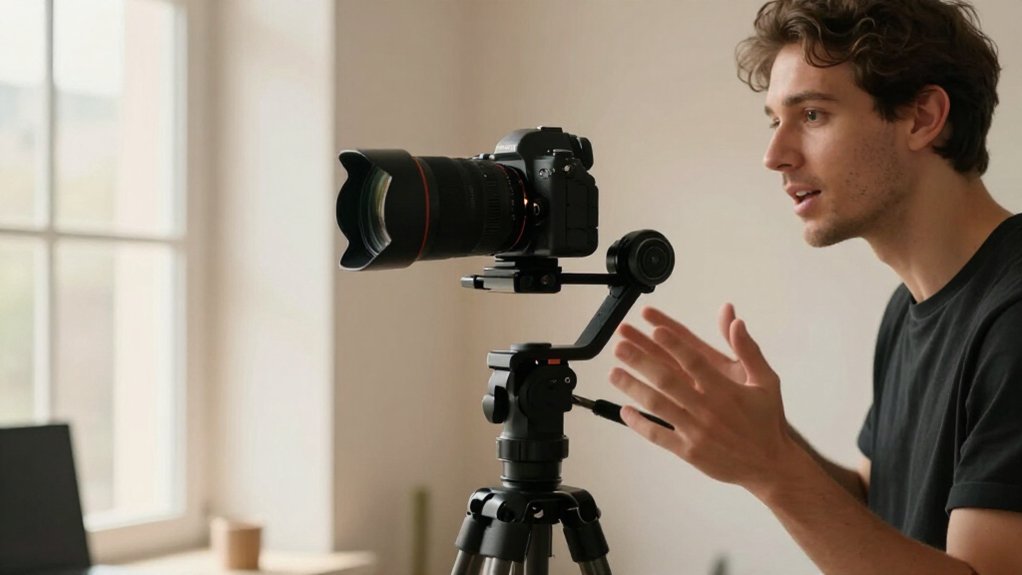
Use your gimbal’s face-tracking mode and companion app after confirming your phone is supported.
Place the tripod on level ground at chest-to-shoulder height, about 1.5–3 meters away, with bright, even light.
Open the app, select Face Tracking, and confirm your face stays centered in preview.
Tap the tracking trigger, then start recording hands-free once tracking holds.
Lock tilt and roll for a level frame.
Walk slowly within range; steps below cover dropouts and sensor care.
Supported Face-Tracking Modes
Face-tracking modes vary by gimbal and app. Choose Face Tracking when you want the camera to follow your face or eyes and keep you centered. Select Subject or Person tracking when you need the gimbal to track your body, even if your face turns away or becomes partly hidden.
For hands-free framing, enable front-facing tracking to stay in frame as you move left or right. If your gimbal supports toward-and-away tracking, use it to maintain your apparent size as you approach or step back; the pan and tilt axes adjust in real time. Turn on Lock-On to prioritize one face, or the closest face, and reduce unwanted switching. You can also use supported gestures to start or stop recording or take a photo.
For steadier detection, film in adequate light with good contrast; backlighting, darkness, or occlusion can cause drift.
Check Phone Compatibility
Before relying on hands-free tracking, verify that your gimbal supports on-device AI face or body tracking with your phone’s iOS or Android version. Check the manufacturer’s compatibility list and install the required companion app; hardware compatibility alone doesn’t guarantee tracking in your camera app.
- Check whether your gimbal needs a dedicated app, such as Hohem Joy for V3/V3 Ultra or Pivo Track for Pivo mounts; test tracking there before choosing another camera app.
- Open live preview and controls during setup; use them to confirm the app recognizes your face and lets you adjust tracking before recording.
- Check camera resolution and aspect ratio, avoiding very wide fields of view that can distort faces; run a longer battery and connection test before filming a full take.
Step 1: Position Yourself Within Tracking Range
Stand about 1.5–3 meters from the gimbal, where your face or body stays large enough to detect without filling the frame. Moving closer can make your face fill the view and interfere with detection, while standing farther away may reduce accuracy.
Keep yourself centered over the tripod base and move along a natural arc in front of the lens. Place the tripod at chest-to-shoulder height on level, stable ground; this helps keep your distance consistent as you move.
Use bright, even light so facial features remain clear. Outdoors, choose overcast conditions or well-lit open shade. Avoid strong backlighting, which can obscure your face and reduce tracking stability. Keep your movement path within range and check that your face stays visible throughout the full take.
Step 2: Enable App Face Tracking
Turn on the gimbal, open its companion app, and select the Face Tracking mode for your device, such as Hohem or Pivo Track. Follow the app’s setup prompts and enable tracking with its on-screen control. Check the preview to confirm that the camera detects your face and keeps it centered before you move.
Detection works best when your face has clear lighting and stands out from the background, so adjust your position or light if recognition looks unstable. Stay within the tracking range you established; moving too close or too far can make the gimbal lose your face or drift out of frame. Keep your phone within a stable connection range, and watch for connection drop-offs or faster battery drain while the feature runs.
Step 3: Tap the Tracking Trigger
With face tracking enabled and your position confirmed in the preview, you’re ready to activate tracking itself. Tap the Tracking Trigger: either the on-device button on your gimbal (M7) or the in-app control (V3/V3 Ultra). Before you tap it, make sure you’re positioned within the tracker’s workable framing range; too close or too far, and face detection won’t lock on reliably.
Tap the trigger while the gimbal can still see your face, so it can start panning and tilting to keep you centered immediately.
If the camera drifts after tracking starts, stop, reposition yourself, increase the tracker’s sensitivity if needed, and retap the trigger. For hands-free setups, tap the trigger first and wait for a locked, stable track before reaching for your gesture or remote controls.
Step 4: Record Your Hands-Free Take
Once tracking holds your face steadily in frame, start recording hands-free with a raised-hand gesture or a detachable remote, then walk and talk in a natural left-to-right arc within the gimbal’s pan range.
Before your take, power on the gimbal and enable built-in AI face tracking, or select the required mode in its companion app. Use live view to confirm that the tracker detects you at a practical distance, with the lens near eye level.
Keep your delivery steady and let the gimbal pan as you move; don’t step beyond its travel or turn so far that you leave its view. If tracking slips, raise sensitivity in the app and improve light on your face, reducing glare or backlighting before you begin your next take.
Step 5: Adjust Framing for Headroom
For reliable headroom, set the lens at eye level or slightly above, then tilt it until your forehead has a small margin and your eyes sit in the upper third of the frame. You’ll need extra space because face-tracking AI can make small vertical re-centering adjustments as it follows you. Don’t crop close to your hairline; head movement or tracking corrections can push it beyond the top edge.
Before you step into position, check the gimbal preview and adjust tilt until the distance from chin to frame top looks balanced while standing and moving naturally. If sensitivity is adjustable, choose a moderate setting to limit upward or downward overcorrection that can alter your headroom during the take. Review the frame again once movement starts.
Step 6: Lock the Gimbal Axes
Before starting face tracking, balance your phone or camera, then lock the axes you want to keep fixed.
Axis locks disable automatic motor movement on selected rotations, helping your composition stay steady while tracking runs. Set the locks before you start face tracking; lock tilt and roll when you need to preserve a level horizon.
If tracking pulls the framing away from your intended shot, identify whether the unwanted movement comes from pan, tilt, or roll, then lock the responsible axis. Record a test clip to confirm the gimbal behaves. Locks can limit how far the tracker corrects, so check that your settings still keep your face in frame. If the shot drifts, verify that the locks match the direction of the movement you need.
Test Tracking While Walking
With the axes set, test tracking before filming a full take. Set sensitivity to mid-high, then record a 10–15-second test while walking a short arc of two to five steps left to right. Check that you stay centered.
Keep your face roughly face-filling but not too close; trackers can lose accuracy when your face appears too large or too far away. Use bright, even front light and avoid backlighting, so your face stays distinct from the background.
Check the gimbal’s pan and tilt limits as you move. Exceeding its range can make tracking drift or stop. Reposition the tripod or stand farther back before filming.
If you leave frame, stop, re-center using your phone preview, raise sensitivity by 10–20%, and repeat the test again.
Low-Light Tracking Dropouts
When light levels drop, your gimbal may lose face lock because the camera can’t detect facial features reliably. Set your lighting before filming: switch on built-in fill light or place a key/fill lamp 45° from your face. Use bright, even illumination; avoid backlighting that turns you into a silhouette or deepens noisy shadows.
Stay within the gimbal’s effective distance, so your face fills neither too little nor too much of the frame. If autofocus hunts or exposure rises, add light rather than filming near darkness. Tests: move slowly, limit head turns, and keep hands or hair from covering your face.
| Cue | Likely effect | Adjustment |
|---|---|---|
| Backlight | Silhouette | Face light |
| Dim scene | Lock drops | Add fill |
| Far/near | Poor framing | Reposition |
| Fast turns | Slow reacquire | Move |
Clean the Gimbal’s Tracking Sensor
A clean tracking sensor helps the gimbal detect your face reliably. Before filming, wipe the built-in vision window with a clean microfiber cloth to remove fingerprints, dust, and smudges that can lower detection accuracy. If grease or heavy smears remain, gently use a slightly damp microfiber cloth with plain water, then dry the window fully. Don’t use alcohol cleaners; they can haze coatings.
Inspect the sensor for scratches or cloudiness. Even damage can reduce AI tracking confidence and make your face drift out of frame.
After cleaning, restart the gimbal and re-enable tracking so its vision system can reinitialize using a clear sensor signal. Test at your subject distance in good lighting. Avoid backlighting, then confirm the gimbal locks onto your face without losing it.
Conclusion
You’ve now got everything you need to film hands-free with confidence. Check your phone’s compatibility, enable tracking in the app, and lock your axes before you start moving.
Keep your face within range, watch for low-light dropouts, and clean your sensor regularly to avoid tracking failures. Test your setup while walking before you rely on it for a real shoot. Master these steps, and your gimbal will keep you framed perfectly without ever touching the controls.