How to Use a Gimbal Extension Rod for High and Low Angles
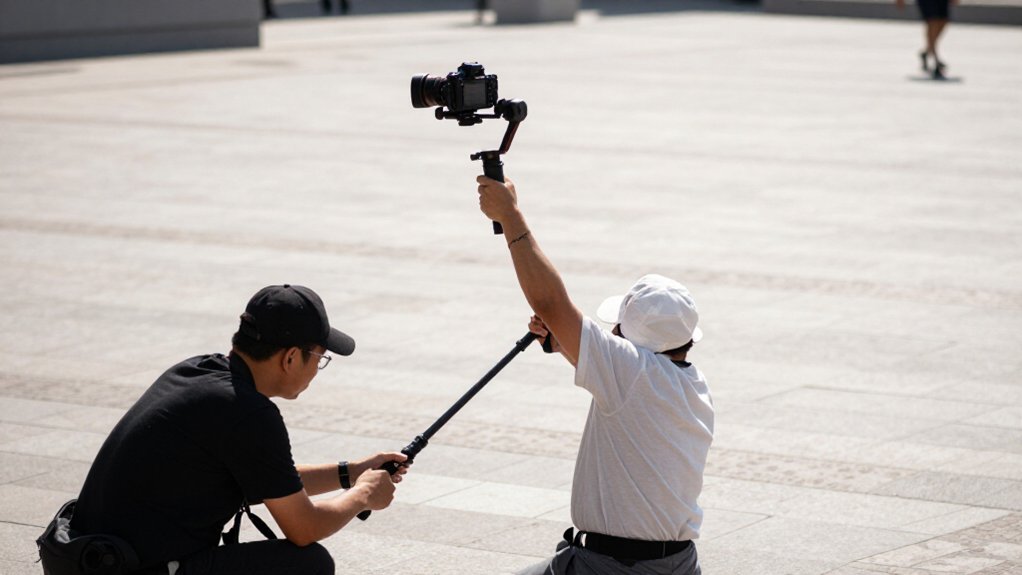
Extend the rod as far as framing requires: 10–20 cm raises the gimbal head by an amount, while 30 cm can lower the lens 30 cm below eye level.
Engage rod and mount locks, clear a 0.5–1 m swing path, and seat the phone clamp.
Set tilt, rebalance, then test the angle for wobble and horizon drift.
Shorten and rebalance if needed, clean threads before reattaching, and retract before packing.
Further checks keep shots steady.
Expected Angles and Extension Length
Match the extension length to the height change you want: adding roughly 10–20 cm typically raises the gimbal head by a similar amount. For low angles, expect the lens to drop by about the usable extension length, adjusted for the gimbal head height. A 30-cm rod can place the lens roughly 30 cm below normal eye height, creating a clear low viewpoint.
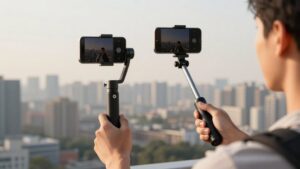
For high angles, aim to lift the camera head 20–50 cm, based on rod length and how close you hold the gimbal to your body. This lets you frame a subject from above without overextending your arm. Extra length supports 20–45° tilts without extreme arm extension. Choose short rods for subtle changes, longer ones for drama, and verify with one or two test frames.
Check Extension Rod Locks
Before raising or lowering the camera, make sure every extension rod lock is fully engaged to prevent the rod from slipping or drifting. A secure lock keeps your chosen extension length stable and supports controlled camera movement.
Check each joint independently before use.
- Tighten the collar or clamp; test for hand movement.
- Confirm the gimbal or mount’s “L” lock setting before attaching or removing accessories.
- With the gimbal powered off, extend and compress the rod a few centimeters.
- Check that the lock holds at both your selected high and low positions.
- Recheck balance and axis freedom before shooting; partial locking can impair tilt and pan stability.
Step 1: Clear the Rod’s Swing Path
Clear the rod’s swing path before shooting by checking that the camera and gimbal won’t strike your body, the tripod or monopod, or nearby doorways as the pan and roll axes move.
With the rig mounted, slowly rotate fully left and right, then tilt up and down. Confirm roughly 0.5–1 m of clearance around the camera throughout. Keep cables, clothing, and the handle outside the sweep; contact can shift alignment and prompt motor corrections that appear as micro-jitters.
Hold the rod near your centerline with elbows slightly bent to limit unintended movement. Recheck at the target height: crouch for low shots or raise the rig for high shots, then repeat the full sweep. Clearance while standing may disappear when you change posture before recording.
Step 2: Attach the Phone Clamp
Slide the extension rod’s phone clamp onto the gimbal arm and seat it firmly before powering on the motors. Adjust clamp width to fit your smartphone securely and evenly without covering camera lenses or microphones. Center the phone’s camera and keep the phone level with the clamp; you’ll balance more easily later. Tighten the clamp and rod connection knobs until snug.
Gently twist the phone to check for play; tighten any loose connection before continuing.
Power on the gimbal for a brief balance check. Confirm the phone stays stable in its default axis direction before you switch to high- or low-angle shots. If it drifts or shifts, turn the motors off, reseat the clamp, and repeat the check. Keep your fingers clear of moving joints.
Step 3: Set Gimbal Tilt
Set the gimbal’s tilt axis so the camera stays level with the horizon and frames your intended high or low angle. After extending the rod, use the tilt-axis controls to adjust framing before you start walking or moving. Set the camera’s pitch to match your chosen angle, then check the composition.
If your gimbal offers follow or tracking behavior, select a mode that gives you the tilt control you need; otherwise, movement may change the framing unexpectedly. Record a test shot while moving and review it for tilt drift or unwanted shifts. The extended rod makes small alignment errors more visible, so correct them before filming. After a major tilt adjustment, rebalance the gimbal to reduce motor strain and maintain smooth, accurate tilt motion.
Step 4: Capture an Overhead Shot
For an overhead shot, extend the gimbal rod fully and raise the camera until the lens points straight down at your subject. Re-balance after extension, or keep the gimbal near its designed mounting configuration, to limit motor strain and hunting. Select a mode that stabilizes tilt, such as lock mode or a slow, controlled pan-tilt setting, so the top-down angle stays consistent as you move. Walk slowly, keep your hands steady, and bend your knees slightly to reduce visible overhead bounce.
Before recording, capture short test takes. Review the framing, then adjust the camera’s height and distance until your subject fills the frame without cropping. Check that the camera remains level at the overhead angle, and refine the setup before filming the final take.
Step 5: Track a Moving Subject
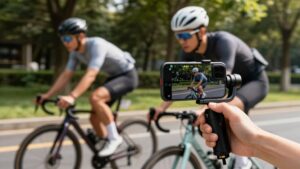
When tracking a moving subject, keep your eyes on them and bend your knees as you move to reduce bounce and help the gimbal hold a steady horizon.
Walk backward or sideways at the subject’s pace, but move slightly slower than them to prevent your start and end framing from drifting. Keep the extension rod and gimbal as close to your body as practical; this’ll give you precise steering as the subject changes distance and you pan or tilt.
Set lower gimbal sensitivity to limit over-correction if they change direction abruptly. For dynamic parallax, combine pan and tilt rather than following on one axis alone. Before recording, practice the movement in short test takes and check the horizon, framing, and response through direction changes.
Step 6: Retract Rod Before Packing
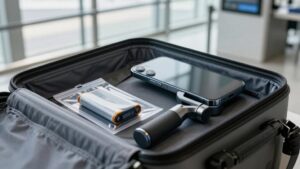
After tracking a subject, retract the extension rod fully before packing to prevent transport damage and keep the gimbal balanced in storage.
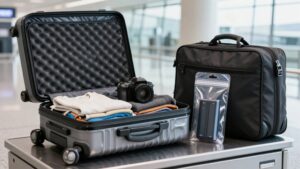
Collapse the rod before you move the gimbal. A shorter setup reduces the chance that it’ll catch on a bag strap or tripod as you carry your gear. If your rod uses locking rings or clamps, loosen them only enough to let the sections slide smoothly. Retract the rod completely, then retighten each lock securely.
Confirm the extension mechanism has engaged its lock so the rod can’t extend unintentionally during transport. Before placing the gimbal in its case, check that it has returned to a safe, compact orientation. Keep the collapsed rod within the case’s available clearance and avoid forcing the lid closed. This compact position helps protect the rod and maintains a stable arrangement for storage and transport without stressing the assembly.
Check Horizon Alignment
Before raising or lowering the gimbal, check that the camera’s roll angle is at 0° and the horizon is level. This baseline prevents vertical movement from introducing tilt. After mounting and balancing the rig, power on the gimbal and use its level/standby mode or quick-calibration function, if available, to lock roll alignment.
When you extend the rod for a high or low angle, recheck both tilt and pan axes. Confirm the camera stays upright relative to the horizon, rather than merely pointing at the subject. At the new height, make a five- to ten-second test move: slowly push up or down, or pan. Watch the horizon line for drift. If footage shows a slant after extension, rebalance the rig and repeat horizon leveling before recording.
Extension Rod Wobble Fix
If your extension rod wobbles, first check that it’s fully tightened and that both mounts are locked securely. Keep the rod straight and centered on the gimbal’s axis; off-axis loading increases flex, especially at longer extensions. When available, lower sensitivity or reaction settings so the motors don’t amplify small vibrations through over-correction. Hold the gimbal close to your body with elbows slightly bent to isolate the rod from hand and foot impacts.
| Symptom | Adjustment |
|---|---|
| Frame shake | Bend elbows; take smaller, slower steps. |
| Persistent wobble | Shorten rod 10–20%; re-balance and recheck locks. |
Before recording, test the exact high or low angle you’ll use. If vibration remains, shorten the rod, re-balance, and confirm both mounts stay locked firmly.
Clean the Rod Threads
A stable rod starts with clean, properly aligned threads. Before attaching your gimbal extension rod, wipe and inspect both the rod threads and the gimbal or monopod joint. Remove dust, sand, and old residue.
If either surface feels dry or gritty, clean it with a dry cloth or brush. Check for metal shavings or hardened grime; even small particles can block tightening and cause the connection to loosen.
Next, perform a dry test fit. Align the threads and tighten by hand only. Confirm they seat without resistance before powering the gimbal. If you feel binding, stop, clean, and realign the parts.
Reattach the rod firmly, but don’t over-torque it. This protects the threads and keeps the connection secure for high- and low-angle shots.
Conclusion
With a gimbal extension rod, plan your reach before filming and check that every lock is secure. Clear the rod’s swing path, attach the phone clamp firmly, and set the gimbal tilt for the angle you need. Check horizon alignment, then test for wobble; tighten the rod connection if needed.
Retract the rod before packing, and keep its threads clean. These quick checks help you capture stable high and low shots while protecting your gear and maintaining control throughout each move.