Do You Need a Tripod for Landscape Photography? When It Makes the Shot
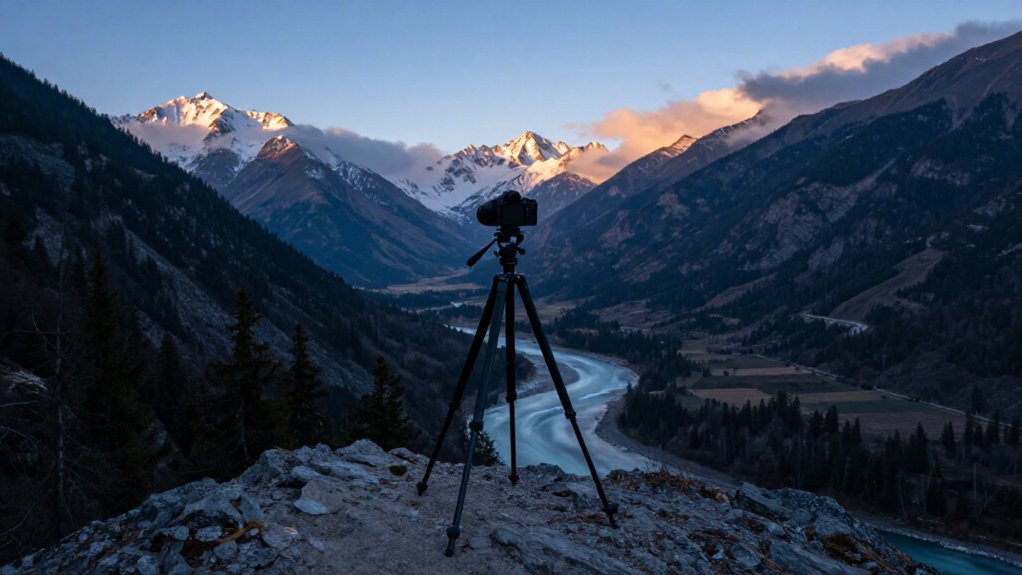
You need a tripod when slow shutter speeds would blur stationary landscape details, or when you want water to soften while rocks stay sharp.
It also helps in wind, at long focal lengths, and when you’re stitching panoramas.
Handheld, aim faster than twice your focal length: about 1/70 second at 35mm, but gusts can cause shake.
For results, lower the center column, secure each leg, and keep your setup level; small setup choices can make the difference.
Slow-Shutter Landscapes
When you photograph waterfalls, streams, or waves with a slow shutter speed, a tripod keeps the camera still so moving water blurs while rocks and shorelines stay sharp. Choose a shutter speed that renders the flow as silky ribbons or preserves distinct wave patterns; your exposure time controls the character of the motion.
Before shooting, lower the tripod legs rather than extending the center column, then hang a bag from its hook to resist wind and small vibrations. Use your camera’s timer, or a remote release, so your finger won’t shake the setup when you trigger the exposure. If carrying a tripod limits your movement, brace the camera on a solid rock, bench, or fence post; check that it can’t slip before each exposure.
Handheld Shutter-Speed Limits
How slow can you shoot handheld and still keep a landscape sharp? A useful starting point is a shutter speed faster than twice your focal length: at 35mm, aim above about 1/70 second; at 400mm, above roughly 1/800 second. This isn’t a guarantee, but it gives you a practical threshold.
Wide-angle lenses usually tolerate slower exposures because small camera rotations shift the scene less across the frame. Telephoto lenses magnify those shifts, so your hands’ movement can blur fine detail. If your planned exposure falls below the guideline, raise ISO, open the aperture, brace the camera, or use a tripod or equivalent stabilization.
Even at a nominally safe speed, pressing the shutter can jolt the camera. Set a timer or trigger a remote release to reduce that final shake and protect crisp edges and texture.
Windy Cliffs and Sand
The shutter-speed rule is only a starting point on windy cliffs: gusts can shake a tripod or shift its feet in soft sand, blurring a frame even at a safe handheld speed.
Keep legs low rather than extended, spread them wide, and hang a sandbag from the hook to damp movement. For water blur or waves, use a tripod: the camera must stay fixed throughout an exposure. If you shoot handheld, aim faster than 1/(2×focal length), but wind can defeat that guideline. Choose firm ground, then recheck position. Set a timer and avoid touching the camera; shutter presses or autofocus can nudge a frame.
| Condition | Risk | Response |
|---|---|---|
| Gusts | Micro-vibration | Lower tripod; widen legs |
| Soft sand | Feet creep | Firm base; recheck |
Panoramas Without Alignment Errors
Level your tripod head to keep the horizon steady, then rotate the camera without shifting its position to reduce parallax errors. Overlap each frame by about 20–30%, and lock exposure and focus so the images stitch consistently.
On windy ground, lower and weight the tripod to limit vibration and clean up panorama edges.
Keep the Camera Level
When you pan across a landscape for a panorama, a tripod helps keep the camera from pitching or rolling, reducing alignment errors that can leave seams between frames. On uneven ground, loosen a ball head and level the camera before you begin a left-to-right sweep; its free movement lets you correct pitch and roll faster than a tilt-swivel head. Then lock the head and tripod legs so the camera rotates consistently around the intended axis.
Even slight changes in orientation can grow into visible stitching errors across a wide or multi-row panorama, so check the level as you work rather than trusting your eye. If you’re walking without a tripod, brace a stable surface such as a rock, bench, or car roof, and pivot from one fixed point. You’ll still face greater alignment risk. The same rigid position also helps when you change settings for HDR or long-exposure sequences in the field.
Overlap Each Frame
As you pan across a landscape, overlap each frame by about 20–35% so stitching software can match features and correct small shifts. Use a tripod to keep the camera in one fixed position as you sweep left to right. Without that support, small hand movements can make the frame walk, leaving seams or misregistered edges. A tripod matters for multi-row panoramas and high-contrast scenes, where shifts stand out along ridgelines, branches, or building edges.
Choose a head that supports controlled panning, such as a tilt-swivel or ball head, and use it consistently. Keep the horizon level as you rotate to avoid heavy corrections. Handheld panoramas can fail the fixed-position requirement because micro-movements shift the camera between frames; a tripod keeps seams minimal.
Lock Exposure and Focus
Overlap gives stitching software matching detail, but consistent exposure and focus keep panorama frames visually uniform.
After you frame the first view, switch to manual exposure or use AE/AF lock. Keep shutter speed, aperture, and focus distance fixed for every frame; otherwise, changing brightness or focus breathing can make adjacent views look inconsistent.
On a tripod, your camera stays steady while you work, and a timer or remote release prevents a tap from softening the first exposure. That consistency matters most when clouds, mist, or brief sunlight shifts alter the scene during a sequence: locked settings preserve a matching tonal and sharpness baseline that blending software can’t fully restore afterward. Check the horizon and focus before starting, then avoid changing either until complete.
Reduce Stitching Errors
For a clean panorama, mount your camera on a tripod head and pan smoothly around a consistent rotation axis to keep the horizon level and prevent left-to-right alignment errors. On uneven ground, level the tripod and head rather than tilting the camera; this keeps the camera’s rotation axis fixed and reduces vertical parallax, a frequent source of mismatched edges.
Rotate at a steady pace, keeping each frame overlapped by about 20–40 percent so stitching software can reliably match distinct shared details. Trigger the shutter with a remote or timer, and avoid touching the lens or camera between exposures; tiny bumps can create ghosting and warped seams. If the preview shows alignment drift, reshoot with fewer, evenly spaced frames instead of forcing one wide sequence.
Comparing Leg Locks and Twist Locks
With lever locks, you can change leg height faster; twist locks require rotation and can be harder to adjust precisely. Compare how each design handles cleaning and maintenance, and check which gives you a secure grip in wet conditions.
Whichever you choose, lock each section firmly to prevent movement during long exposures.
Lever Locks vs. Twist Locks
Choosing between lever locks and twist locks comes down to how you prefer to set up your tripod in the field.
Lever locks use a hinged clamp that you flip to secure each leg section. They usually keep sections aligned, and you can check the clamp position. Twist locks use collars that you rotate until tight.
Either design can hold a composition firmly, but you must tighten every lock completely; a partly engaged section can wobble and soften detail during an exposure. With gloves, or in cold, wet, or dusty conditions, a lever can be easier to grip than a narrow collar.
Choose the system that feels reliable in your hands, then assess stability at your shooting height. Extending legs or the center column too far can introduce vibration, whatever locks you choose.
Setup Speed
When light shifts or wind picks up, lever locks usually let you lower and re-secure the legs faster than twist locks. That speed matters when you’re reframing before a cloud leaves the ridge, or shortening the legs as gusts shake your camera.
With clip or lever locks, release and clamp each section in controlled steps; you can repeat a height change without judging how far to turn a collar. Twist locks loosen and tighten quickly, but their less-positive feel may slow you when you’re adjusting several legs or leveling on uneven ground. That extra pause can cost fleeting light.
After extending any legs, check that each lock feels firm; either design can flex, while securely clamped levers help limit tiny movements during long exposures.
Cleaning and Maintenance
Lock design also affects how easily you can keep a tripod working smoothly in the field. Twist collars rotate to release or secure each leg section, while flip or clip locks clamp with a lever. Either mechanism needs a check before a long exposure: a partly engaged lock can let a leg slip. Twist collars may need turns so you seat them; grit in the threads can also make them harder to operate, so wipe the sections and inspect the collars.
Flip locks are quick to open and close, but check their clamp tension and clean the hinges. Models such as the Benro MeFOTO Roadtrip use twist-lock extensions; the Manfrotto MT190XPRO3 uses quick clips. Choose the system you can clean, adjust, and reliably secure.
Grip in Wet Conditions
On slick, rain-soaked legs, flip locks give you a fast, positive clamp with a lever, while twist locks need a firm turn that can be harder to manage in cold, wet gloves. With twist locks, you can set height quickly in one rotation, but wet threads may demand extra tightening, especially during frequent half-height adjustments.
On uneven ground, fine-tuning can take longer, and cold, wet gloves make consistent turns harder. Check each collar before mounting your camera. Flip locks, including those on the heavier Manfrotto MT190XPRO3, close quickly with a positive clamp you can verify by feel. They can save time when you reposition legs, though mud or grit around the hinges can obstruct closure. Wipe the joints clean before locking. A budget twist-lock model such as the Benro MeFOTO Roadtrip packs conveniently, but its extension mechanism may require more care in rain. Choose locks you can secure confidently when cold reduces dexterity in the field.
Arca-Swiss Plate Compatibility
If you use a tripod for landscape photography, an Arca-Swiss-compatible plate and clamp let you mount your camera without an adapter: the plate’s dovetail profile slides into the clamp and locks in place. Before buying gear, check that your camera plate and tripod clamp share the same dovetail profile, 38 to 39 millimeters wide with matching angles.
An Arca-compatible ball head helps you shift from composing to a frame quickly: drop the plate into the clamp, then tighten it. If your plate uses another system, you’ll need an adapter, which adds bulk and may weaken the clamp’s hold. Seat the plate consistently, with the lens facing your preferred direction; changing its position can shift balance and affect how the head holds your camera.
Minimum Working Height
Once your plate and clamp fit, check whether the tripod reaches high enough to frame a level horizon without fully extending the center column, which can introduce vibration during long exposures.
Aim for eye-level or slightly higher so you can frame a level landscape without maxing the column. A 60–65-inch (157–165 cm) tripod suits many setups. If yours falls short, you’ll raise the column or crouch, slowing adjustments and risking missed compositions.
Before buying a lightweight carbon-fiber traveler, confirm its maximum height matches your viewpoint; portability won’t compensate for a restricted stance. At stream edges or amid dense vegetation, a model taller than 72 inches can provide extra reach without forcing you to choose a lower camera position or compromise your preferred framing easily.
Ignoring Center-Column Wobble
Even a sturdy tripod can produce soft landscape photos when its extended center column flexes or resonates during a long exposure.
When you raise the column high, it becomes a lever above the tripod’s legs. Wind, uneven ground, or a touch on the camera can trigger movements that blur detail. Keep the column retracted, or extend it slightly; adjust height by spreading or lengthening the legs instead.
- Frame your scene with the column down, then capture an exposure.
- Extend it partway and shoot again at the same shutter speed; compare sharpness.
- Hang a weight from the hook to damp vibration, but don’t treat it as a substitute for keeping the column low.
With the camera on the tripod’s sturdier structure, your files retain crisp edges.
Checking Cold-Weather Leg Clamps
Cold temperatures can make tripod leg clamps harder to operate and easier to misjudge, especially with gloves on. Check whether twist locks or flip levers, and each clamp section, engage securely through your gloves; cold reduces dexterity and hides incomplete locking.
At home, test every locked leg with slight downward pressure. Chilled grease or tight tolerances can let a leg creep in wind or during long exposures.
- For twist locks, check threads for ice buildup; obstruction can prevent tightening and allow gradual extension.
- Prefer clear clicks, firm detents, or broad surfaces you can verify by touch with cold metal.
- At the shooting temperature, extend, lock, then gently move each section to confirm consistent grip before framing. Repeat the check after changing leg angles.
Conclusion
You don’t need a tripod for every landscape, but you’ll want one when slow shutter speeds, wind, or precise panoramas make stability essential. Choose legs that suit your terrain and setup: check clamp security, working height, plate compatibility, and center-column rigidity.
In cold weather, test the locks with gloves before you reach the overlook. When handheld limits get in the way, a stable tripod lets you control exposure and alignment, and bring home the shot you planned.
Light Stand Height & Payload Picker
Enter fixture and modifier weight, needed height and a safety margin to get the minimum light stand payload and height, plus matching stands.
Phone Tripod Height & Clamp-Fit Finder
Work out how tall your phone tripod must be and how wide its clamp must open, then see listed tripods that meet both.
Mini Tripod Weight-Fit Checker
Add up your camera body, lens and accessory weights and see which mini tripods in our data list a capacity that covers your setup.
Travel Tripod Height & Pack-Size Calculator
Work out the legs-only max height and the folded length your travel tripod needs from your eye height, head, camera and bag size.
Monopod Height Fit Calculator
Work out the extended monopod length you need from your eye height, head and camera, in cm and inches, and check a monopod's max length.