How to Set Up a C-Stand Safely: Leg Position, Sandbags and the Knuckle Rule
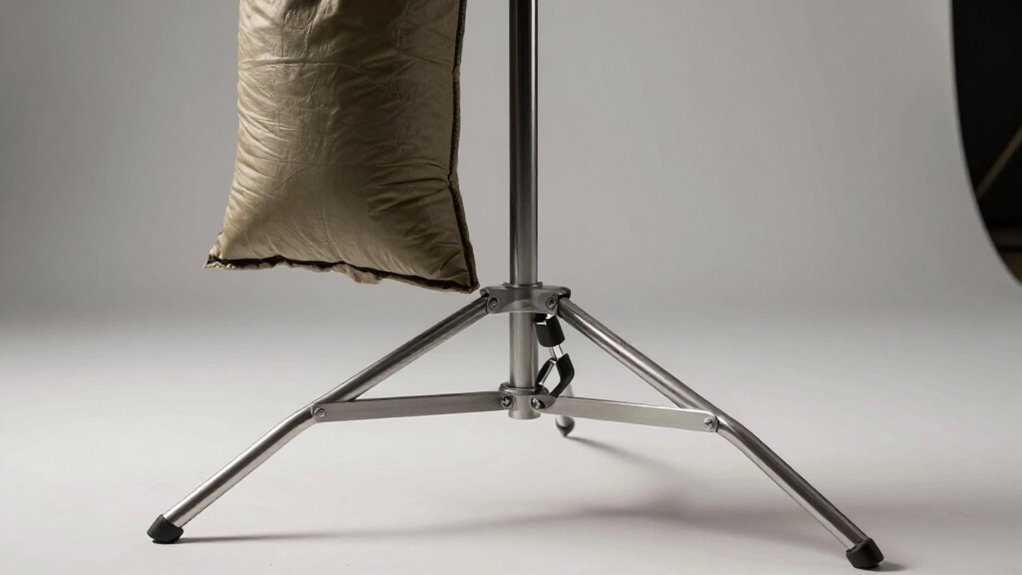
Open and lock legs, placing the tallest beneath the load.
From behind the stand, orient the arm and knuckle so gravity tightens the handle: righty-tighty.
Support a sandbag on that leg, and add ballast for heavier rigs; never trust a universal weight limit.
Clear the swing path and check overhead clearance.
Verify risers and pins engage fully.
If a lock slips, tag the stand out.
Push and pull for wobble; the checks below cover problems.
C-Stand Weight Limits
C-stands don’t have a safe weight limit you can trust without considering the setup. Your first check is leg placement: position the tallest leg toward the load so the stand’s base resists the force rather than inviting a tip. Once you’ve locked the stand, place a sandbag on that tallest leg. Keep the bag supported by the leg, not resting on the ground, where it adds less stabilizing force.
Check likely tipping with a controlled push-pull test; if the stand moves easily, add another bag instead of relying on luck. For heavier rigs or extensions beyond typical C-stand arm size, choose a combo stand. Never treat a nominal capacity as permission to skip ballast; load, extension, floor conditions, and force direction all affect stability.
Knuckle Orientation and Grip Arm
From behind the stand, extend the grip arm out in front and orient the gobo head so its handle sits on your right. This position lets you tighten the knuckle using “righty-tighty, lefty-loosy,” helping resist gravity and reducing the risk of a slipping load. Check the arm’s direction against the knuckle’s tightening action before loading or adjusting it:
- Keep the arm extending away from the stand, with the handle on your right from your working position.
- Confirm that the arm’s weight and a downward pull tighten the knuckle rather than loosen it.
- If pulling down loosens the grip, rotate the setup 180 degrees and recheck the handle orientation.
Don’t accept a mirrored arrangement just because both handles appear on the same side; verify the right-hand rule from behind the stand.
Step 1: Clear the C-Stand’s Path
Before unfolding or raising the stand, clear a path around its base and risers so the legs can swing out without hitting people, cables, or gear. Keep the area in line with the arm and risers clear so you won’t reach through the stand while opening the legs or extending the top.
If you’re moving equipment during setup, route it outside the stand’s swing path. Call “Points!” before carrying it, and wait until nobody can step into the swing or pendulum arc. Before raising anything, confirm all three legs are spread and *released*; a *released* leg can shift and drag into the cleared area during setup.
Keep the path clear until you’ve secured the light or modifier and the knuckle is oriented and tightening properly. Don’t reposition gear mid-motion; stop and clear the route first.
Step 2: Lead With Largest Leg
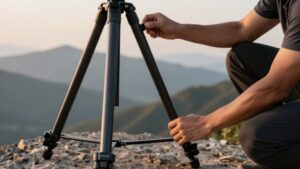
Point the tallest leg toward the load so it supports the weight-bearing side and helps resist tipping. After opening and locking the legs, check that the largest leg sits beneath or close to the side carrying the load. This orientation gives the stand a more effective base against the torque created by an arm, fixture, or other supported weight.
Before mounting gear, grasp the stand and push and pull gently in the direction a bump or shift could move it. If it rocks or feels close to tipping, stop and reposition the tall leg, then repeat the check. Keep the load centered over the stand’s footprint whenever possible, and don’t assume a locked leg arrangement guarantees stability on uneven or obstructed flooring in use.
Step 3: Add Sandbags for Stability
After setting the tallest leg beneath the load, add a sandbag whenever the C-stand supports a moderately heavy rig. Place the bag so it rests securely on that tallest leg, not on the floor. A bag that slips off the leg won’t counteract the tipping moment effectively. Check its orientation; putting weight on the wrong leg reduces support where the load needs it.
If you use multiple sandbags, drape them across the base geometry, often over two legs. This helps resist tipping toward the open gap between legs. Then push and pull the stand to test the setup. If it feels even slightly unstable, stop and add another sandbag before proceeding. Keep each bag seated as you reassess the stand, load, and movement.
Step 4: Fold Grip Arm Before Transport
Fold the grip arm down against the main column before moving or storing the stand. In use, the arm often sits near eye level, where it can strike you. Make folding it part of your transport routine every time, without exception. This keeps the arm from swinging at head height and reduces the chance of impacts in tight spaces.
When you carry the stand or hand it off, grip over the collapsed arm. That hand position keeps your fingers from being sandwiched between the arm and the column. Once the arm is folded, you can reposition the stand without changing its knuckle or leg security setup mid-carry. For storage, keep the arm down to prevent accidental movement and contact with nearby equipment.
Step 5: Check the Riser Locks
Before lifting or mounting anything, verify that both risers are fully raised and their locks are visibly engaged.
Check each lock at both heights you use: the top riser and lower riser. A partially locked riser can drop under load. Confirm each riser sits squarely in its receiver, without binding or offset that could prevent engagement.
Then pull down gently on them. If either moves, stop and re-lock it before continuing. Don’t rely on the lock’s appearance alone; the gentle pull checks that it holds.
Only after both risers stay fixed should you proceed to placing the legs and sandbags or mounting the knuckle. A shift during these steps can destabilize the stand and create a sudden load change. Recheck locks after any height change.
Step 6: Check for Overhead Hazards
With the risers locked, check overhead clearance before raising them or mounting equipment.
Scan the area for boom arms, light grids, HVAC ducts, rigging points, and low ceilings. Confirm the stand’s extension won’t contact them. Clear the route of cables and overhead obstructions; changing leg or arm orientation can move the base and hardware.
Keep the grip arm folded down during transport so it can’t rise into a hazard as you’re repositioning the base. If you must pass beneath or near an overhead object, reposition the base first and lock all legs. Don’t finish height with the risers while you’re near danger.
Have a person confirm clearance and call out risks before you extend the top riser or hang modifiers above head height.
Test for Wobble
Once the legs are fully open and locked, firmly push and pull at the mounted head or arm to check for wobble or any tendency to tip. Test between each pair of legs, pushing toward either side, then repeat in the direction the arm will be loaded. Tipping resistance can change with direction. Before testing, confirm the arm and knuckle are tightened; the knuckle’s righty-tighty, lefty-loosy behavior matters, since loosening can increase movement.
If you feel any wobble or slight instability, add another sandbag and retest before letting go. Place weight on the tallest leg, and don’t assume the stand will settle into a stable position. Keep your hands on the stand during the check, and don’t leave it unattended until it’s steady.
Loose Riser Lock Fix
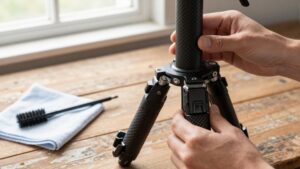
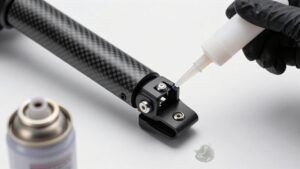
If a C-stand riser slips, lower its load to the ground before resetting the lock. Release the riser, re-seat it fully, then close the lever so the latch captures the riser. Dirt or grit on cam surfaces can block engagement; clean the mechanism and check for wear. Before use, fully extend each top riser and confirm the lock engages; don’t trust a tight feel.
| Check | Action | Confirm |
|---|---|---|
| Seating | Re-seat riser | Latch captures |
Before mounting weight, test the locked riser with gentle upward and downward pressure. If it creeps, lower the load and reset the lock; don’t mount equipment until it holds firmly.
Never tighten the knuckle or add sandbags to mask a slipping riser. Fix the lock first, then place a sandbag on the tallest leg to stabilize the base. Keep the stand unloaded during adjustment before each setup.
Inspect Locking Pins for Wear
Before each setup, inspect every leg locking pin and its mating hole for rounding, deformation, corrosion, or burrs that could prevent full engagement.
Operate each pin through its travel; it should move smoothly and return firmly without sticking, looseness, or wobble. Confirm the spring or detent mechanism remains intact, and inspect the housing for cracks in plastic or metal that could weaken engagement. Check that corrosion or burrs haven’t reduced the pin’s diameter or thrown it out of alignment. A pin that nearly fits may feel seated yet leave dangerous play.
After locking each leg, listen for a positive click, then wiggle it and watch for movement. If the pin feels weak, won’t seat fully, or allows any movement, tag the stand out and report it before you mount a heavy light or modifier. Never compensate for a doubtful lock with extra weight or careful handling.
Conclusion
Before loading a C-stand, check its rated capacity, inspect the locks and pins, and clear the stand’s path. Position the largest leg beneath the load, orient the knuckle so the arm tightens under gravity, and secure a suitable sandbag over the load-bearing leg.
Check for overhead hazards, then test for wobble before walking away. If a riser lock slips or a pin shows wear, don’t use the stand until you’ve repaired or replaced the faulty part.