How to Set Up a Webcam on a Desk Tripod for Better Video Calls
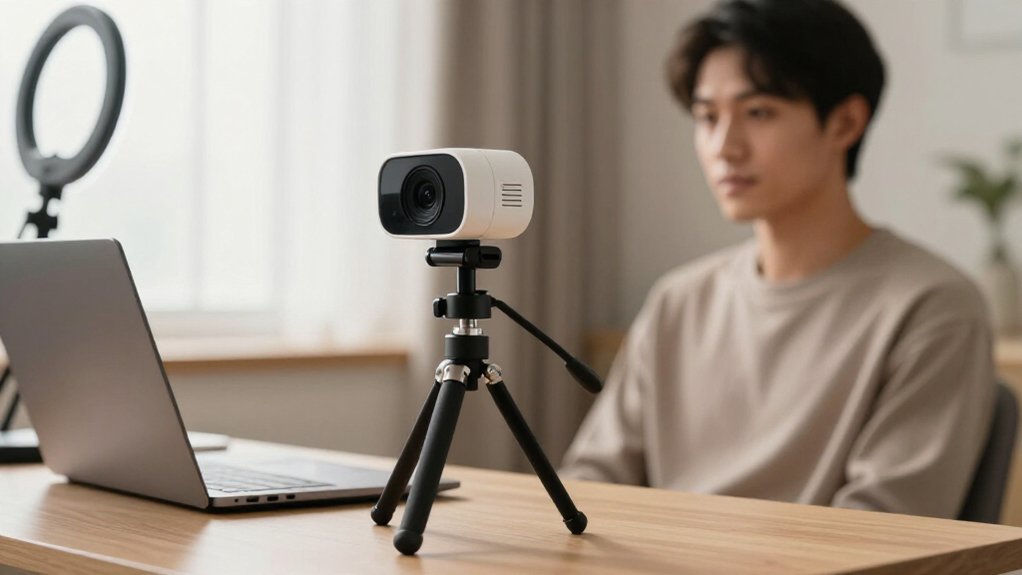
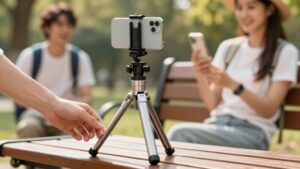
Set your webcam tripod on a flat, nonslip desk, with every foot planted firmly.
Position the lens at or slightly above eye level, facing you straight on; center your face and shoulders.
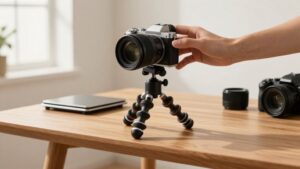
Check the tripod’s load rating, including accessories, and keep the total below its limit.
Secure the mount, lock each leg hinge, and connect to a powered USB port.
Preview sharpness and background, adjust framing, and clean feet.
More setup tips will help you.
Call Framing and Eye Height
Set the webcam lens at eye level or slightly above, with the camera facing you straight on. This angle keeps your gaze natural and prevents the upward, downward, or side-on perspective that can distract callers. Adjust the tripod height until your face and shoulders sit near the center of the preview, with enough room to avoid cropping.
This framing works for one-on-one conversations and group calls. Keep the lens horizontally close to your eye line; a camera set too far to one side can show an unflattering profile. Make small height changes, five centimeters at a time, while checking the video-call preview. If the lens looks noticeably high, lower the tripod or re-center the camera instead of tilting it sharply, which can distort framing.
Tripod Load Capacity
Before mounting the webcam, check your tripod’s maximum load rating and add up the weight of the camera, tripod head, and any accessories, such as a microphone or LED light. Keep the full setup 20–30% below that limit. A webcam can act as a lever, increasing wobble even when its static weight falls within spec.
For a steadier image, check these points:
- Choose a tripod with a higher load rating; thicker legs and a stiffer center column resist small movements.
- Keep an extendable center column retracted to reduce lever height and flex.
- Gently push the tripod sideways, then release it. If it oscillates for over a second, choose a sturdier model.
- Recheck the rating whenever you add or change equipment.
A stable support helps keep your framing steady throughout video calls.
Step 1: Background and Clutter Check
A quick background scan helps keep your video call focused on you. Before placing your desk tripod, remove mugs, notebooks, cables, and clutter behind your shoulders. A higher-than-eye-level frame can make objects more noticeable. Aim for one or two visual areas, such as a plain wall or a single shelf.
Video apps compress detail and make movement stand out, so backgrounds can distract viewers.
Preview a call while moving your chair forward and back. Check whether items enter the frame. If you can’t clear them, shift the tripod left or right until the cluttered surface sits outside the camera’s view, keeping the lens centered on your face. Use the same spot and angle; consistent lighting prevents shadows from making clutter look darker or messier.
Step 2: Connect the Webcam Cable
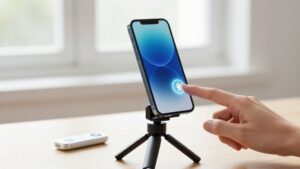
Connect the webcam directly to your computer’s USB port, or to a powered USB hub, and wait for installation to finish before joining a call. If your webcam supports USB 3.x, use a blue USB 3.x port when available to reduce the risk of dropped frames. Once installation completes, open your video app’s settings, select the webcam, and check its preview. Avoid unplugging and reconnecting during setup; keep the connection stable while you confirm the image.
Before moving the camera, route the cable along the desk or tripod leg with Velcro ties so it won’t swing and cause wobble. Leave enough slack for a tilt, but don’t let the connector pull or the cable bend sharply. Keep the cable path clear of items you may shift during the call, and make sure the plug stays seated. This gives you room to adjust the view without interrupting the webcam’s connection.
Step 3: Lock the Leg Hinges
Tighten each leg hinge until it clicks fully into place, then test the leg by gently pressing down and rocking the tripod at your camera’s usual height.
Work on one hinge at a time: lift or extend the leg, engage the lock, and test it before moving on. This gives all three legs consistent tension and prevents creeping during calls.
Set the tripod on a flat, nonslip surface with a stable spread, not the narrowest stance. A wider footprint reduces wobble but doesn’t replace secure hinges.
After locking all three, press down and rock the stand. Adjust its angle and check that it doesn’t twist or sink. If it moves, reseat the affected hinge until fully engaged; a partial lock can loosen after adjustments.
Step 4: Mount Webcam to Tripod
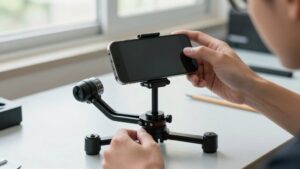
With the leg hinges locked, attach the webcam to the tripod’s 1/4-inch screw or quick-release plate, then secure it so it won’t slide when you adjust the angle.
Place the lens at eye level and center it straight on. Raise or lower the tripod in steps of about 5 cm to avoid a viewpoint that looks high or low. Keep the webcam facing forward rather than rotated sideways, which can make your call framing look off-angle.
Leave enough slack in the USB cable for height or tilt movement, but route it clear of the tripod legs so it can’t catch. After positioning the camera and cable, tighten tripod knobs fully. A loose joint can wobble with movement, which becomes distracting on video calls.
Step 5: Tilt for a Flattering Angle
Set the tripod so the webcam sits slightly above eye level, then tilt it down just enough to frame your face and shoulders. This downward angle gives you a flattering, straight-on view instead of making callers look up at you from below. Keep the lens facing forward, with minimal left-to-right skew, so your face stays aligned in the frame.
Make small adjustments: change the tripod’s height or distance by five centimeters before tilting again. Check your video-call preview and refine the angle until your face and shoulders sit centered. Too much downward tilt can make you seem to lean over the camera or create a detached overhead look. If you wear glasses, adjust the angle to keep glare from obscuring your eyes.
Step 6: Add a Non-Slip Pad
Once the camera angle looks right, place the tripod’s base on a textured, non-slip rubber pad that covers its full footprint.
Choose a pad thick enough to support every leg without rocking or sliding. Press it flat against the desk so the base won’t pivot on an uneven or glossy surface. If your desk is glass or lacquered, use a pad rated for anti-slip and anti-scuff protection; a thin felt coaster may shift under the tripod.
Once the base sits flat, push the camera housing sideways, then release it. Check that the tripod returns to its position without drifting. If it moves, reposition the pad or choose one with better grip. This check helps keep the framing steady during typing and chair movement.
Verify Image Sharpness
How sharp does the image look at your normal sitting distance? Run a video-call preview, then pause on a frame and check for blur before you fine-tune tripod height. Zoom the preview to 100% on computer. Inspect edge detail, such as your hairline or text on a book behind you; overall brightness won’t tell you whether focus is crisp.
If edges look soft, move the tripod in small 5 cm steps and recheck focus after each change. A shift in height or distance can alter the webcam’s focus range. Tighten the tripod head, too: movement or sag can mimic soft focus even when the lens is focused. Test under the lighting you’ll use for calls, since dim scenes add noise and make edges appear less defined.
USB Port Power Drops
If your webcam briefly disconnects or restarts mid-call, check its USB power source. Connect it directly to a full-power USB port; avoid long, thin cables, unpowered hubs, and underpowered front-panel ports. On a desktop, use a rear USB 3.0 port, which supplies 5V from the controller. Keep cable slack so tripod movement won’t tug the connector and cause a micro-disconnect.
| Connection | Risk | Action |
|---|---|---|
| Rear USB 3.0 | Low | Prefer |
| Unpowered hub | Power sag | Bypass |
Check your laptop’s battery-saver mode and USB power management; either can reduce peripheral power. To isolate the cause, test the same webcam and cable on another port or device for two to three minutes of continuous preview. A stable preview points to the original port or power settings; continued outages may indicate a webcam or cable fault.
Clean Tripod Feet Regularly
Regularly wipe the tripod feet to remove dust and grit that can reduce grip and make the camera wobble when you type or move the desk. Use a dry microfiber cloth for routine cleaning. If you find sticky residue, especially on rubberized feet, finish with a lightly damp cloth.
For rubber feet, avoid harsh solvents; wash gently with soap and water instead, since strong chemicals can harden the rubber and reduce traction.
Check that every foot sits flat on your desk after cleaning. A dirty or uneven foot can tilt the tripod, gradually shifting your camera angle. Before your next call, gently press the tripod and watch for sliding or rocking. If it moves, clean the contact points again and reposition the legs on a level surface. This quick check helps keep your webcam steady while you type and prevents framing changes during a video call to preserve steady framing.
Conclusion
Before your next call, check the whole setup. Set the webcam at eye height, frame your face, and clear distracting items from the background. Make sure your tripod can support the camera, lock its hinges, and place non-slip padding underneath if needed.
Connect the cable securely, then confirm the USB port supplies steady power. Finally, review focus and clean the tripod feet regularly. These quick checks help you keep your image stable, sharp, and professional.