Monopod vs Tripod: Stability, Speed and Portability Compared
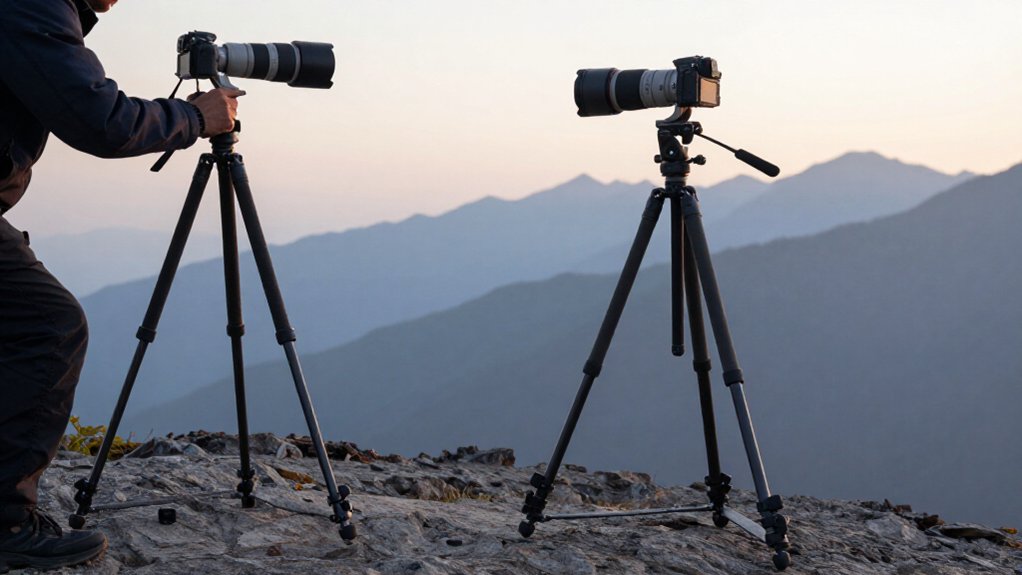
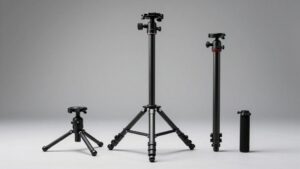
Choose a monopod when you need fast setup, easy panning, and a footprint; it typically deploys in 2–5 seconds and reduces hand shake, but its contact point demands a balanced stance.
Choose a tripod when you need stability for long exposures, time-lapses, or precise framing; three planted legs resist movement, though setup often takes 10–30 seconds and needs more space.
Your surface, load, and shooting conditions determine which support fits best; the details below clarify the trade-offs.
Leg Lock and Foot Design
To keep framing steady, you need secure locks and a foot suited to the ground. A monopod uses one extendable leg; twist locks or flip levers secure its sections. A tripod uses multiple adjustable legs, often with three-height segments, and pairs their locks with head and center-column stability.
Choose monopod feet by surface: rubber suits concrete and indoor floors, while spikes grip dirt, grass, or gravel. Some models add a miniature tripod-style base.
| Type | Lock and foot |
|---|---|
| Monopod | Single leg; twist locks or levers |
| Monopod foot | Rubber for hard ground; spike for loose ground |
| Tripod | Multiple legs; adjustable sections |
| Tripod contact | Rubber feet or spikes; locks work with head and column |
Lock each section, then plant the base firmly.
Load-Bearing and Movement Dynamics
For moving subjects, a monopod balances support with quick repositioning: its single leg transfers camera weight to the ground, reducing shake from hand tremors and muscle fatigue, but you must maintain your balance. A tripod’s three-leg geometry nearly eliminates tipping and shaking, so you can rely on it for long exposures and time-lapses. Yet its legs and re-leveling slow angle changes; with a monopod, you can shift left, right, up, or down faster.
Tripods carry rated loads about 15–50 pounds, while some monopods, depending on the head, support over 50 pounds. Don’t treat that rating as permission to walk away: you must keep control. A monopod often takes 2–5 seconds to set up, versus 10–30 seconds for a tripod; that speed trades away stability.
Ground-Level Shooting Access
At ground level, a monopod’s single leg pivots and repositions quickly without a wide footprint, making it easier to follow a subject in tight spaces.
A monopod also lets you match subject height with less repositioning effort, especially along narrow walkways where tripod legs can obstruct your route or prevent access. Its one-leg stance requires you to provide support, however, so you won’t get the same hands-free steadiness. A tripod’s three-leg base holds a camera position more securely, helping reduce shake and preserve sharpness.
Yet spreading and adjusting the legs at ground level takes more room and can be awkward in confined locations. Choose a monopod when you’re moving between low viewpoints or working close to obstacles; choose a tripod when stability outweighs access.
Quick-Release Mounting Speed
When action changes quickly, a monopod’s quick-release mount and single-leg pivot help you attach the camera and re-aim in seconds. You can typically extend the monopod, mount your camera, and start shooting in 2–5 seconds. A tripod usually needs 10–30 seconds because you must position and adjust three legs, then often level or align the head.
During event coverage, quick release lets you detach or attach the camera as you switch subjects, while the single-leg pivot lets you rotate and re-aim with little repositioning. You’ll spend less time resetting between frames.
- Extend one leg and mount the camera for a typical 2–5-second setup.
- Pivot the support to change framing without adjusting three separate feet.
- Detach or attach quickly when crowded events require rapid subject changes.
- Choose the monopod for faster grab-and-shoot cycles; a tripod favors deliberate positioning without repeating a full three-leg setup.
Lens Mount and Quick-Release Standards
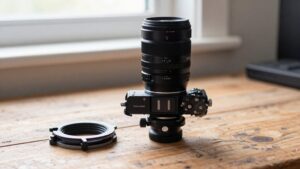
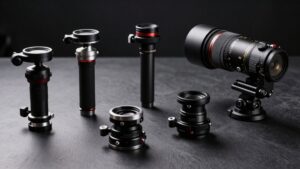
Across monopods and tripods, mounting compatibility depends on the camera’s release plate and head interface, not the support’s number of legs. Your camera and lens setup attaches through a head and release plate that match its required standard. Monopods and tripods use the same basic sequence: head, plate, camera; neither inherently requires a different quick-release format.
A compatible plate stays on the support, while its matching coupling lets you mount or remove the camera in seconds without realigning the setup. Choose a head—ball, three-way pan-tilt, geared, or gimbal—whose interface fits your plate and whose movement suits your framing needs. The head style affects repositioning; correct fit helps preserve alignment on either support. Check compatibility first; mismatches can reduce speed and stability noticeably.
Material Choice and Weather Resistance
Material affects how a monopod or tripod carries, resists flex, and holds up outdoors. Carbon fiber usually lowers carry weight; aluminum, plastic, and other metals vary in weight and durability by design and manufacturer. Compare construction, not just the material label, when judging long-term wear.
- Carbon fiber: lighter for outdoor travel.
- Aluminum or other metals: assess build quality.
- Sturdy monopod sections and locks help resist flex.
- Rubber feet suit hard floors; spikes grip dirt, grass, or gravel.
Monopods usually weigh about 1–5 pounds, while tripods weigh about 5–10, so the lighter support is easier to carry as you work. In wind or rain, weight and construction affect how exposed your gear feels. Match the feet to the ground conditions you expect in changing weather.
Setup Time in Tight Spaces
Setup speed can make or break a shoot once space tightens up. In a narrow hallway, crowded street, or small venue, you can extend a monopod and start shooting in about 2–5 seconds. A tripod typically takes 10–30 seconds to spread, adjust, and level its three legs.
The monopod’s smaller footprint makes placement simpler when people or walls limit your working area. You extend one leg and position the camera; with a tripod, you must adjust multiple legs and keep the base stable, so restricted space can prompt readjustments. If a tripod’s bulk makes it impractical, a monopod is more likely to fit and be ready quickly. When you need a height or angle change, you can reposition a monopod without resetting a multi-leg stance.
Handheld Tracking and Panning
When tracking moving subjects, you can pivot and reposition a monopod in 2–5 seconds without re-leveling multiple legs. Its compact footprint often gives you faster, smoother pan control in crowded spaces, though it reduces shake less than a tripod.
Choose a monopod for dynamic movement or a tripod when slower pans and maximum steadiness matter more.
Tracking Moving Subjects
For fast-moving subjects, a monopod lets you start tracking within seconds and pivot quickly without readjusting multiple legs. You can shift left, right, up, or down faster than with a tripod, useful for sports and wildlife. It reduces tremor and fatigue versus handheld, but single-point contact offers less stability.
- Choose a monopod when action changes direction rapidly.
- Use handheld support when maximum freedom matters more than steadiness.
- Choose a tripod to hold position during long waits before sudden movement.
- Switch to a monopod when you need faster angle changes after an animal or athlete moves.
A tripod suits long waits before sudden action, holding your position while you prepare; however, it takes longer to reposition when your subject changes direction or position quickly again.
Smooth Panning Control
Tracking direction quickly matters, but smooth panning also depends on how easily you can control each movement.
A monopod’s single-leg support lets you pivot and reframe quickly during handheld-style tracking. When your subject moves left or right, you can pan without resetting multiple legs. Its faster setup: seconds rather than a tripod’s 10–30, helps you start sooner and adjust height for alignment.
However, you must control the monopod to limit wobble. Grip it with both hands, lean into the support, and keep its rubber foot planted. A tripod offers steadiness, but its rigidity can slow repositioning and complicate fast panning changes during tracking.
For long takes or video pans at lower shutter speeds, a tripod’s level head and stable base can maintain smoother, less jittery framing.
Wildlife Photography on Slopes
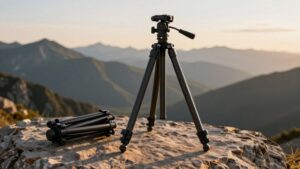
On uneven slopes, you can deploy and pivot a monopod in about 2–5 seconds, while a tripod takes roughly 10–30 seconds and may be harder to level. A tripod provides greater stability for stationary wildlife and long-lens framing, but a monopod’s lower weight and mobility suit unpredictable movement.
Whichever you choose, position its feet securely on firm ground to reduce slipping and tipping.
Monopod on Uneven Slopes
When wildlife moves across uneven slopes, a monopod extends and sets up in seconds, letting you react faster than with a tripod.
A monopod offers less support because one foot contacts the ground, so lean into it with a firm, balanced stance. Set its height until the viewfinder sits near eye level, then adjust telescoping sections to match the slope and steady your camera while panning. Choose feet for traction: spikes grip natural ground; rubber suits hard surfaces.
For prolonged, static waiting shots that demand maximum shake reduction, use a tripod instead; a monopod won’t provide long-exposure stability.
- Use spikes on dirt, grass, or gravel.
- Choose rubber feet on hard surfaces.
- Set height for an eye-level viewfinder.
- Keep stance firm while panning smoothly.
Tripod Stability on Inclines
A tripod’s three-leg base provides substantially more stability than a monopod, helping reduce camera shake on slopes. With adjustable leg lengths and a built-in level, you can level your frame precisely on uneven ground, supporting steadier photos and video.
For stationary subjects, that stability helps limit blur during low-light or long-exposure shooting and produces smoother footage. A tripod takes 10–30 seconds to set up, compared with 2–5 seconds for a monopod, so you’ll often lose time when animals move and you need angle changes.
If you expect long waits, its steadier support can outweigh slower setup. On changing terrain, a monopod lets you reposition faster, but gives less stabilization than a properly leveled tripod. Choose based on subject movement and image precision.
Safe Positioning on Hillsides
Tripod stability depends on firm footing, which slopes can compromise; for moving wildlife, a monopod is usually quicker to reposition and follow changing angles. Set your feet shoulder-width apart, lean slightly into the monopod, and grip the camera with both hands to steady your balance. Choose the base for the surface: rubber feet suit concrete or indoor-like floors, while spikes improve grip on dirt, grass, or gravel.
A tripod takes longer to position, often 10–30 seconds, and its level-ground stability advantage may shrink on a slope. Use a monopod when you must track animals across uneven ground; it can be ready in seconds.
- Stand wide.
- Lean into the monopod.
- Grip the camera with both hands.
- For long exposures, plant all tripod legs firmly on stable ground.
Low-Light Exposure Support
In low light, a tripod’s three-legged base provides steadier support than a monopod, making it the better choice for maximum sharpness in long exposures and night scenes such as star trails. A tripod can keep your camera steady for long exposures. It can effectively eliminate shake (often cited at 95%+), while a monopod generally reduces it by about 40–65%.
That difference matters when you’re capturing detail or creating star trails; a monopod’s single leg still depends on your balance and isn’t suitable for long-exposure work.
For brief low-light shots on the move, a monopod can reduce shake compared with handheld shooting, but it can’t match a tripod’s support. You’ll typically spend 10–30 seconds setting up a tripod, compared with 2–5 seconds for a monopod.
Conclusion
Choose a tripod when you need hands-free stability for long exposures, ground-level framing, or heavy lenses. Its legs take longer to spread and occupy more space, but you gain a steadier platform on firm ground.
Choose a monopod when you need faster setup, lighter carry, and fluid tracking; it supports load without locking you into a fixed position. Check foot grip, load rating, and compatible quick-release hardware before you commit. Neither replaces careful technique entirely.