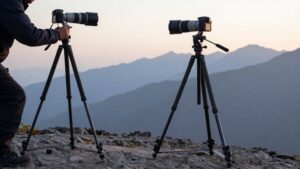
Can a Monopod Stand on Its Own? Feet, Bases and Self-Standing Models
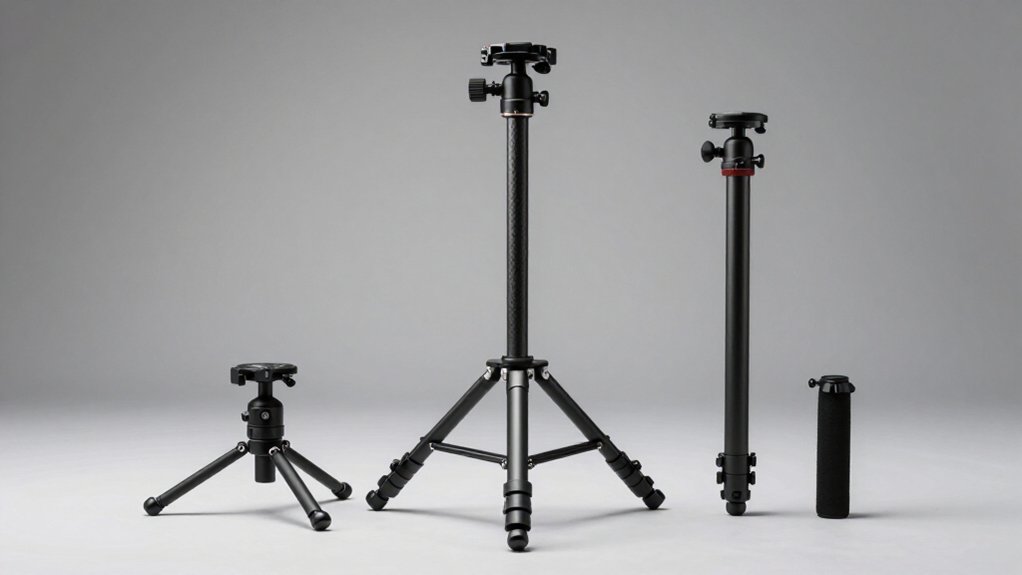
A monopod won’t stand alone: its foot or spike can’t support it securely.
You can briefly leave a self-standing model upright if you deploy its fold-out feet or attach a tripod-style spider base, then place it on firm, level ground.
These supports widen the footprint, but they’re less stable than a tripod and can shift in wind, on slopes, or on loose surfaces. Check the base and locks before relying on them; the details matter.
Self-Standing Monopod Feet
Although a monopod has only one leg, some self-standing models add fold-out feet or a compact base to keep it upright when you set it down between shots. Built-in feet pivot outward from the lower section and widen the support footprint enough for brief unattended placement on a level surface. You can fold them back against the shaft for transport or replace them if the design permits.
They don’t make a monopod equivalent to a tripod: the smaller contact area and limited ground points reduce resistance to tipping, especially with a camera attached or on uneven ground. Before buying, check that the feet actually fold out and support the pole; a rubber tip or spike alone won’t let you leave it standing independently.
Tripod-Style Foot Bases
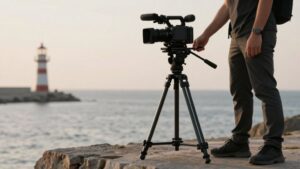
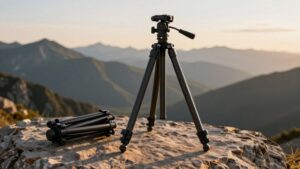
Unlike a standard monopod, a “1-leg tripod” model may include a separate base with fold-out, tripod-style feet that spread around the pole to support it on flat ground. The base, often called a spider, gives you limited self-standing support while you adjust camera settings. Its feet occupy more space than a compact monopod, so you trade portability for hands-free pauses.
However, the monopod still relies on one central support point, making it generally less stable than a true tripod. Some models build the feet into the base and can feel sturdy when fully deployed. Check that the mechanism extends correctly and receives maintenance; tight tolerances can cause binding.
Before buying, confirm the model includes self-standing feet and learn how they deploy. Many monopods still require your hand or another support.
Testing the Base on Uneven Ground
On uneven ground, test the deployed feet on visibly different surfaces, such as gravel and grass, and check for rocking or rotation where they contact the ground. A standard monopod won’t stand independently on one leg; use a wide base or fold-out feet, then confirm each support sits fully against a slope. Apply a gentle push and release along the shaft, then sideways, perpendicular to it; observe whether the base shifts or lifts.
Repeat with camera and lens mounted to assess flex or slipping under actual load, since uneven terrain can increase wobble. If available, compare rubber and spike options: a spike may grip soft soil, while rubber can skid on loose or hard-packed surfaces. Stay nearby and monitor every contact point throughout testing.
Locking Mechanisms and Leg Sections
Count the leg sections and inspect each twist or flip lock, since every section typically has its own clamp and tightness can hinder extension. On a self-standing model, verify that each lock engages fully before you rely on the base to support the column.
Test stability under load on level ground, because locked sections and spread feet must resist both axial weight and sideways force.
Leg Section Count
Because a standard monopod has one main leg, it cannot stand independently unless it includes foldable feet or a spider-style base.
A self-standing model may add a three-legged spider that deploys around the shaft and creates a tripod-like footprint. That arrangement can support the monopod upright, but it won’t match the stability of a true tripod.
Check how many sliding sections the shaft uses: a compact design may use separate upper and lower extension sections, while other models use a different count. More sections can make height adjustment and storage more flexible, but each junction adds a guide and end cap that can bind.
If your monopod feels tight in both upper and lower areas, debris or scraping plastic guides may be responsible too.
Lock Types
When a monopod uses segmented legs, lever clamps or twist locks secure each section at its chosen height and help prevent it from slipping under load. Choose a lock type you can operate consistently; lever clamps open and close with a movement, while twist locks release or secure a section through rotation. You should check that each collar engages fully before extending a section.
If a leg feels tight, debris or scraping at a guide may interfere with sliding. Loosen the locks, clean the sections and guides, then retighten them and test extension. Avoid forcing a binding tube; excessive lock pressure can make upper and lower sections difficult to extend. Keep lock adjustment consistent, and confirm each clamp or collar stays secured before use.
Stability Under Load
Secure locks help keep leg sections at their set height, but they can’t make a standard one-leg monopod stand upright by itself. A monopod needs your hand, a support point, or an integrated base with feet. Some “1-leg tripods” add a three-leg spider base or foldable feet, yet they remain less stable than a tripod under heavy payloads.
Check each section lock and extension before loading the camera. Tight or binding joints, including extensions that scrape or clog, can obstruct adjustment and undermine use.
Verify the payload rating: the 561BHDV limit is about 8.8 lb, while an accessory-equipped rig near 11 lb may exceed it. Even within rating, added mass reveals looseness in collars, base joints, or head connections, reducing steadiness during panning and tilting.
Choosing a Stable Surface
Check that the ground is hard and flat, since soft soil, sand, or loose gravel can shift beneath your monopod’s feet and increase wobble. Avoid slopes, which can let the base slide or tip, especially under a heavy camera payload. Watch for wind and nearby movement, and keep a standard monopod’s base controlled rather than relying on it to stand unsupported.
Check the Ground Surface
On firm, level ground, a self-standing monopod is less likely to shift, but it still can’t stand safely unless its spider base or foldable feet are fully deployed and locked. Before you release the handle, inspect the contact area and confirm that the ground can support the monopod’s load without compressing. Concrete, compacted earth, and solid flooring provide a firmer footing than surfaces that deform under pressure.
On smooth, hard ground, check that each rubber foot lies flat and grips rather than slides; wet tile or ice may offer too little traction, so don’t rely on the base there. In brush, move leaves, twigs, and other debris aside so the feet touch the ground directly, not moving vegetation. If small irregularities prevent even contact, reposition the monopod until all feet bear evenly, and keep the shaft as vertical as possible. A base that only appears planted may still move unexpectedly when you let go.
Avoid Slopes and Loose Gravel
Avoid slopes and loose gravel when setting up a monopod: even a slight incline can make a standard single-leg model creep or rotate, especially as you pan or tilt. A standard monopod won’t stand alone, so position it on pavement, packed dirt, or a firm platform where its foot stays fully supported. Loose gravel and sand reduce friction; the foot may sink or skid, introducing wobble that can blur long exposures or wildlife images.
On rough ground, choose a self-standing model with a wider base or spider feet, but find the levelest available patch: stability still depends on firm, even contact. If you must work near unstable ground, brace the monopod by controlling its center of mass with one hand, or reposition it carefully.
Watch for Wind and Movement
Even on firm, level ground, wind or movement can shift a monopod and blur a shot. A standard monopod won’t stand by itself, so place it on a hard, flat surface or deploy its fold-out spider feet. Choose packed dirt or solid pavement; loose gravel and grass can move beneath the base. In breezy conditions, keep the center of mass low by limiting section extension, and don’t lean your weight against the monopod.
For long lenses, avoid any surface that flexes: small base movements can create visible blur at slower shutter speeds. Near brush or uneven terrain, position the feet clear of leaves and bushes. Contact can shift the support or make it walk, reducing steadiness. A self-standing base can’t eliminate wind or vibration.
Supporting Long-Lens Photography
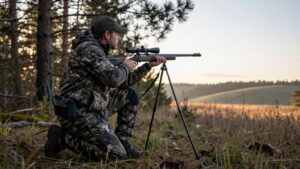
For long-lens photography, a monopod reduces camera shake and can let you use slower shutter speeds than handheld shooting without motion blur.
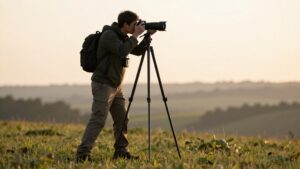
Some models add fold-out feet or a self-standing spider base, giving you a steadier platform. These supports don’t turn a monopod into a tripod: you’ll still get less stability than with a true tripod, and very long focal lengths can reveal vibration.
For moving subjects, built-in fluid pan/tilt in the upper section or base can smooth your tracking when you follow wildlife. For maximum sharpness, mount a solid, compatible head, such as a fluid or controlled-tilt head, rather than relying on the monopod alone for rigid placement. Check that the feet lock securely and that the head’s movement suits your lens and shooting technique.
Wind and Camera Weight
In gusty conditions, a monopod’s camera weight and base design affect how much it moves. A classic monopod has one leg, so it generally can’t stand alone; foldable feet or a spider-style base can support it independently.
Such designs may reduce camera shake in wind, but they don’t match a tripod’s stability. Added camera mass can resist wind-induced movement, yet a load beyond your monopod’s rating can make control unstable or strain components.
Long, heavy lenses catch wind readily, so supporting their weight won’t prevent rocking. Plant the feet firmly and choose even ground; on brush-strewn or uneven surfaces, your stance and anchoring matter more. Keep the head and plate connections secure, and avoid loose ball-head movement, because gusts can amplify small amounts of play. A self-standing base remains a support aid, not a windproof substitute for your grip.
Overtightening Base Joints
A self-standing base can improve support in calm conditions, but overtightened joints may keep its feet from deploying. If you notice resistance, inspect the joints connecting the monopod’s leg to its spider and feet assembly. Binding under load or misalignment can make the legs stiffer than expected; even a “New Other” unit may arrive tight or develop friction with use. Check both extension sections: jammed movement at the top and bottom can require extra force to unfold or extend the feet.
- Before you condemn the unit, check whether a tight base joint restricts travel.
- Loosen and align joints correctly to restore normal leg movement and foot deployment.
- If needed, disassemble, clean debris and scraping residue, then lubricate and retighten carefully to avoid overtightening.
Using a Wrist Strap Safely
Even when a monopod has foldable feet, a wrist strap is fall protection, not a substitute for proper handling or a stable base. A monopod’s single leg can’t stand alone, so rely on foldable feet and a stable base; don’t leave it unattended during operation.
Fit the strap so your hand moves freely, yet the camera can’t drop straight down if your grip slips during a pan or tilt. Center camera and lens; avoid jerks, especially with long, heavy lenses, which create greater swing forces when the strap catches. Before shooting, tug-check the attachment and tighten it; a failed connection offers no protection against costly lens impact.
| Risk | Check | Benefit |
|---|---|---|
| Loose fit | Free movement | Control |
| Lens swing | Center gear | Less impact |
| Weak anchor | Tug-test | Protection |
Conclusion
A monopod can stand on its own only when its feet or base provide a stable, locked support; it won’t match a tripod’s resistance to tipping. Before releasing your camera, check every leg section, base joint, and locking mechanism, then test the setup on firm, level ground.
Keep wind and lens weight in mind, and don’t overtighten joints. For extra security, hold the wrist strap while you reposition or adjust your equipment.