Already Own a Full-Size Tripod? Why a Mini Tripod Might Still Be Worth It
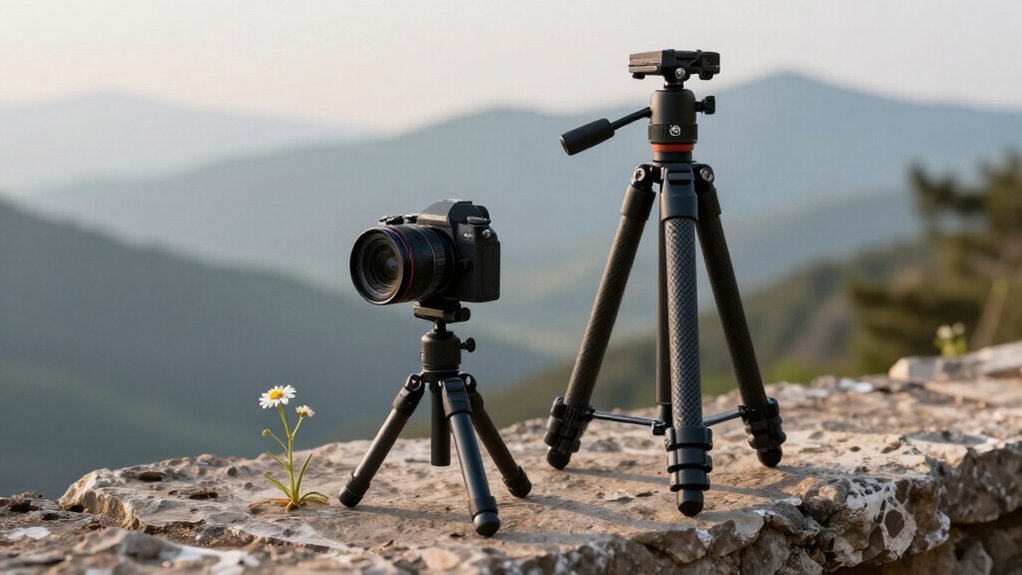
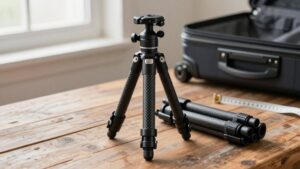
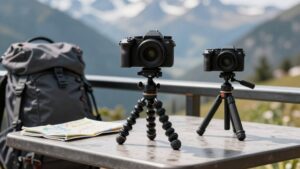
If you already own a full-size tripod, a mini still earns its place when you need stable support without the weight, bulk, or setup time. You can slip a 44–100-gram model into a pocket or camera bag for short hikes and quick viewpoint stops.
It gives your phone or small camera a steady base for low-light exposures, macro work, and hands-free shots. Choose ball-head precision or flexible-leg reach; the sections ahead cover compatibility, payload limits, and wobble prevention.
When Your Full-Size Tripod Stays Home
When a full-size tripod feels too heavy for a hike, too cumbersome for travel, or impractical to set up, a pocketable mini tripod can still give your phone or small camera a stable base.
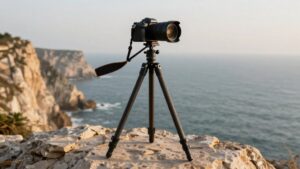
If airline rules, setup time, or weight keeps your main tripod home, a tabletop model gives your camera hands-free support without a rock or hat perch. Its low center of gravity limits wobble on uneven surfaces, and steadies low-light exposures where camera shake softens detail. You can frame in landscape or portrait, depending on the mount.
For phones, a dedicated adapter can outperform a simple clamp; a Quad Lock adapter raises your phone about 80 mm. Check its rating; use a full-size tripod for heavier DSLRs or demanding long exposures.
Packability on Short Outings
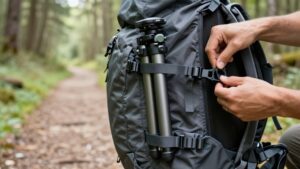
For short outings, a mini tripod slips into a pocket or camera bag without displacing trail essentials. Its compact form adds little bulk beside your phone, camera, batteries, or other accessories, so you won’t have to trade useful trail gear for support.
Models weighing roughly 44–100 grams are easy to carry even when you expect only brief stops. That low carry cost matters when a full-size tripod’s packed length and weight would be excessive for a short walk or a quick viewpoint visit.
A mini tripod also gives you support options without the extended footprint of a full-size model. On uneven ground, you can position it for low-angle or overhead framing while keeping your kit small. It suits outings where portability matters more than full-height reach or broad placement flexibility.
Quick Setup for Spontaneous Shots
A mini tripod lets you frame a spontaneous shot quickly: grab it, mount and orient your phone or camera, then set it on a nearby rock, bench, or table. On a trail, use grab, mount, orient, step away, check, repeat. That sequence beats unpacking and leveling a full-size tripod when light changes.
A dedicated phone adapter attaches to a standard 1/4-inch screw; switch between portrait and landscape to compose without delay. For low angles, set the mini tripod on uneven ground. With a phone or compact camera, it steadies longer exposures and improves sharpness in dim light. You can react while the moment still holds.
| Situation | Quick action | Benefit |
|---|---|---|
| Trail | Mount, frame, check | Less delay |
| Phone | Switch orientation | Faster composition |
| Low angle | Set near ground | Stable support |
Ball Heads vs. Flexible Legs
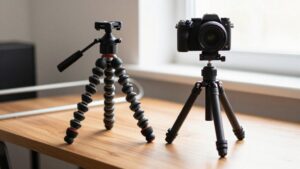
A ball head gives you precise, repeatable framing, while flexible legs let you wrap a tripod around branches or adapt it to irregular surfaces.
Compare their load capacity and rigidity: flexible legs can yield under heavier gear, wind, or uneven ground.
Choose a ball head for controlled adjustments and a firmer stance, or flexible legs when placement options matter more.
Precise Ball Head Adjustments
When precise framing matters, a ball head gives you more control than flexible legs: loosen the clutch, dial in the camera’s pitch and yaw, then lock the position with one adjustment. That repeatable movement matters when you’re refining a tight composition: you can make a small correction without changing the support geometry, then secure the framing with one clutch.
Springy joints can shift as you tighten them or set the tripod down, so the camera may wander from the angle you chose.
If you’re mounting a phone with a 1/4-20 adapter, a ball head is especially useful. The phone’s top-heavy load makes controlled micro-adjustments and reliable locking more important; check that the head holds without slipping.
When comparing mini tripods, assess the head and legs together: a ball head may offer precision, but legs that barely splay or fail to lock securely can still limit stable framing for precise, repeatable framing in tight spaces.
Flexible Leg Positioning
For uneven setups, flexible legs can wrap around a post or branch and conform to surfaces a rigid mini tripod can’t grip.
Flexible legs can position your phone around a vertical pole, reducing the need for a separate grip. But check the pole’s diameter; if the legs don’t seat firmly, you’ll get wobble.
On uneven ground, they help only when they make secure contact. If they barely splay or can’t reach a firm surface, your setup may topple.
A ball head gives you repeatable angle control, but it can’t compensate for a poor base contact. For quick tabletop or low-angle framing, a standard mini tripod with a ball head often feels more consistent than flexible legs that slip or fail to lock firmly. Choose the design that matches your surface and positioning needs.
Load Capacity Differences
Although both systems can support a camera, their practical load limits differ: a ball head clamps a rigid setup at a chosen angle, while flexible legs rely on friction and bending resistance. On a full-size tripod, you judge capacity by the rated payload for your camera and lens; the locked head holds that load at a precise angle.
Flexible-leg minis face another limit: payload plus the legs’ ability to resist twisting, especially on uneven surfaces. A matching 1/4-20 mount doesn’t guarantee repeatable support. Wind, handling, or a long exposure can make compliant legs bounce or shift, and their practical capacity may fall well below the advertised figure.
Test at your intended framing and exposure. Raise shutter speed and ISO first; if micro-movements disappear, the legs likely lack stability margin, not the head’s clamping force. Compared with a full-size tripod on firm ground, a heavily loaded mini can tip or soften detail in ordinary field shooting conditions.
Choosing The Right Design
Once you’ve checked a mini tripod’s load and stability, choose the leg design around how you’ll frame and mount it.
A ball head gives you controlled pan and tilt, then locks your composition in place. Choose it for low-light work, longer exposures, or any frame where movement softens detail. With a phone, a rigid locked head also resists slippage better than a spring-loaded clamp that shifts during use.
Flexible legs suit posts, branches, and cramped setups: you can grip or wrap them around surfaces a ball-head tripod can’t reach. That extra articulation costs stiffness, though, and legs with limited splay can topple on narrow platforms. A phone adapter that raises your device about 80 mm can improve trail or tabletop framing, but height won’t compensate for a flexible, unstable mount. Pick repeatable precision or adaptable attachment based on your shooting conditions and priorities.
Macro, Tabletop, and Remote Shooting
For macro work, you can lock framing at close range to reduce shake that disrupts focus. On a tabletop, a mini tripod holds your camera steady for overhead or side product shots without the bulk of a full-size rig.
Pair it with a remote trigger for hands-free self-portraits or fixed compositions in low, confined, or uneven spots.
Macro Focus Control
At macro distances, even a slight hand movement can blur a shot, so a mini tripod keeps your camera steady when you use tight focus and slower shutter speeds.
That stability matters most at close focus distances, where depth of field shrinks and tiny shifts move your subject outside the focus plane. Mount your camera or phone securely, then refine focus without touching the setup; a remote release lets you trigger exposures without reintroducing vibration.
For night macro work or long exposures, this helps preserve detail rather than asking handheld stabilization to compensate for movement. You can also set the mini tripod low on an uneven surface and stand back while framing close-ups in portrait or landscape orientation.
Check the legs before focusing: flexible legs can grip awkward positions, but narrow footing or limited splay can let a tall load tip. A 1/4-20 mount adapter helps repeat camera height for consistent framing later.
Tabletop Product Shots
Beyond close-focus work, a mini tripod makes a practical stand for tabletop product shots: it fits beside or above cameras, food, and cosmetics while holding your camera steady for sharp detail.
For macro and close-up remote shooting, a stable mini tripod helps prevent camera shake at slower shutter speeds, when even slight hand movement can blur fine text and edges. On a table, you can also use its standard 1/4-20 mount to support a compact LED light or external flash.
If you need repeatable framing, set the camera angle once and leave the tripod in place while you adjust the subject. That keeps composition consistent without repeated camera repositioning. A mini model can replace your full-size tripod when you need only a low, steady viewpoint, but check its rated load capacity and keep the setup balanced to prevent a tip-over. Its small footprint also lets you work close to products without crowding your tabletop workspace.
Remote Camera Triggers
When you trigger the shutter remotely, you keep your hands off the camera and reduce the vibration that can blur fine macro or tabletop detail. Pair a remote release with a mini tripod’s 1/4-20 mount for a stable platform for close subjects, overhead tabletop shots, and repeatable product frames. Its fixed base and low center of gravity beat balancing your camera on a rock or bench edge, where uneven contact can transmit movement.
Remote triggering lets you use slower shutter speeds in dim macro scenes without finger-induced shake. A second mini tripod can hold a compact LED or small microphone while you keep the camera locked and position lighting or audio precisely during controlled tabletop shooting sessions, when every frame must match.
Hands-Free Self-Portraits
A mini tripod makes hands-free self-portraits easier by keeping a compact camera at a consistent eye-level or top-down angle, without the bulk of a full-size tripod.
For macro and tabletop work, you can set the camera low, where a full-size tripod may be too tall or bulky. A stable base and lower center of gravity help limit movement from a shifting surface or wind, keeping product frames consistent.
Pair the camera with a self-timer or wired or wireless release; triggering it remotely reduces shake and helps preserve sharpness at slower shutter speeds. Lightweight models suit small setups: the 44-gram ProChosen flexible tabletop tripod uses a standard 1/4-20 mount for camera or accessory attachment. Mount a microphone or LED light too, and coordinate capture and illumination hands-free.
Arca-Swiss Plate Alignment
With an Arca-Swiss mini-tripod, alignment depends on the plate’s dovetail seating squarely in the clamp, not on a 1/4-20 screw.
The camera’s baseplate and mini-tripod’s clamp must share a compatible profile. Even slight skew can leave your camera crooked or let it slide under load, so check the plate before tightening the clamp.
If you swap a phone or camera, a matching Arca plate lets you move the rig between supports without re-centering it each time.
When your full-size tripod uses an Arca clamp, keeping the same plates on your camera and rig helps preserve height and centering across both setups. Don’t assume every Arca clamp fits every plate: check the dovetail size and plate thickness. Common variations can produce looseness or poor stability.
Battery-Free Remote Triggering
Once the camera’s plate is seated securely, a battery-free remote trigger lets you start long exposures or time-lapses without touching the setup. Pair your mini tripod with a mechanical cable release or low-power light-actuated trigger, and you won’t need extra batteries for the remote. With your camera or phone fixed in position, pressing the trigger keeps your hand from transferring shake during the exposure.
That’s especially useful for low-angle trail images, where a short-range direct connection or line-of-action is practical. The pocket-sized setup also helps you repeat framing across multiple time-lapse frames, while the camera supplies the power. Keep it for quick, inconspicuous shots at one location when moving your full-size tripod would be inconvenient. You’ll get controlled starts without adding another powered device.
Avoiding Wobbly Leg Locks
Because a mini tripod keeps the camera close to the ground, loose leg locks have less leverage to turn into visible wobble. Still, you’ll need to seat each section and tighten its lock before extending the next; tube-to-clamp play can shift framing.
- Keep each leg short when the surface allows; less extension reduces flex.
- Choose positive-lock mechanisms over spring-loaded friction clamps, which can creep under vibration.
- For a bendy-leg design, wrap flexible legs around stable rocks or branches instead of relying on clamps.
- After locking, gently push the setup side-to-side and feel for movement before composing.
- If a leg moves, reseat and retighten it, then repeat the test rather than trusting the first adjustment.
This check catches looseness before you take the shot.
Check DSLR Payload Limits
Before mounting a DSLR, compare its total weight, including the lens, with your mini tripod’s rated maximum capacity; many minis support only about 1–3 kg, and budget models may be rated near the low end. Treat the rating as a ceiling, not a steadiness guarantee. A small base and light materials can tip or oscillate as a zoom shifts the camera’s center of gravity.
Check the 1/4-20 mount and ensure it stays tight while adjusting the head. Near the limit, avoid wind, extended exposures, and rough handling: slight movement can blur frames or throw off balance. If no rating covers your setup, choose stronger support.
- Weigh DSLR, lens, accessories.
- Verify published payload rating.
- Check mount security.
- Avoid wind, extended exposures.
- Upgrade if rating’s unclear.
Conclusion
You don’t need a mini tripod to replace your full-size support; you need it for the shots you’d otherwise leave unsupported. Pack one for short outings, spontaneous setups, macro work, or remote shooting, and match its head, plate alignment, and rated payload to your camera.
Check the leg locks before trusting it with a DSLR. A compact tripod won’t suit every scene, but when your full-size tripod stays home, it can make a stable shot practical.