Is a Travel Tripod Stable Enough? Where Compact Legs Hold Up
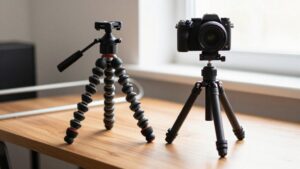
A travel tripod can hold steady for everyday shooting when you spread its legs wide and lock each section firmly.
Keep the center column down; compact legs work best on solid ground when you avoid overextending their thinnest sections.
A front-heavy lens, loose joint, or cliff-edge gusts can expose their limits.
For long exposures, use a remote or two-second timer and clean grit from locks.
You’ll learn how setup choices affect stability in tougher conditions.
Compact Legs, Real Stability
Compact travel-tripod legs can hold a camera steady in real use, provided you keep the center column down and spread the legs wide. In the field, that setup can handle everyday shooting without fuss.
Raise the column, though, and it behaves more like a monopod, so you’ll notice less rigidity, especially during long exposures.
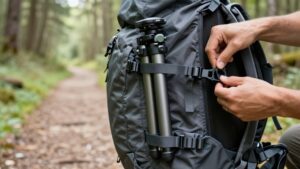
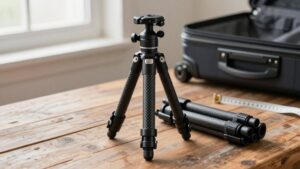
A folded length of 12 to 16 inches makes a tripod easy to pack, but compactness often means four leg sections. Those extra joints and thinner segments can feel less solid than a three-section design. Extend the legs thoughtfully, and don’t raise thin sections farther than you need.
Treat load ratings as a starting point, not a guarantee; brands test them differently. Check your own setup, and hang a modest weight only when wind won’t catch it like a sail.
Compact-Leg Vibration Control
Control leg vibrations by keeping the center column down and getting height from the legs. On compact tripods, that’s usually the steadier setup in the field. If you must extend the column, keep it short; treat it as a monopod rather than a rigid support.
On the Sirui T-025SK, minimizing or removing the column helps limit oscillation during long exposures, and removal lets you shoot low, at about 3.1 inches. A hook can help damp movement when you hang weight from it, but secure the load so it doesn’t swing.
You’ll often get better rigidity from three-section legs than ultra-compact four-section designs, whose extra joints and thinner segments can flex. For each exposure, use a two-second timer or remote release to avoid touch shake.
Wind on a Cliff Edge
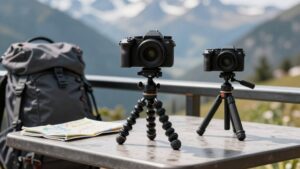
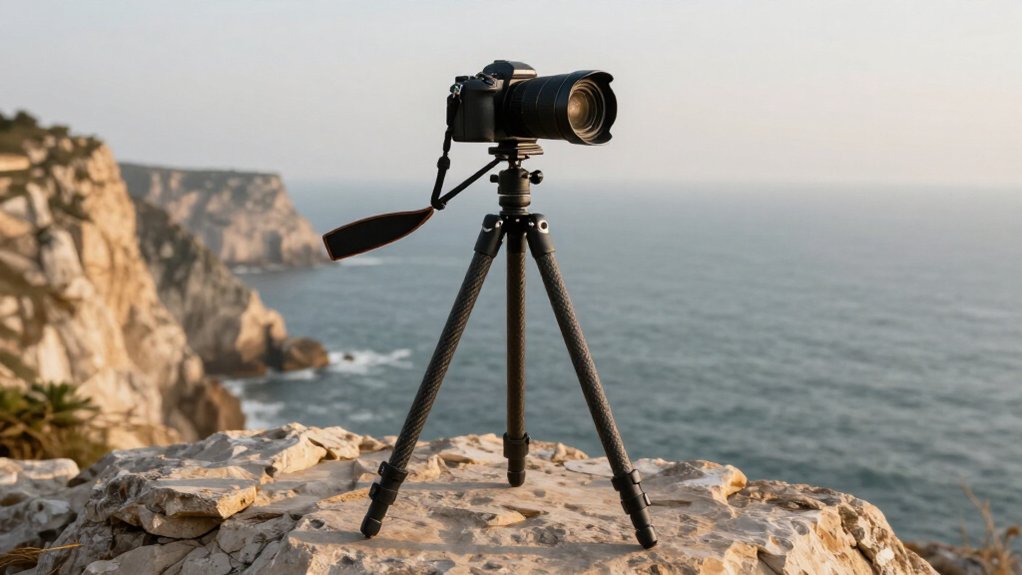
On a cliff edge, gusts can make a travel tripod the weak link, regardless of its advertised maximum height. A rating of 54, 64 inches tells you little about how the setup behaves when crosswinds hit. At an exposed overlook, watch the camera strap and lens hood; if they flutter, your frame may shift too. Keep the legs planted, choose a sheltered position when possible, and avoid touching the camera during exposure.
A two-second timer or remote release helps prevent your hands from adding movement. If your tripod has a hook, a small weight can settle it, but don’t hang a bulky bag that catches wind. Check a test frame, then watch for movement between shots. On a cliff, patience and a low-profile setup matter.
Center Column Stability Tradeoffs
When you raise the center column for extra height, you’ll often see more flex and vibration, especially with the legs fully extended. Build height with the leg sections first; if you remove the column, you may gain rigidity but lose low shooting positions.
For steadier shots, keep the column low and treat the tripod’s rated load as a limit, not a promise of rigidity.
Raised Column Flex
Although raising the center column adds height quickly, it turns the tripod into a taller, less braced support that flexes and vibrates more than the same setup with the column down. On a compact travel tripod, lifting the column above the leg collar leaves a long, narrow post carrying your camera. A touch, shutter press, or breeze can show up as movement, particularly with a long lens or slower shutter.
In field use, you’ll get a sharper frame with the column lowered and the legs spread to your position; their wide base resists vibration better than added column height. If composition forces you to raise it, extend only as much as needed, keep the camera centered, and avoid wind where you can. Check the view after settling, then use a timer or remote release.
Compact Height Tradeoffs
Compact travel tripods trade quick height for stability because raising the center column turns it into a slender, wobble-prone support. Once you extend beyond the collar, the column behaves more like a monopod than a braced tripod leg. That extra reach can put your camera at an eye line, but wind and movements at the feet show up as shake, especially for longer exposures.
The Sirui T-025SK illustrates the compromise: its 12-inch folded size travels, yet users report looseness when you extend its column much. You can remove or bypass the column on designs that allow it, gaining a low shooting position and a firmer setup. If height forces you to extend it, plant the feet and add hanging mass cautiously; a weight may steady the rig, yet it can catch wind and amplify vibration.
Keep the Column Low
For steadier shots, keep the center column low and get extra height by extending the legs first. Compact tripods often feel most settled when you extend their three legs before lifting the column above its collar. That gives you a broader, firmer support than a tall column, which behaves like a flexible monopod and can transmit movements into the camera.
In the field, you’ll notice this most with a light travel setup or during a long exposure, when a tremor can soften detail.
With a Sirui T-025SK-style tripod, removing or minimizing the column can also let you work close to the ground, reported as low as about 3.1, without adding vibration from a raised shaft. If you still need extra reach, extend the column only a little. You’ll give up some rigidity as it rises, so check the framing and settle before shooting.
Lens Weight and Balance
Check your tripod’s stiffness with your actual lens, not just its printed weight limit; ratings vary, and a heavy setup can still vibrate. A front-heavy lens adds leverage, so place the camera-lens combo to keep its center of gravity over the head.
Keep the center column low and extend the legs when you need more height.
Lens Weight Limits
Because brands rate tripod loads differently, treat the published limit as a rough guide and aim for a head and tripod rated to about twice your heaviest camera-and-lens combination. For a Canon R5 with an EF 100-400mm, that means roughly 10 pounds or more of capacity. Don’t assume a compact tripod can’t cope: users report that the 12-inch-folding Sirui T-025SK holds heavier DSLR setups without trouble when you keep its center column low.
You’ll notice limits sooner with long telephotos, even if your setup stays under the sticker rating. An 8.8-pound-rated tripod may carry the load yet still show vibration in the viewfinder or during long exposures. Extend the legs for height, keep the column down, and add hook weight only when conditions make it safe.
Front-Heavy Balance
When a long or heavy lens pulls your camera forward, even a tripod within its rated load can feel less stable. With a D500 and a 3.6-pound 17–55mm, or a heavier telephoto, small head flex and leg vibrations show up at the lens end.
You may notice the view twitch when you touch the camera to reframe, especially with the legs extended.
Don’t judge capacity by the printed maximum alone: brands use different rating methods. Leave margin for your lens’s weight and leverage. On compact tripods with thin, multiple leg sections, keep the legs low and the center column down; raising it can make the setup shake like a monopod.
If your tripod has a hook, hanging a bag may damp vibration, but it won’t replace a steady stance or restrained column extension.
Center of Gravity
A heavy lens can make a travel tripod feel unstable if its weight sits high above the legs. Keep the center column down; raising it adds a longer lever beneath a DSLR and long lens. You’ll notice wind or a foot shift show up as more shake.
Use the legs for height first, then extend the column only as much as you need. Compact tripods have thinner, more flexible leg sections, so this habit helps keep lens weight over the three splayed legs. If you can remove the column, you can shoot lower and keep balance near the ground.
A low hanging weight can damp vibration, but catch wind can make it sway. Use the hook only when the column is fully extended.
Night-Sky Exposure Stability
For night-sky exposures, prioritize stability over height: keep the center column down, fully splay the legs, and extend the thicker leg sections first. Compact legs can handle astrophotography when you build a broad, low stance instead of leaning on the column.
That raised section behaves like a monopod, transmitting vibration during long exposures. Check that your tripod has load headroom for your camera and lens; a setup that stays steady at shutter speeds gives you a starting point. If framing forces you to raise the column, trigger the shutter with a timer or remote. Add hanging weight only in calm conditions, since wind can set it swinging. For compositions, removable or shortened columns can bring the camera close to the ground without sacrificing steadiness.
Salt, Sand, and Grit
On beaches and dusty trails, grit can make compact travel tripods feel less steady: thin, jointed legs flex more, and sand in the locks adds play.
Keep the center column low when you can; extending it raises the camera like a monopod and magnifies vibration or looseness. A hanging weight may damp movement, but wind can swing the bag, and grit on its strap adds another source of disturbance.
Tripods that fold to roughly 12–19.7 inches favor portability over ruggedness. After sand use, wipe leg sections and re-seat them; clean the locks before grit grinds into their interfaces. Carbon fiber legs save weight and handle travel, but they aren’t immune: grit works like sandpaper. Rinse feet and locks, dry them thoroughly, and you’ll keep support consistent.
Locking Legs on Uneven Ground
Set each leg firmly on uneven ground and lock every section with consistent tension; a loose joint can flex halfway up and make a compact tripod feel unstable.
Flip or twist locks both work when you tighten them evenly; check each joint by pressing gently on the leg. If one shifts, reseat that foot and lock it again before composing carefully. On a slope, small feet and tight leg geometry leave margin, so seek firm contact before framing.
- Extend the longest stable leg combination; don’t leave several sections half open.
- Splay all three legs first, then adjust the head instead of raising the center column.
- Once feet and locks feel planted, hang a little weight to damp vibration; it can’t rescue a loose stance.
Use a Remote Shutter
Once the legs are locked and planted, trigger the camera without touching it. A remote release or phone app keeps your finger off the body, where a small bump can travel through compact, multi-section legs and soften a sharp frame. The difference matters most on long exposures: leave the center column down and use the remote for the strongest stability.
If you need extra height, the column can behave like a monopod and invite movement, so remote triggering helps limit vibration during the exposure.
After framing, pause before firing. That gives leg and head oscillations time to settle; a two-second timer works if you don’t have a remote. In wind, avoid adding a trigger bump while you steady the setup or hang a weight.
Conclusion
A compact travel tripod can hold steady when you manage its limits. On exposed ground, lower the center column, spread the legs, and shield them from gusts. Balance heavy lenses over a leg, lock each joint, and use a remote release for long exposures.
After salt or sand, clean the locks before they bind. You won’t get studio rigidity, but careful setup gives you sharp frames without hauling full-size legs everywhere. Check stability before shooting.