No Remote? How to Use a Selfie Stick Tripod With Timers and Voice Control
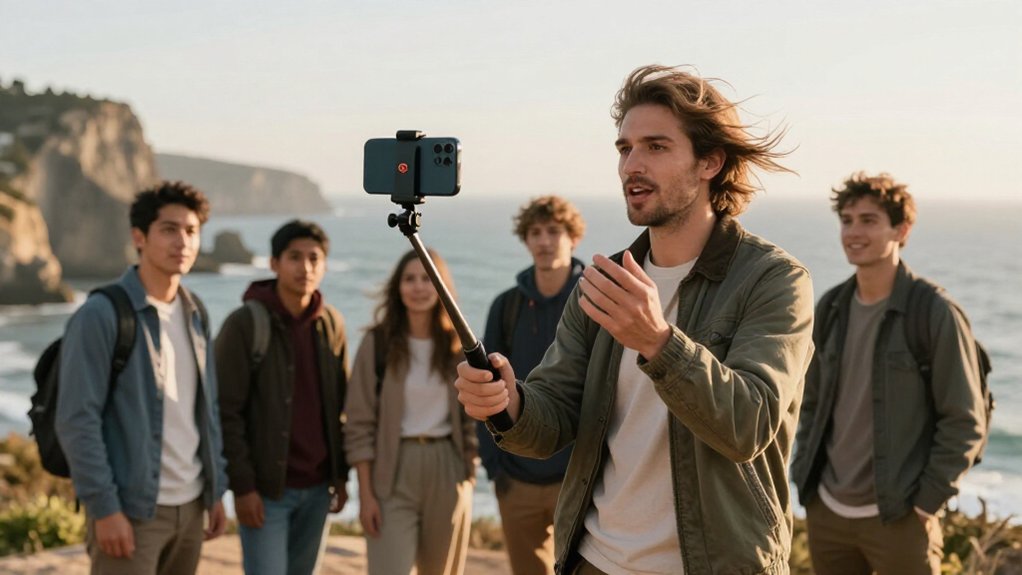
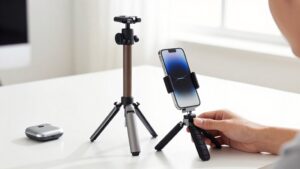
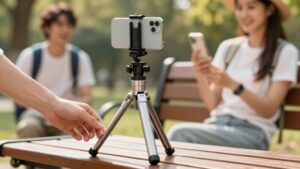
You can use your phone’s camera timer without the selfie stick’s remote. Set a 3-second countdown for a quick pose or 10 seconds to join a group, then lock the tripod legs and frame the shot. Choose bright, even light and keep the lens clear.
Siri or Google Assistant can open the camera or request a selfie, but may not trigger capture, so check, then press the shutter if needed.
For better stability, practical setup tips follow.
Timer and Voice-Control Options
Set your phone’s built-in camera timer to a 3- or 10-second delay so you can frame the shot, step into position, and capture hands-free without touching the screen; this feature is commonly supported on iOS 8 and later and Android 4.4 (KitKat) and later. Deploy the tripod legs and compose the image before starting.
If your camera lacks a timer, install a self-timer app from your app store, set its countdown, then move into the frame. For voice control, say “Take a selfie” to Google Now on Android or Siri on iPhone to open the camera. The command may not trigger capture, so check whether your camera requires a manual shutter press.
Test the default camera first, since third-party apps may handle timers and controls differently.
Timer and Voice-Control Options
For hands-free shots, use your phone’s built-in camera timer, typically set to 3 or 10 seconds, so you can steady the selfie stick tripod and step into the frame before the shutter fires. On iOS 8 and later, and Android KitKat 4.4 and later, open the camera’s timer controls; if presets aren’t available, install a self-timer camera app from the App Store or Google Play.
- Set tripod legs on a stable surface and use 3 seconds for a quick solo pose.
- Choose 10 seconds when you need to walk into a group frame and settle your position.
- Say “Take a selfie” to Siri or Google Assistant to open Camera; it may not capture.
- With tripod framed, follow the prompt or press your shutter manually.
Step 1: Choose a Well-Lit Location
After setting the timer or voice trigger, choose a bright, evenly lit location to keep exposure consistent and help the camera focus. Position yourself near a window or outdoors in shade, where light stays steady and the camera’s auto-exposure won’t hunt or shift brightness between frames. Face your phone toward the light source to reduce harsh shadows under your eyes and keep your face clear in timer shots.
Avoid strong backlighting, such as the sun behind you; it can make you look dark when the camera captures the image. Use a plain wall or bright sky as a background to provide steady contrast and support low-light focusing. Indoors, angle the phone slightly to reduce overhead-light glare, then take one quick test shot before continuing.
Step 2: Pair the Tripod’s Bluetooth
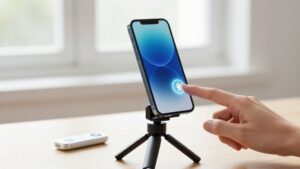
Before opening the Camera app, fully charge the Bluetooth remote, then press and hold its power button until the indicator flashes. On your phone, open Settings and enable Bluetooth. Wait for the accessory to appear in the device list; its name may identify the remote or selfie stick. Select that Bluetooth name, then accept any pairing prompt your phone displays. Keep Bluetooth enabled while you open the Camera app.
Press the camera shutter button to verify the connection; the phone should capture a photo immediately. If it doesn’t, return to Bluetooth settings, disconnect the accessory, and pair it again. Keep the phone within 25–30 feet (7–10 meters) outdoors. Indoors, walls and interference can shorten that range, so move closer if the shutter response fails.
Step 3: Set a 10-Second Timer
Extend the selfie stick to frame the shot, then set its tripod legs on a stable surface when possible. Position the phone so the camera points toward your composition, and confirm that the selected delay reads 10 seconds before you start.
Press the shutter button once to activate the setting. If your camera app doesn’t provide a 10-second option, install a self-timer camera app from the store that explicitly supports this delay.
Step 4: Wait for the Countdown and Pose
Once you start the 3- or 10-second timer, hold the selfie stick steady at the chosen height and wait through the full countdown. Check your composition before the timer begins, confirming that your face and background fit within the frame. Extend the stick to the height you plan to use, then avoid changing its position or phone angle during the countdown.
This prevents framing shifts and keeps the camera aimed as the shutter approaches.
Use the final one or two seconds to settle into your pose. Keep your arms and phone angle steady during capture; movement can create blur. If you miss the shot, restart the timer with a 10-second delay. The longer interval gives you time to reach the frame and hold still.
Step 5: Use Voice Commands Clearly
With the framing set, use a clear voice command to open the Camera app: on iPhone, try “Hey Siri, take a selfie,” or on Android, say “Take a selfie” to Google Assistant. Speak close to your phone and reduce background noise so the assistant can distinguish “selfie” from similar commands. After it launches the camera, switch to the front-facing lens and check your composition.
Siri or Google Assistant may open the app without taking the picture, so tap the on-screen shutter when needed. If the command doesn’t work, verify that voice-assistant access and microphone permissions are enabled. Then use your phone’s 3-second or 10-second self-timer as a backup, giving you time to return to position and pose. Test the command once before your shot to confirm recognition and camera response. Keep the command brief, speak at a steady volume, and wait for confirmation before repeating it.
Step 6: Lock the Tripod Legs
Fully unfold the tripod legs and lock each section until it clicks into place before extending the stick.
Set the tripod on the ground, then adjust each leg on uneven surfaces until the phone mount sits level. Keep every leg at your chosen height; don’t leave any section partly extended or half-locked, because that position can introduce movement during a shot. If your model uses twist-locks, tighten them firmly by hand. For flip locks, press each latch fully closed and confirm it holds the leg securely.
Don’t expect the phone clamp to stabilize a loose base. Once you’ve attached your phone, gently push the tripod from different sides and watch for shifting or wobble. If any leg moves, reposition it and recheck all locks.
Avoid Obstructing the Camera Lens
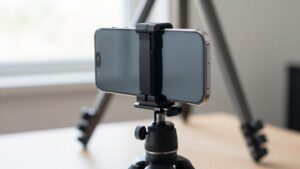
Before shooting, center the phone on the mount and check that the clamp, case edges, and camera bump don’t cover the lens. Keep the camera centered in your frame, and position the phone so its lens clears the mount and case. Raise the stick only as much as needed; a steep downward tilt can put the tripod base or legs across the view.
For wide or front cameras, use the live preview and slowly rotate the head. Confirm the frame stays clear before recording.
Set your self-timer, step away, and take a delayed test shot after one to three seconds. Check that the lens stays clear without touching the setup. If voice control adjusts the phone angle, watch the preview afterward to confirm the lens remains unobstructed.
Fixing Bluetooth Pairing Issues
If the remote won’t pair, charge it, then restart both the remote and your phone. In Settings > Bluetooth, enable Bluetooth, search for new devices, and select the remote’s exact name.
| Step | Action |
|---|---|
| Charge | Fully charge the remote. |
| Reset | Reboot the remote and phone. |
| Re-pair | Forget failed entry; pair anew. |
| Test | Use the default camera app and button. |
| Range | Move closer; outdoor range is often 7–10 m (25–30 ft), less indoors. |
If connection fails, toggle Bluetooth off, then on, and pair again. Don’t press Connect repeatedly; delete the failed pairing first. Test the shutter signal in your camera app. Obstacles reduce indoor range; move closer and retry.
Some camera apps don’t respond to the remote’s shutter signal. The default camera app helps distinguish app compatibility from pairing failure.
Wipe Down Tripod Legs
After each use, wipe the tripod legs with a dry microfiber cloth, then use a lightly damp cloth to remove dust and fingerprints before they dry. Check the leg hinges and locking joints for grit; buildup can stop the legs from folding flat or locking securely. If rain or sweat reached the legs, dry them, especially metal sections, to reduce rust and corrosion.
Keep wipes away from the phone clamp and camera attachments; moisture or pressure could loosen grip parts. After cleaning, inspect each joint and lock to confirm debris hasn’t affected movement or stability. Don’t extend or collapse the tripod until its legs are fully dry. Store the selfie stick clean and dry, so debris won’t transfer when you extend the legs again.
Conclusion
Using a selfie stick tripod without a remote is straightforward when you rely on its timer or voice control. Choose a well-lit location, pair the tripod’s Bluetooth, then set a 10-second timer before stepping into position.
Lock the legs on a stable surface and keep the camera lens clear. If pairing fails, check Bluetooth settings and reconnect. Wipe down the legs after use so joints remain clean and the tripod stays secure for future shots.