Can You Use a Camera Tripod for Your Phone? The Adapter You Need
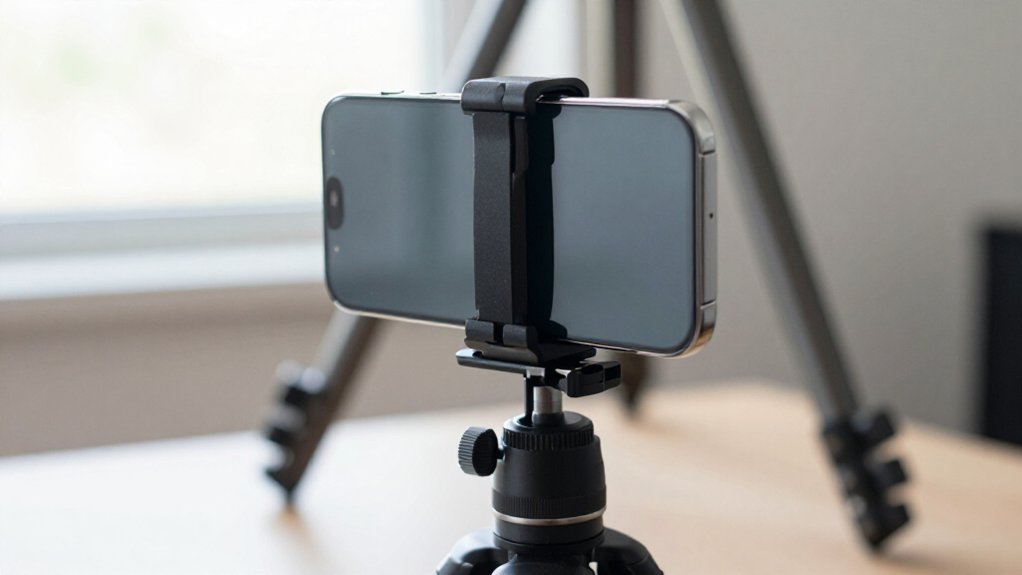
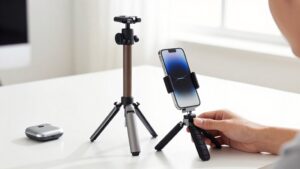
Yes, you can mount your phone on a camera tripod with a compatible phone adapter. Choose a holder that fits the tripod’s 1/4-20 screw, and check the thread before attaching it. Center and secure your phone, then confirm the total weight stays within the tripod’s load rating.
Keep the center column low for stability. A Bluetooth remote lets you start recording without touching your phone. You’ll find tips for steady calls and time-lapses.
Phone-Mount Adapter Basics
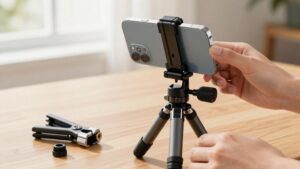
To mount a phone on a camera tripod, use a compatible adapter with a 1/4-20 connection for the tripod head. Choose a mount that matches your phone model and case thickness; a secure fit prevents slipping without compressing buttons or obstructing controls. If your kit includes a fit card, use it to position the grips for your case.
Seat the phone snugly and center it in the adapter to balance the load. This alignment helps keep the setup from tipping or drifting when you tilt the tripod head. Verify that the mount and head provide the angle adjustments you need; some systems let you rotate or tilt the adapter or head.
Finally, confirm that the phone setup stays within the manufacturer’s load capacity.
The 1/4-Inch Screw Connection
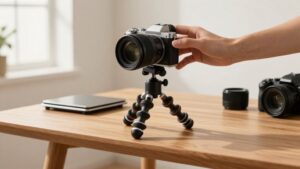
Most camera tripods use a 1/4-20 mounting screw—1/4 inch in diameter with 20 threads per inch. That screw attaches your camera to the tripod head. To mount a phone, you typically need a 1/4-20-to-phone adapter: one end threads onto the tripod, while the other provides a clamp, magnetic interface, or holder for your device.
Check the adapter’s thread specification before attachment. Some equipment uses a 3/8-16 thread instead; that differently threaded connection won’t fit securely on a 1/4-20 screw. Don’t force a mismatch, because it can damage the threads or leave the mount unstable. Also confirm the adapter supports the combined weight of your phone, case, and clamp. If your phone holder uses a quick-release plate, verify that its tripod-facing connection is 1/4-20.
Mounting During a Video Call
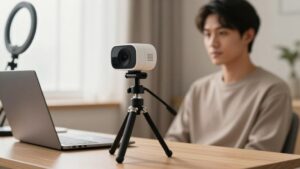
During a video call, you can mount your phone on a camera tripod with a holder or adapter that fits its standard 1/4-20 screw.
Before you start, center your phone in the mount so its weight stays balanced and the setup won’t sag or tip during the call. Set the tripod’s height so the camera sits roughly at eye level, or slightly above it; this helps avoid harsh angles and keeps your framing consistent.
If your call layout changes, choose a mount that lets you rotate the phone between portrait and landscape without loosening the tripod head. Use the head’s pan and tilt adjustments to compose a shot, then lock the head once you’ve framed your face. This keeps the camera steady throughout the conversation.
Phone Clamp Styles
You can choose spring-loaded clamps for fast placement or screw-adjustable clamps for a more controlled fit around your phone and case. Magnetic mounts offer quick attachment, but you’ll need a compatible phone or magnetic interface.
Whichever style you select, center your phone and confirm the adapter connects securely to the tripod’s 1/4-20 mount.
Spring-Loaded Clamps
Spring-loaded phone clamps grip your smartphone with hinged arms that secure through a simple squeeze-and-release action. Once you attach the clamp to your tripod through a standard 1/4-20 adapter or compatible quick-release point, you can adjust height and angle. Check its rated opening against your phone and case thickness; some models fit slim cases, while others accept bulkier protective cases.
For portrait or landscape framing, rotate the mount; depending on its design, you may need to loosen the tripod head and turn the clamp separately. Center your phone’s weight between the side arms, then ensure the spring tension holds it firmly to reduce wobble during recording.
Before recording, verify arm contact and confirm your phone stays stable when you reposition the tripod head carefully.
Screw-Adjustable Clamps
Screw-adjustable phone clamps use a threaded knob to tighten around your phone and case, typically securing heavier phones more firmly than spring clips. Before you buy, verify the clamp’s width range and maximum case thickness. Bulky Otterbox-style shells may exceed common tolerances.
Confirm the clamp attaches to your tripod head: many models use a separate adapter plate and a standard 1/4-20 connection, so the mounting parts must match. Center the phone and tighten both sides evenly to limit wobble, particularly in portrait orientation or when you raise the tripod.
During setup, keep the clamp clear of buttons and ports you use, such as power or volume controls for shutter operation. Tighten it firmly; even slight movement can degrade video throughout every recording session, too.
Magnetic Phone Mounts
Unlike screw-adjustable clamps, magnetic phone mounts let you attach and remove your phone quickly. A standard 1/4-20 thread, often through a compatible adapter, connects the mount to your tripod; the tripod stabilizes the setup while the magnet holds your phone. Place the supplied metal plate or ring on your phone or inside its case.
| Check | What to verify |
|---|---|
| Fit | Plate and case allow full magnetic contact. |
| Balance | Keep phone centered on mount. |
| Motion | Confirm rotation and angle range. |
| Capacity | Match holding strength and tripod stability to phone weight. |
Fast portrait-to-landscape changes suit hands-free shooting, but confirm rotation and angle range. Thicker cases may require plate repositioning for engagement.
Heavy phones or cases increase leverage, so match holding strength and tripod stability to your device.
Phone Weight Compatibility
Check your tripod’s load rating against the phone, case, adapter, and any accessories combined. Although most phones weigh only 150–250 g, the complete setup determines compatibility.
Use a secure adapter that holds your phone firmly and keeps its weight centered.
Check Weight Limits
Before mounting your phone, verify the tripod’s manufacturer-rated payload, which applies to the entire rig, not just the phone. Count the phone, a thick case such as an Otterbox, and any microphone or LED light when evaluating the maximum load. A typical phone setup is light, but a low-capacity tripod can still wobble during elevated shots, even below its stated limit.
Assess stability at your intended shooting height; extending the center column raises the setup and can make movement more noticeable. If the phone sits far from the head, leverage increases the effective load on the head and center column. Choose a tripod that safely supports your fully assembled setup in that configuration, not merely one that meets a nominal payload figure for reliable, steady framing.
Include Adapter Weight
Include the phone adapter’s weight when calculating your tripod’s total load: add it to the phone, case, and any accessories, such as a microphone or light. Compare that combined figure with the tripod’s rated capacity, not the phone’s weight alone. Include case and accessories; even a compact mount adds mass.
A heavier camera-rated tripod often has stiffer legs and a more rigid head, helping support the added load. Capacity alone doesn’t guarantee steadiness: added mass affects balance, and an elevated tripod may vibrate more. If you notice vibration, reduce the extension rather than using maximum height.
Check the manufacturer’s rating and count every component before choosing your operating height. This keeps your setup within its rated limit and accounts for the adapter’s added load.
Secure Phone Mounting
Because phones don’t attach directly to a camera tripod’s 1/4-20 screw, you’ll need an adapter whose clamp securely supports your phone and case.
Check that its jaws accommodate your phone’s weight with the case; a bulky case can prevent a snug fit and reduce grip stability. Choose a mount with firm, non-slip contact and a clamping range suited to your device.
Position your phone centrally, since an off-center load increases wobble and makes angle adjustments less steady.
Compare the adapter’s and tripod’s load ratings against your setup weight: phone, case, and accessories. Don’t rely on the phone body weight alone. If the mount tilts or rotates, adjust it without forcing the phone to flex; this preserves balance and reduces slipping during recording or panning.
Time-Lapse Photography
For a steady phone time-lapse, attach the phone adapter to your tripod’s 1/4-20 connection or quick-release plate, center the phone securely in the clamp, and lock every joint with the center column lowered when possible. Choose a snug mount sized for your case; even slight movement can create frame-to-frame jitter. Keep the setup low, since height and a heavy case can amplify sway.
Use time-lapse mode, then start capture with a remote shutter, app, or timer so you won’t touch the phone until recording ends.
| Check | Action | Result |
|---|---|---|
| Mount | Seat adapter firmly | Confidence |
| Phone | Center clamp | Stable frames |
| Capture | Trigger remotely | Hands-off sequence |
Preview a few frames first; this quick check can spare you the frustration of a visibly broken final sequence.
Wind and Outdoor Stability
When gusts pick up, keep your tripod low: wind exerts more torque higher above the ground, increasing sway. Extend the thickest, lowest leg sections fully before raising thinner sections; this keeps the support geometry stiff. If your tripod has a center-column hook, hang a bag from it as counterweight; added mass reduces wobble.
Because a phone on an adapter sits higher than one mounted directly, place it as low and centered as the mount allows. On rock, tile, or metal, fit rubber feet or non-slip pads to prevent tiny slips that gusts can amplify into visible shake. Tighten pan and tilt locks, choose wider framing, and trigger the shutter remotely or with a timer to avoid jolts. In wind, don’t leave the setup unattended outdoors.
Checking Clamp Button Clearance
After securing the tripod against wind, check that the adapter’s clamp won’t press your phone’s side buttons.
Inspect the clamp opening and compare its width with your phone’s button bumpers.
- Choose an adapter with side cutouts or clearance channels; it should grip the phone’s edges, not its button panel.
- Confirm the holder still closes securely; excess clearance can let the phone wobble.
- Check raised volume or power rockers, which may extend beyond the phone’s edge.
- Account for case button covers; a bulky case can shift clamp contact inward.
- Set the tripod level, slide the phone fully into the adapter, then gently tap each button.
Verify buttons press freely without moving the phone or stressing the mount. Repeat the check with your phone case fully installed.
Pack a Bluetooth Remote
Pack a compatible Bluetooth remote to trigger your phone’s camera without touching the screen. Pair the remote in Bluetooth settings before shooting; test its range and responsiveness with your phone mounted. A centered adapter lets you frame and fire without re-gripping the phone.
| Check | Purpose |
|---|---|
| Range | Reliable triggering |
| Controls | Photo/video operation |
Use the remote to take photos or start and stop video without touching the screen. This keeps your mounted phone steady and reduces camera shake, especially during long exposures, night shots, and video. Creator kits often include a mount and remote; if yours doesn’t, select a remote compatible with your phone model and camera app controls. Confirm the shutter button maps correctly; app-specific controls may limit video commands, so test every function before recording.
Conclusion
Yes, you can use a camera tripod for your phone, provided you add a compatible phone-mount adapter. Check that its 1/4-inch connection fits the tripod, its clamp supports your phone’s weight, and its jaws leave buttons clear.
For calls, time-lapses, or outdoor recording, tighten every joint and account for wind. A Bluetooth remote lets you start shots without touching the setup. Choose a secure mount, test framing, and you’ll get steadier, more reliable footage.