Is a Gimbal Easier to Use Than a Steadicam? The Learning Curve Compared
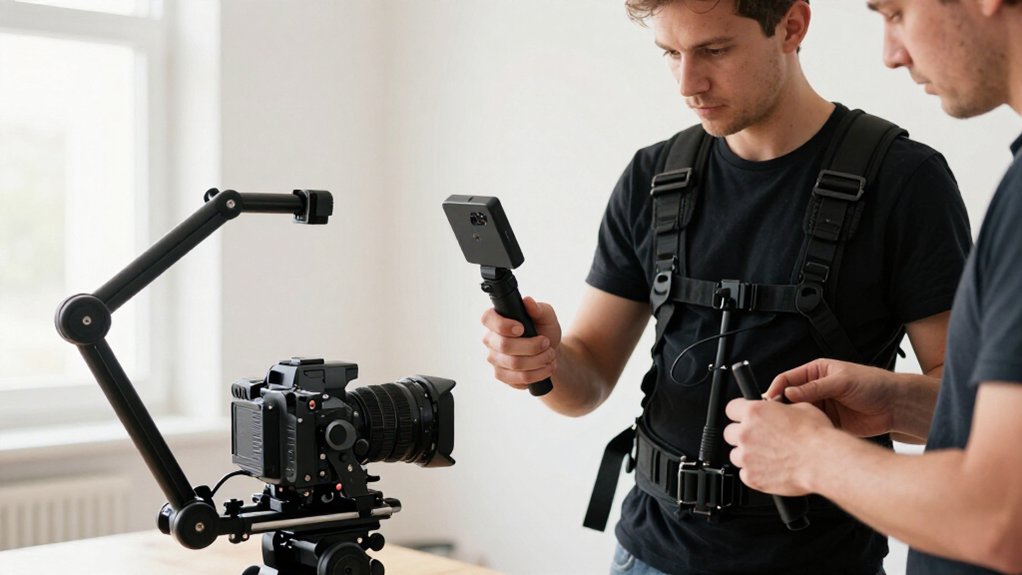
A gimbal is usually easier to use than a Steadicam: you can mount your camera, balance it, calibrate, and shoot within minutes.
Steadicam setup requires tuning the sled, counterweights, vest, and arm, then practicing to hold a level frame.
You’ll often learn walking follows and pans faster on a gimbal, though smooth footwork and eased starts still matter.
Payload changes require a reset.
Your shot type and gear determine which trade-offs matter most on set.
Gimbal Setup Takes Minutes
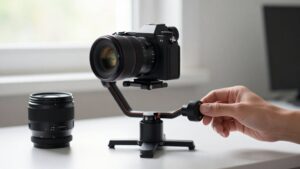
Most modern handheld gimbals are ready to shoot within minutes: mount the camera and lens, lock the arms, level the camera, then run a quick tare or calibration from the screen or app. After calibration, check the horizon and test a short pan before recording. Most models handle motor setup automatically, taking you from unpacking to usable footage without extensive mechanical adjustment.
If you swap a lens or add an accessory, rebalance and recalibrate; many systems complete this in minutes. That speed helps when you move between locations or need a quick shot. Electronic stabilization also reduces fine mechanical tuning to maintain level framing. Setup gets you rolling quickly, but smooth results still depend on deliberate camera movement and suitable settings before you record.
Steadicam Balancing Practice
Unlike a gimbal’s quick electronic calibration, a Steadicam requires hands-on balancing: you adjust the vest, arm, sled, and counterweights until the camera reaches the right equilibrium at the arm’s end. Treat each setup as a repeatable test: start with your intended camera package, then make small counterweight and sled adjustments until the rig hangs predictably. Small changes can alter vertical stability, so don’t rush the final check.
When you change a lens or filter, its added mass shifts the center of gravity; expect to rebalance, sometimes more than once, before rehearsal. Practice your body position and arm control in footwork, then assess whether the camera stays level through turns and boom moves.
Proper balance supports stair passages and vertical impacts, but consistency takes months, not days. Record adjustments for each package; this helps you reproduce a starting point.
On-the-Move Rebalancing
On a gimbal, you can make small trim adjustments while moving, but a major balance change still requires you to slow down and reset the camera’s center of gravity and motor tension. Joystick nudges, lock-mode switches, and quick resets can keep a take going; they don’t correct a shifted payload. If you change lenses, batteries, or accessories, stop and rebalance or recalibrate before walking again.
On a Steadicam, you can adjust your body position slightly mid-take, but a lens-weight change makes true rebalancing impractical. Keep your lens, follow-focus, and monitor setup consistent, then verify stability after any rebuild.
| Change | Gimbal response | Practical timing |
|---|---|---|
| Trim | Nudge controls | During move |
| Payload | Rebalance; recalibrate | Between segments |
That pause protects motors and prevents drift when you resume the move.
Learning Curve by Shot Type
Your learning curve shifts with the shot: walking follow shots usually become usable sooner on a gimbal, while Steadicam takes more practice to control vertical bounce. Static and panning shots or tight interior moves test your framing, clearance, and turn control on either rig.
For long tracking takes, you’ll need to rehearse timing and body-led framing on a Steadicam; a gimbal stabilizes quickly but can look robotic if you over-correct.
Walking Follow Shots
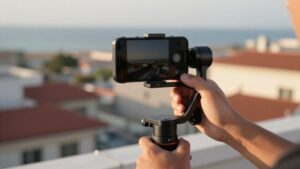
For walking follow shots, a gimbal usually gets you to usable footage faster: its balanced rig and three-axis motors stabilize pan, tilt, and roll, so you’ll focus on a steady pace and smooth tracking smoothly.
Start with a short, straight route at constant speed; walk slower than feels natural, soften each step, and keep your torso quiet. The motors correct rotational movement, but fast footwork can still show bounce.
Use joystick or app tracking sparingly, then check whether your subject stays framed. Add gentle curves, turns, and speed changes after straight passes repeat reliably; uneven ground raises the challenge.
With a Steadicam-style rig, you must coordinate sled balance, stride timing, posture, and body rotation; practice takes longer, and recovery depends on cleaner operator choreography.
Static and Panning Shots
For static and panning shots, a modern three-axis gimbal usually gets you to usable footage faster: after auto-calibration, its sensors and motors hold the camera level and stabilize pans. Once you’ve balanced it, refine joystick speed or follow settings, then repeat the move; stationary frames and slow sweeps often match from take to take.
A Steadicam-style rig asks more before you roll: you must balance the camera, let the vest and arm settle, and maintain equilibrium for a locked-off shot. During pans, your footwork and damping control drift, so over-correction takes practice.
Small gimbal bumps may correct electronically, though the result can feel floaty; a mastered Steadicam smooths tremor organically. You can get usable gimbal results after a setup, while Steadicam pans take months to master.
Tight Interior Moves
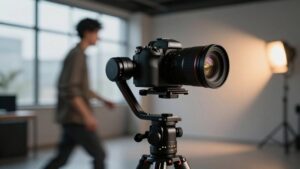
In tight interiors, a 3-axis handheld gimbal usually gets you usable walk-and-talk footage faster: after a quick balance, its gyroscopes and brushless motors stabilize pan, tilt, and roll. In a hallway, follow or lock modes and joystick control help you keep the frame level and reposition precisely, even when you’re solo. At a doorway-to-room changeover, you can reset or rebalance in minutes, which makes re-blocking practical.
A Steadicam-style rig asks more of you: vest, arm, and sled need careful balancing, and you must practice to control bounce and preserve framing through turns. On stair steps, its spring-loaded arm can feel more natural once mastered, but a gimbal may show jitter if your balance or angle changes. For room glides, skill still favors organic Steadicam movement.
Long Tracking Takes
On long tracking takes, a gimbal is usually quicker to learn: once it’s balanced and calibrated, you can maintain a stable frame, but you’ll need to ease into speed changes to avoid robotic micro-bounce. On forward or backward moves, rehearse your pace and transitions; sudden acceleration can expose small bounce.
Side-to-side, the gimbal corrects pan, tilt, and roll, but uneven footfalls may create oscillation over a long take. Steadicam asks more: you’ll need months of practice to glide continuously, hold framing and a level horizon. On stairs or vertical moves, its spring-loaded arm smooths changes, though you must control rig height.
Block and rehearse the route, and the gap narrows: you’ll get stable gimbal footage sooner, while trained Steadicam operation feels smoother and more organic.
Operator Fatigue in Long Takes
With a gimbal, your grip bears the load, so long takes can tire your hands and forearms; battery breaks may also interrupt your rhythm. A Steadicam vest spreads weight across your torso, but you’ll still need endurance to manage balance and framing, especially on uneven ground.
Train for both systems: steady pacing and repeated practice build stamina and help you maintain a smooth shot.
Fatigue From Holding Gimbals
Handheld gimbals feel easier at first because you don’t have to balance a spring-arm rig, but long takes still demand a sustained grip and steady wrist and forearm effort. During a continuous move, you actively counter-tension the handle to keep the camera level as you walk, then make small joystick or trigger corrections. Check the payload rating and balance the camera correctly; a heavier setup or a battery choice that leaves little operating margin can make you grip more tightly and fatigue sooner.
For short run-and-gun bursts, the load may feel manageable. As your takes lengthen, expect your wrists and forearms to tire, and your framing corrections to become less precise. Plan breaks between takes, keep the carry close, and rehearse the route before rolling.
Steadicam Vest Support
For longer takes, a Steadicam vest shifts much of the rig’s weight from your arms to your torso, reducing shoulder strain and the effort needed to hold the camera level.
The vest’s support lets you make small balance corrections without loading your shoulders and arms continuously. Without it, those corrections accumulate as muscle fatigue, and your framing may become less controlled.
The arm’s springs provide vertical stabilization, so you don’t have to muscle the camera level as you would in unsupported handheld work. Fit the vest snugly and tune the counterweights so the rig balances; poor fit or incorrect balance can increase strain and introduce fatigue-driven wobble. Even then, you must manage posture, footwork, and subtle framing changes, particularly on stairs or uneven ground.
Take Length and Endurance
On a long take, a gimbal’s float may come quickly after balancing and calibration, but you’re still holding a powered rig against motor torque, so payload and arm setup strongly affect endurance.
Even after you find the float, fatigue can build despite adequate technique. A heavier payload increases strain; tune the support arm and keep the rig close to your working position.
During long walks or stairs, a vest-and-arm Steadicam transfers weight to your body and reduces shake, but still demands effort. Plan gimbal battery swaps: stabilization draws power. A mechanical rig avoids that drain but shifts the burden to body mechanics. With either system, maintaining framing, controlling your gait, and smoothing transitions can tire you before motor accuracy does on an extended take.
Training Builds Stamina
A long take tests stamina as much as stabilization: a Steadicam’s vest, arm, and sled shift the load to your body, but you still have to maintain balance continuously.
Training on body for months teaches you to manage stance, footwork, and small corrections before fatigue turns them into visible micro-movements. With a gimbal, auto-balancing and three-axis stabilization shorten the learning curve, but they don’t remove the load: a heavy cinema package near the payload limit taxes your grip, forearms, and posture.
Lens, filter, or accessory changes add strain: you rebalance and recalibrate, interrupting recovery between takes. Build stamina with progressively longer practice sessions, and check your posture before each take. When fatigue rises, reset your stance and grip rather than forcing a move; tired corrections can compromise smoothness on either system.
Payload and Lens Clearance
Payload and lens clearance can make a gimbal rig far less forgiving than a Steadicam build.
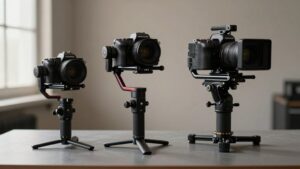
Most gimbals have tighter payload limits. A camera with lens, matte box, and monitor may exceed capacity. Choose a higher-end model; otherwise motors may struggle to control tilt.
Check clearance and move arms through their travel before choosing a lens. Telephoto glass or large front elements can strike the frame.
Keep the camera’s center of gravity within the gimbal’s range, and rebalance after lens or accessory changes. Matte boxes, follow-focus parts, and transmitters add bulk and weight, raising the risk of cable or port interference.
A Steadicam sled accommodates counterweight configurations more flexibly. If your rig nears payload limits or clearance feels tight, expect extra rebalancing and swaps compared with a modular build.
Spare Batteries and Charging
Gimbal motors draw power throughout a shoot, so carry charged spares or use a higher-capacity battery to prevent dropouts.
Most handheld gimbals use proprietary rechargeable batteries, so you’ll often need to buy spares and keep a dedicated charger available. For a long shoot, estimate runtime from your load and motor effort, then pack capacity with a margin. Batteries commonly take one to three hours to recharge, depending on the battery and charger.
Plan charging downtime and rotate cells rather than assuming you’ll recharge between setups.
Cold weather can shorten runtime, so keep charged spares warm and accessible during work. When you’re swapping one, power the rig down and preserve its configuration. Once you’ve installed the replacement, check the indicator before resuming.
Roll-Axis Drift During Walks
If the horizon slowly tilts as you walk, check the roll-axis balance before blaming the stabilizers. A three-axis gimbal can still cant when a lens plate or strap shifts the center of mass off level; yaw and translation can amplify that small error. Use this quick check:
- Rebalance the roll arm until the camera stays level, then rerun calibration or IMU alignment to reset its reference.
- Walk with shoulders square and elbows tucked; side-steps create roll moments the motors must constantly correct.
- If drift persists, check payload limits and firmware; uneven acceleration can outpace drive corrections, especially on older units.
- Test follow and lock modes while stationary, then walking; some allow more roll compliance, while others clamp it.
Compare your results carefully.
Walking Through Narrow Doorways
When you need to squeeze through a narrow doorway, a handheld three-axis gimbal usually gets you moving faster than a Steadicam because it takes less time to balance and lets its motors correct roll, pitch, and yaw. You can keep the lens aimed through the opening while the motors handle small orientation errors; you’re not managing a fully balanced sled.
Steadicam rigs demand more room: their arm-vest and sled geometry can clip the jamb, so you’ll need deliberate turns and body choreography. Plan one continuous pass; both systems dislike abrupt stops at the threshold, though gimbals generally recover smoothly.
- Confirm payload and balance before entry.
- Keep lateral steps small; avoid bouncing.
- Aim through, then clear the jamb.
- Don’t pause inside the threshold.
Conclusion
Choose a gimbal when you need quick setup and predictable stabilization with minimal practice. You can balance most rigs in minutes, but you’ll still need to manage battery life, lens clearance, roll-axis drift, and fatigue on long takes.
Choose a Steadicam when you’re ready to invest in balancing drills and movement practice. It demands more skill, yet can handle sustained shots and tight passages gracefully. Match the tool to your shot, payload, and available rehearsal.