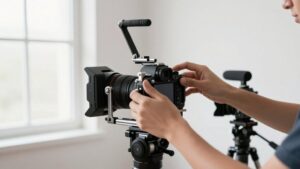
How to Read Tripod Specs: Max Height, Load and Folded Length Decoded
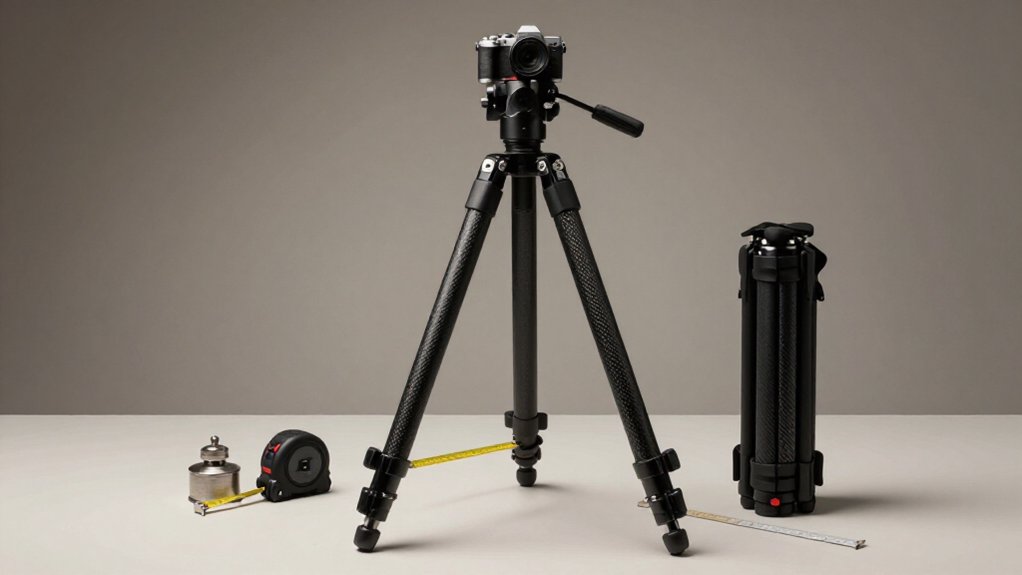
Read tripod specs as a system: maximum height, payload, and folded length must fit your needs.
Check stiffness at your working height, and confirm you can reach eye level with the center column down.
Add camera, lens, head, and accessories; treat payload ratings as ceilings, not guarantees of rigidity during panning or wind.
Measure packed length and compare it with bag limits.
The next sections clarify these trade-offs.
Tripod Spec Snapshot
Tripod specs work best as a set, not as isolated numbers: check the maximum height and whether the tripod stays stable at that setting, then compare its payload rating with the combined weight of your camera, lens, and accessories.
Use this snapshot as a compatibility screen, not a performance guarantee. Include every mounted item—plate, microphone, or flash—in your rig total. A 657 g body and 1,480 g lens weigh 2,137 g before accessories.
Check how the maker defines capacity: a static rating may not account for vibration, movement, or pan-and-tilt forces. Assess control in your intended setup, and test with your heaviest rig when possible. Record the figures together; one impressive number can’t confirm that the tripod suits your actual shooting conditions.
Height, Payload & Folded Length
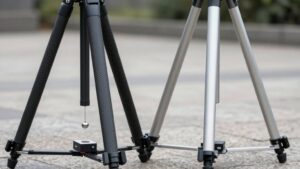
Compare maximum height, minimum height, payload, and folded length as a system: a tall tripod must stay stiff at full extension, reach low enough for your shots without excessive column extension, support your complete rig in realistic conditions, and pack within your travel limits. Check maximum height with your heaviest lens; results matter more than reach. Confirm minimum height permits tabletop or macro framing without raising the column. Add camera, lens, and accessories, then allow for wind.
| Spec | Practical test | Check |
|---|---|---|
| Maximum height | Test stiffness | Fully extended |
| Minimum height | Check low framing | Avoid column extension |
| Payload and fold | Weigh complete rig | Fit cabin limits |
For example, an A7R III and 70–200mm f/2.8 total about 2,137 g; choose capacity for realistic windy use, not body weight alone.
Reading Spec Labels Clearly
When reading tripod labels, treat maximum height, payload, and folded length as linked measurements, not isolated promises: check whether you can reach your working height with the center column down or slightly raised, whether the payload rating covers your complete rig, and whether the folded length, including the head and plate, fits your carry method. Then confirm the height figure reflects fully extended legs and column; usable height may feel less stable when the top setting flexes.
Weigh your camera, lens, flashes, and accessories together before checking the listed payload. Longer lenses and greater extension can reduce stability. Treat folded length as a travel dimension, not a measure of reach. Include the head and plate, then compare packed size with your carry method and bag limits.
Comparing Payload Rating Standards
A payload rating states the maximum supported load, but manufacturers may use different test setups and mounting orientations, so compare definitions before choosing a tripod. Add your camera, lens, and accessories, then keep the total below the effective rating for your setup and working height.
Don’t treat static load figures as guarantees under panning, vibration, or wind; verify the manufacturer’s conditions and leave a safety margin.
Rated Load Definitions
Although a tripod’s rated load gives you a maximum payload, manufacturers usually measure it under static conditions, with the setup perfectly still.
A rating thus describes a limit, not a guarantee of rigidity during movement; leave a margin. Check whether the figure applies to a traditional or inverted setup. Some manufacturers list different values—for example, 75 lb traditional and 45 lb inverted—so match the stated orientation to your use.
Also verify whether the rating reflects stability at working height. Extended legs increase leverage, so a tripod may support the mass yet flex more near maximum height. Count your complete rig: camera, lens, flash or wireless accessories, and head. A 2,137 g camera-and-lens combination gains additional mass and leverage when you add a head. Compare ratings against the mounted system you’ll actually use.
Testing Methods Compared
To compare payload ratings, check whether each manufacturer tests a static load in a traditional or inverted setup; an 80 kg vertical rating won’t tell you how the tripod handles wind or pan-tilt vibration. Ask whether the figure reflects stiffness at the top setting; a test with legs retracted can hide flex when your camera sits near maximum working height.
Calculate your rig: a 657-g Sony A7R III plus a 1,480-g 70–200mm f/2.8 lens totals about 2,137 g before accessories. Check leg-lock slip and apex flex, which can compromise long-exposure accuracy. Then mount your kit at intended height and make a slow pan at maximum extension. Observe settling and image movement; this reveals field wobble that a static test won’t capture.
Safety Margins Matter
Because manufacturers don’t use a single payload-rating standard, treat the published figure as a ceiling, not a working target. Check whether the capacity applies to an inverted or non-inverted tripod; an “80 kg static vertical” rating may not describe camera support. Compare ratings only when their test conditions match, and use capacity at your working height as your reference.
Legs and joints flex more near extension, reducing stiffness and vibration resistance.
Leave room below the rating for wind and a high center of gravity, such as a long telephoto lens. A center hook lets you add a sandbag, improving stability. Compare leg-tube size and stiffness class, too: larger-diameter tubes damp vibration better than thinner sections. Your margin depends on configuration, not the headline number alone.
Dynamic Versus Static Loads
A tripod’s payload rating usually describes a static load held motionless, not the forces that arise when you pan, tilt, or move heavy gear.
You shouldn’t treat that figure as a promise of dynamic stability: panning and tilting can introduce vibration and shifting forces. Ratings may distinguish inverted and non-inverted configurations; a 45-pound-class inverted rating and a 75-pound-class traditional rating describe different stresses. Match the figure to your tripod’s configuration.
If your rig exceeds about 3 kilograms, treat it as a dynamic-load case. Add the camera body, lens, flashes, and receivers to calculate payload. Then assess stiffness at working height, especially at the head and apex, where vibration can dominate.
Maximum height reduces steadiness. Choose capacity with margin for tilt and vibration, not for a hold.
Verify Manufacturer Standards
When comparing payload ratings, check what each manufacturer actually tested: static versus moving loads, inverted versus traditional mounting, and performance at your working height. An inverted rating may differ sharply from a traditional one; a tripod might list 45 pounds inverted and 75 pounds traditionally. Don’t apply the higher figure to a normally mounted camera, especially with a long lens at full extension.
Add your camera body, lens, and accessories: an A7R III at 657 grams plus a 70–200mm f/2.8 at 1,480 grams totals about 2,137 grams before other gear. Choose a rating comfortably above that payload. Check whether tests support your actual working height, because extending the legs can reduce stiffness and safe performance.
Treat maximum load as a ceiling, not a target; seek field-load data covering wind, pans, tilts, and long exposures, not just a single lab condition for your intended field conditions in practice.
Match Specs to Camera
Match tripod specs to your full camera setup, not the camera body alone: add the body, lens, and accessories, then check that the load rating suits that weight at your shooting height. An A7R III (657 g) with a 70–200 mm lens (1,480 g) weighs about 2,137 g before accessories. Add your actual extras and compare the total with the tripod’s rating; don’t use body weight as the payload.
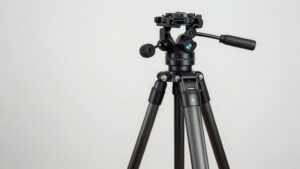
Check stability at the height you’ll use, since extended legs can increase wobble and dynamic stress. Treat maximum height as a working-condition check: confirm you can reach eye level with the center column down. Then verify the head and plate match your camera system, including the mounting thread and adequate plate construction.
A high payload figure won’t compensate for an underbuilt head, especially when you attach a long, heavy lens. Compare the rating with your rig, evaluating support at your actual shooting height and configuration for your lens choice.
Transport and Setup Risks
Before packing, check the airline’s current size rules: linear limits count length, width, and height, so a 22-inch tripod with roughly 5-inch folded diameter uses about 32 of a 45-inch allowance.
Add the bag’s dimensions when checking linear limits; a 22-inch tripod plus two roughly 5-inch dimensions leaves just 13 linear inches for other contents under that limit. For strict personal-item rules, compare packed measurements with the carrier’s stated box; a typical 20-inch tripod may exceed a 40 × 30 × 20 cm allowance. Target roughly 16-inch effective length instead. In a 22 × 14 × 9-inch bag, the diagonal is 27 inches, but keep the tripod near 18 inches folded to avoid corner collisions. At screening, keep legs visible and organized; travelers sometimes extend them in-carry-on to show hollow sections. Remove foot spikes if allowed, since they may prompt closer inspection. Check current rules before departure.
Wildlife Blind Setup
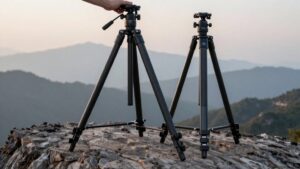
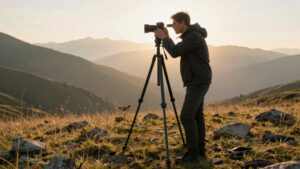
For a wildlife blind, prioritize a tripod that reaches eye level with the center column down, which keeps the setup stiffer. Check the manufacturer’s maximum height against your seated or standing shooting position, then confirm that the head reaches your eye line without extending the center column. This gives you working height while preserving a shorter, more rigid support.
Before buying, compare folded length with the blind’s doorway, floor space, and transport case; a target of 18 inches (46 cm) or less can simplify packing.
Check leg locks and splay: a wide stance, often 22–30 degrees, helps resist tipping when wind or brush loads the legs. If you’ll track movement or zoom at distance, check stiffness at your shooting height before settling in.
Misreading Payload Ratings
A tripod’s listed payload rating doesn’t guarantee stability for your setup: manufacturers usually test a static, vertical load, not the torque from panning, tilting, or wind. Treat the number as a starting point, then check how your actual configuration changes leverage and balance.
- Add every component: camera body, lens, head, and accessories. For example, 657 g plus 1,480 g equals 2,137 g; choose capacity with a practical margin.
- Check whether the rating applies to your orientation; an inverted setup may have a different limit from a traditional one.
- Assess stability at your working height, especially near maximum extension. A long lens and head create leverage, while movement or wind adds torque; don’t treat the printed payload as a guarantee. Test the complete setup cautiously.
Load-Test Documentation
Load-test documentation matters because a capacity number alone doesn’t show how a tripod performs in use. Check whether the rating covers static support or dynamic movement such as panning and tilting; an 80 kg static rating doesn’t establish safe performance while you move a camera.
Then verify these details:
- Match separate inverted and traditional load classes to your setup; for example, 45 lb-class inverted and 75 lb-class traditional ratings describe different configurations.
- Check tests at maximum working height, where vibration and reduced rigidity can weaken stability compared with a lower setting.
- Add your camera, lens, flash, and receivers when totaling payload. For outdoor use, look for a center hook and interchangeable spikes or feet; these features help manage real loads in wind on location.
Conclusion
Before you buy, compare the tripod’s maximum height, folded length, and payload rating with your camera kit and working conditions. Check how the manufacturer defines payload; ratings aren’t directly comparable across brands or test methods.
For a wildlife blind, prioritize stable setup and manageable transport over height alone. Review load-test documentation when available, and leave a safety margin for accessories and movement.
You’ll avoid misreading specs and choose a tripod that performs reliably where you use it.
Light Stand Height & Payload Picker
Enter fixture and modifier weight, needed height and a safety margin to get the minimum light stand payload and height, plus matching stands.
Phone Tripod Height & Clamp-Fit Finder
Work out how tall your phone tripod must be and how wide its clamp must open, then see listed tripods that meet both.
Travel Tripod Height & Pack-Size Calculator
Work out the legs-only max height and the folded length your travel tripod needs from your eye height, head, camera and bag size.