Camera Shake on a Tripod With a Telephoto Lens? How to Eliminate It
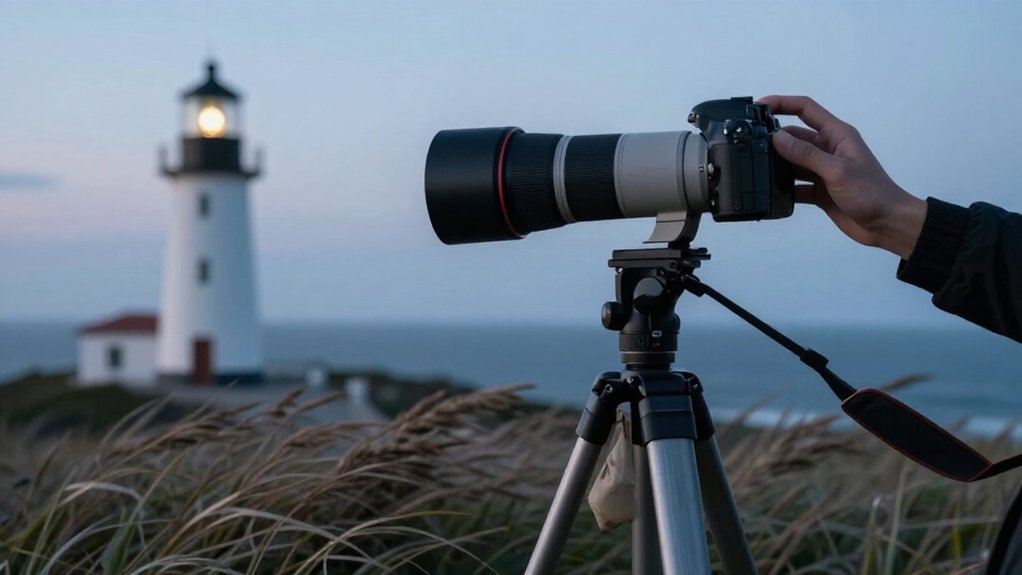
Turn off lens stabilization and in-body stabilization when your camera sits on a tripod; disable each system separately. Use a remote release or self-timer, and enable mirror lock-up on a DSLR. Plant all three feet firmly, lock the head and lens collar, and secure the hood.
Remove the strap, then compare test exposures at constant shutter speed and ISO. Check for slippage or loose leg locks; the next checks can isolate remaining vibration.
Lens Stabilization Settings
When you mount a telephoto lens on a solid tripod, turn lens IS/VR/OS and in-body stabilization off to prevent the system from hunting and adding micro-movement. Switch off the lens control and the camera’s sensor-shift setting separately; one may not disable the other.
At long focal lengths, small tripod or head vibrations look like shake in the viewfinder. Stabilization may react and add motion, so switching both systems off removes a source of blur. Check your manual: some Nikon super-telephoto setups allow stabilization on a tripod with a support configuration. You may also leave it on when your platform isn’t stable, such as a boat. Otherwise, use a shutter speed fast enough to control remaining vibration; stabilization can’t fix a flexible tripod or head.
Gather a Remote Release
For exposures longer than about 30 seconds, use a remote shutter release to avoid adding movement when you press the shutter; many modern cameras also offer Bulb modes that extend beyond the old 30-second limit.
Your tripod, head, and quick-release plate must already be stable; a remote prevents trigger contact, not existing wobble. For most modern DSLR or mirrorless work, you won’t need one unless you expect long exposures or can’t reach the camera during a shoot.
- Choose a dependable wired or wireless release you won’t easily lose outdoors.
- In wind, secure a cable; dangling leads or vibrating connectors can add motion.
- Use it only when long exposures or access makes touching the camera impractical.
- Repeated use of camera triggers can wear, bend, or break release pins.
Step 1: Level the Tripod Feet
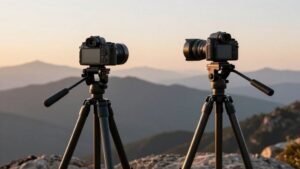
Plant all three tripod feet firmly on the same stable surface; if the tripod rocks as you pan or tilt, adjust the legs until each foot stays in contact and the frame holds steady.
On uneven tile, grass, or steps, extend or reposition the affected leg until its foot bears weight without slipping. Even slight movement can register as visible shake through a telephoto lens. Choose feet suited to the surface: use spikes on carpet or soft ground when appropriate, and rubber feet on tile or concrete. The right contact prevents the tripod from floating or shifting under load.
After you lock the legs, check all three feet again; changing a leg’s length or angle can lift one subtly. Anchor the feet and level the tripod legs first, rather than correcting only at the head.
Once every foot remains planted, confirm the head’s bubble level and make your composition. Then begin panning or tilting with controlled, deliberate movements.
Step 2: Lock the Telephoto Lens Hood
With the tripod feet planted, lock the telephoto lens hood firmly in place so it can’t shift and transmit vibration to the lens. Check that its bayonet or clamp mount is fully seated and level; a partially engaged hood can rattle. If your hood has a lock ring or twist-lock, rotate it to its stop. At long focal lengths, even fractional-millimeter drift matters.
Inspect zoom-extension collars and friction-fit joints; secure any part that can slide. Make sure the hood clears the tripod, head, and strap hardware. Contact can create resonance that appears as wobble in your viewfinder.
After you mount and aim the camera, test the hood by hand without touching the camera body. If it shifts, fully lock it before shooting.
Step 3: Enable Mirror Lock-Up
If your DSLR offers Mirror Lock-Up, enable it to separate mirror movement from the exposure: press the shutter once to raise the mirror, wait for vibrations to settle, then trigger the exposure without touching the camera or tripod.
Use this feature especially in low light and at slow shutter speeds, when mirror slap can soften an image; a telephoto focal length magnifies any residual movement. If your camera offers Exposure Delay, enable it to pause automatically between mirror lift and exposure. You can also use a remote release or the built-in self-timer to avoid pressing the shutter button during capture.
Keep your hands off the camera and tripod while the delay runs. On a tripod, disable lens or in-body stabilization if the manufacturer recommends doing so; stabilization can introduce motion when no movement needs correction. Mirror Lock-Up addresses DSLR mirror vibration, not every possible source of camera shake. Check your camera manual for the exact sequence and available delay settings before shooting.
Step 4: Brace the Lens Collar
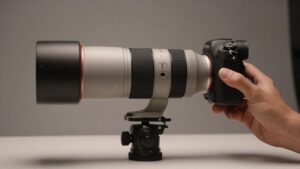
Brace the lens by its tripod collar or foot, then tighten the collar securely to the tripod head so the lens can’t rock on its mount. At telephoto focal lengths, even a slight rotation at the lens can shift your subject visibly because small angular movements are magnified. Support the lens at the collar rather than relying on the camera body and mount screws; this keeps the load path direct and limits flex.
If you use an Arca-style or other quick-release plate, attach the collar foot so the weight travels from collar to plate to head. Before each exposure, check the collar clamp and locking knob, and tighten either if it moves. A loose collar can produce shake that resembles tripod instability.
If your lens lacks a built-in collar, fit a properly rated tripod collar adapter when available to reduce lens twist and movement between the collar and camera mount.
Step 5: Inspect Live View Magnification
Use Live View magnification, 5× or 10×, if available, to spot tiny lens or tripod movements that are hard to see at normal magnification.
Focus on a high-contrast, stationary subject, then watch the magnified frame for blur or jitter. Gently touch the tripod head or a leg; movement can reveal whether the head, connections, or foot contact causes the shake. At telephoto focal lengths, visible wobble signals a stiffness or anchoring problem, since long lenses magnify angular motion beyond what you notice in the room.
Before shooting, verify each foot contacts firm ground rather than floating on carpet or grass, and check that leg and head locks resist slight pressure. Turn off image stabilization, then inspect again. If jitter barely changes, suspect tripod flex or slipping joints rather than stabilization behavior.
Keep framing and focus fixed, and repeat the gentle touch to pinpoint which support point moves first.
Step 6: Remove the Camera Strap
A camera strap can catch the wind like a small sail, then tap the tripod or lens and jolt the frame: an effect telephoto magnification makes easy to see.
For critical long-lens work, remove the strap completely. Detach it with its quick-release and stow it away; don’t let it hang or brush the lens, feet, or tripod legs. In a breeze, loose material can move, and even a small impact can cause visible shake at high magnification.
If you can’t remove the strap, shorten it and secure it firmly against the camera so it can’t swing or touch the support. Remove strap ears or connectors from the tripod mounting area, too. A moving connector can introduce play into the support chain and undermine overall rigidity.
Review a Test Exposure
Before changing your setup, take a test exposure at your planned shutter speed and ISO, then inspect it at 100% on a high-contrast detail such as text, brick edges, or distant branches.
Set up your tripod and lens as planned, then compare sharpness across the frame. Make two exposures back-to-back: one after the camera settles, untouched; another after gently touching the lens or tripod before firing. Repeat at the lens’s longest focal length; telephoto magnification reveals tiny movements. Look for directional blur, which indicates vibration during exposure.
Change one variable at a time: turn off stabilization on the tripod, remove a flapping strap, or inspect and secure the feet. Keep the shutter speed and ISO constant so you can identify which change improves sharpness. Retake the exposure after each adjustment, then inspect it again.
Tripod Head Slippage
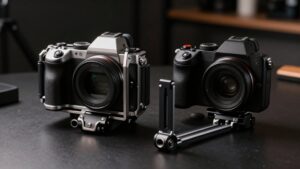
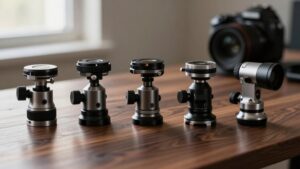
Check the tripod head for slippage: even a tiny shift at the head can cause visible blur with a telephoto lens. Lock the pan, tilt, and drag controls before composing, then gently test the camera by hand. If it moves, adjust the locks until you feel no play. Seat the quick-release plate fully, orient it correctly, and tighten its lever or knob.
If your head has fluid controls, select lock mode while composing; an open mechanism can creep as the rig settles. After extending the legs or changing height, recheck every head connection.
| Check | What you should feel or see |
|---|---|
| Locks | No head play |
| Plate | Fully seated, tight |
| Fluid mode | Locked for composing |
| After setup | Recheck head tightness |
This check isolates head movement before you shoot.
Lubricate Tripod Leg Locks
Dried or gritty tripod leg locks can micro-slip under load, so apply a tiny amount of lubricant to the specified contact surfaces to restore firm, repeatable clamping. Use only lubricant approved for your lock type. For twist locks, lever locks, or friction collars, lubricate only the specified metal-on-metal or metal-on-plastic interfaces and sliding points; don’t soak the mechanism.
Excess grease can migrate onto locking surfaces, reduce friction, and let legs creep, magnifying shake. Wipe away excess and let lubricant sit briefly before testing. At your planned fully extended height, grip each leg and try to twist it. Recheck tightness after lubrication; even slight looseness can show as shake with a long lens. Rigid locks keep this weak connection from passing vibration to your camera.
Conclusion
To eliminate shake with a telephoto lens, control every source of movement. Set stabilization appropriately, use a remote release, and level the tripod feet. Secure the hood, enable mirror lock-up, and remove the strap.
Review a test exposure magnified before you’re ready to commit to a sequence. If framing shifts, check for tripod head slippage and tighten the joints. Lubricate leg locks only as the manufacturer directs. Small checks help you capture sharper, repeatable results.
Tripod Price Estimator: What Should You Pay?
See the typical price range for camera, phone, travel, video, mini tripods and monopods from a dated Amazon shelf snapshot, and check your budget.
Camera-to-Tripod Mount Finder (1/4" vs 3/8")
Pick your camera and tripod stud to see its tripod socket thread (1/4"-20 or 3/8"-16), whether you need an adapter, and the manual source.
Mini Tripod Weight-Fit Checker
Add up your camera body, lens and accessory weights and see which mini tripods in our data list a capacity that covers your setup.
Travel Tripod Height & Pack-Size Calculator
Work out the legs-only max height and the folded length your travel tripod needs from your eye height, head, camera and bag size.
Video Tripod Payload & Bowl Matcher
Add up your camera rig's weight, compare it with your tripod's rated payload at a safety margin, and check that bowl and head base match.
Monopod Height Fit Calculator
Work out the extended monopod length you need from your eye height, head and camera, in cm and inches, and check a monopod's max length.