How to Attach a Spotting Scope to a Tripod Securely
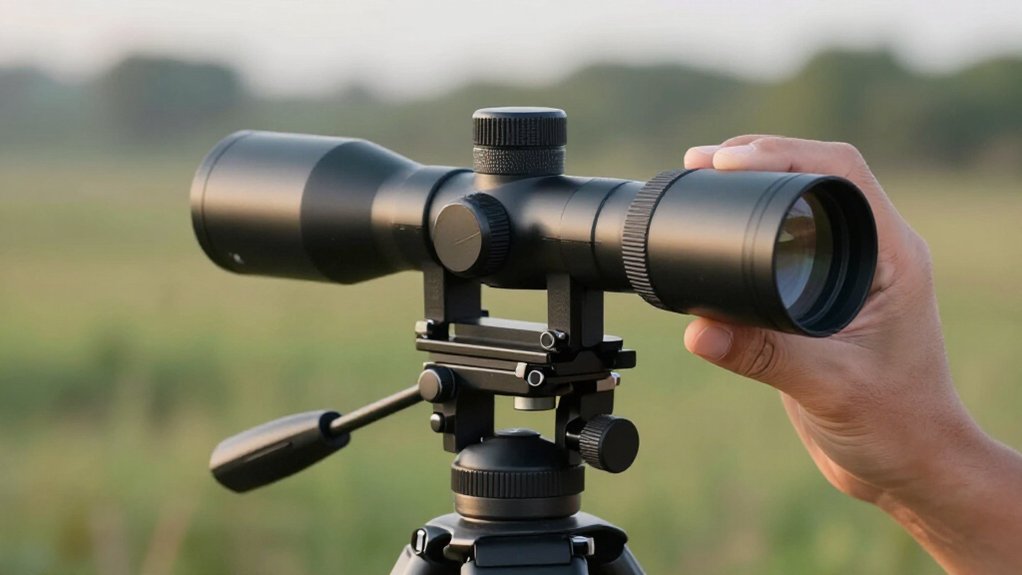
Confirm your scope’s base has a 1/4-20 thread, and inspect it before mounting. Clean the threads and plate contacts with a cloth; don’t force a binding bolt.
Level and lock tripod legs, then thread the plate into the socket until seated and unable to rock.
Center the scope, fit the plate into a compatible head, and lock its clamp. Attach a safety tether.
Test at maximum magnification while panning. A few checks can help maintain stability.
Tripod Mount Thread Size
Before choosing an adapter, check that your spotting scope has a standard 1/4-20 mounting thread. Inspect the scope’s base before you buy or attach a plate; don’t assume every model uses the same connector. If the base has a 1/4-20 socket, thread the quick-release plate directly into it until it’s firmly seated. Avoid forcing the bolt, which can damage the threads or leave the plate crooked.
Check that the bolt sits securely in the plate base; where the plate offers different bolt positions, choose the one that keeps it stable. After mounting, tighten the connection and inspect it for movement. Zoom to your highest magnification and track a distant target. If the image shakes or the scope shifts, stop and retighten the threaded connection.
Verify Tripod Head Compatibility
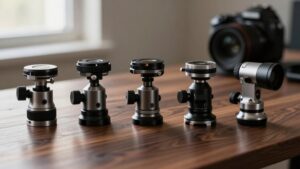
Once the plate fits your spotting scope’s 1/4-20 thread, check that your tripod head has a clamp compatible with the quick-release plate.
Confirm the head locks the plate securely; a matching clamp should hold it without rocking.
- Seat the plate fully in the clamp before tightening, so the scope won’t shift.
- If your adapter uses bolts or a slide rail, verify bolt compatibility and install the correct threaded bolt.
- Tighten the connection, then check that the scope stays level and supported.
- Zoom to maximum magnification, up to 55x, and track a distant object; watch for drift or looseness at the head.
If you see movement, stop and reseat or retighten before observing; an unstable connection can blur the image and risk a fall.
Step 1: Remove Grit From Threads
Clean the mounting threads before attaching the plate so grit won’t block a secure fit or cause cross-threading. Use a flashlight to inspect the tripod’s quick-release or adapter plate threads and your scope’s base threads. Grit can feel tight without proper seating.
Brush or wipe threads with a dry cloth or soft brush. Don’t force a contaminated connection; grit can damage the threads and weaken stability, especially at high magnification. Thread the plate onto the scope by hand for turns. It should engage smoothly. If it binds, stop, clean again, and retry.
After threading it on, lock the plate into the tripod head clamp and recheck tightness. Debris can keep the connection from seating fully and let it work loose.
Step 2: Level the Tripod Feet
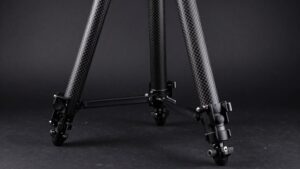
Level the tripod feet before attaching the spotting scope so the head sits flat and the scope is less likely to drift at high magnification. Adjust the leg lengths until the head is level; if one foot rests on loose soil, reposition it slightly on firmer ground. Don’t use the scope to correct a tilted head. Lock every leg adjustment firmly before mounting, and check that each foot stays planted when you press gently on the tripod.
Center the scope’s weight over the level head so panning won’t cause tilt. After mounting, zoom to your highest power and track a distant object. If the image blurs, check the feet and leg locks; at 55×, looseness can undermine stability before continuing your high-power viewing session.
Step 3: Align the Scope’s Mounting Plate
Before attaching a quick-release plate, check that the spotting scope’s base has a standard mounting thread, commonly 1/4-20. Thread the plate directly into the scope’s base connector, turning it until it seats fully. A plate that sits unevenly can rock when you zoom, shifting the view.
Keep the plate aligned with the scope’s length, and tighten it firmly without forcing the threads; cross-threading can damage the base and leave the scope insecure. Once mounted, center the scope’s weight over the tripod head so panning remains smooth and stable. Zoom in fully on a distant, high-contrast target, then make small alignment adjustments until the image stays crisp.
Lightly pan and tilt a few degrees, watching for plate movement. If it shifts, stop and reseat the plate carefully.
Step 4: Engage the Quick-Release Clamp
Once the plate is snug on the scope, seat it fully in the tripod head’s quick-release clamp and lock the clamp so the plate can’t slide as you pan or tilt. Check that the scope’s 1/4-20 base threads hold the plate snugly, then center the scope’s weight over the tripod head before you secure the clamp fully.
Confirm the plate sits level and the clamp’s latch reaches its locked position; don’t rely on friction from a partly closed lever.
Pan and tilt to check for movement. Zoom in on a distant object and watch for drift or shake. If the image moves, reseat the plate and lock the clamp again. Keep tension firm; looseness can amplify vibration, causing blur and strain at high magnification.
Step 5: Keep the Eyepiece Accessible
Keep the eyepiece at a comfortable, repeatable height as you raise, lower, or pan the scope. Choose a tripod head and quick-release plate that let you adjust elevation and pan without forcing you to change your viewing posture. Thread the plate directly into the scope’s 1/4-20 base threads, then seat it in the clamp and lock it firmly.
Center the scope’s weight over the head before increasing magnification; this helps you track and keeps the eyepiece aligned. Pan to a target and zoom to your highest power, such as 55x, while checking that your eye can stay consistently at the eyepiece. Tighten every adjustment knob before scanning, so the scope won’t drift or slide out of reach as you switch between viewing and pan/tilt.
Step 6: Attach the Safety Tether
To prevent a fall if the quick-release latch loosens, loop the safety tether from a sturdy point on the scope body to a fixed point on the tripod before mounting the scope. Don’t attach it to a fragile cover. Clip both ends securely, then check that the tether can hold the scope’s full weight without stretching.
Keep the tether short enough to limit swinging, especially at magnifications of 50x or higher, but leave enough slack for smooth panning and tilting.
After you secure the tripod plate and lock the clamp, give the scope a gentle shake. Confirm that both the clamp and tether hold firm. If you’re using a phone adapter, include its added weight in your check, and make sure the phone doesn’t shift the scope’s balance.
Test Portrait-Mode Locking
With the quick-release plate locked in the clamp, zoom to your highest magnification and scan left and right to check for image drift. At about 55x, hold the scope steady and note whether the subject stays fixed in the frame. Switch your phone or camera to portrait-style lock if available; otherwise set a timer so you won’t touch the phone or adapter during capture.
Use fine focus, then confirm the tripod head’s pan and tilt knobs remain snug. Portrait framing makes even slight looseness easier to notice, so verify the quick-release plate sits fully in its clamp before each test. If the portrait image shifts or blurs, power down and repeat your setup check: tighten the mount, center the weight, then retest stability safely.
Scope Slips During Panning
If the scope slips while panning, center its weight over the tripod head so the optical axis stays aligned and the mount doesn’t walk.
A loose quick-release clamp can shift under higher magnification. Fully seat the plate and lock the clamp before zooming.
Secure the scope base to the adapter with its 1/4-20 thread; tighten the connection until wobble disappears.
| Check | Action | Purpose |
|---|---|---|
| Balance | Center scope | Prevent mount walk |
| Lock | Seat plate; clamp firmly | Stop shifting |
| Pan | Use head controls only | Limit vibration |
At highest magnification, zoom on a distant object and pan smoothly. Keep your hand off the scope body; touch can make the image drift. If it won’t stay locked, stop and recheck the QR lock and adapter tightness before continuing your viewing.
Clean Mounting Plate Contacts
Clean contact surfaces make a steadier connection. Before mounting, wipe the scope’s base connector and the tripod’s quick-release (QR) plate contact surfaces. Remove grit and residue so nothing sits between the metal faces.
Thread the QR plate directly onto the scope’s 1/4-20 mounting threads. Tighten it until the plate can’t rock, especially if you’ll view at high magnification, such as 55x.
Then engage the plate in the tripod-head clamp and confirm its lock; the scope should stay centered as you pan left, right, up, or down.
Zoom in on an object and follow it to check for movement or blur from micro-vibrations. If you feel looseness where the plate meets the scope, loosen the connection and re-seat it. Don’t rely on partial tightening.
Conclusion
You’ve got a secure setup when the threads are clean, the head fits, and the scope’s plate is fully locked. Keep the tripod level, attach the safety tether, and test portrait-mode locking before you begin.
If the scope slips while panning, stop and check the plate contacts and locking mechanism; don’t keep using an unstable rig. Recheck all connections after repositioning, and support the scope as you loosen or remove it to prevent a fall.