How to Mount Binoculars on a Tripod for Steady, Shake-Free Viewing
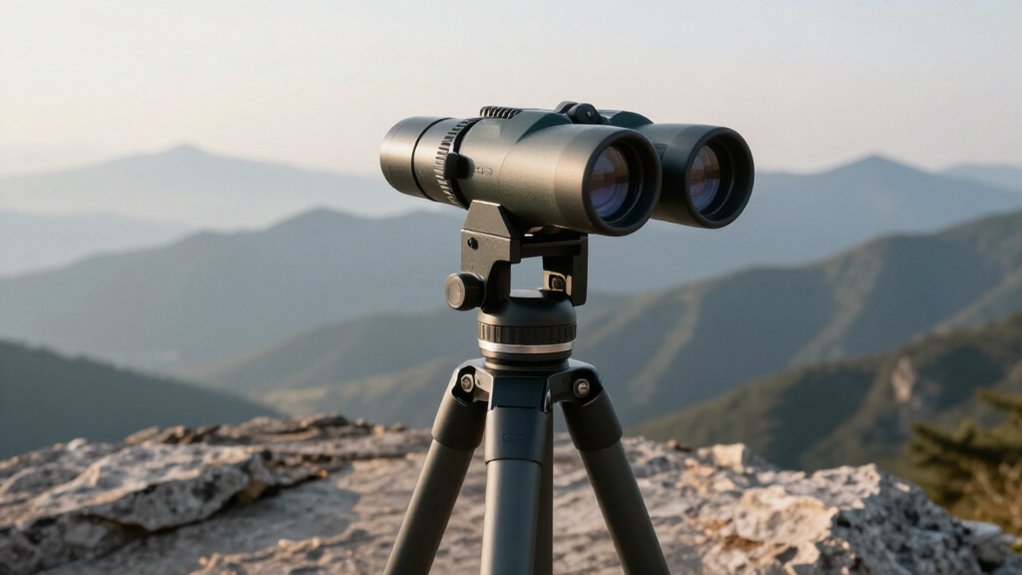
Check that your binoculars have a standard 1/4-20 socket and that the adapter fits your model; confirm the tripod can support the weight of binoculars, adapter, and plate with margin.
Attach the adapter without forcing threads, seat it flush, and snug the screw.
Lock the quick-release and tripod head. Choose a distant target, stop panning, and let the image settle.
Recheck for slipping or vibration; more checks can help you keep views steady.
Confirm Adapter Compatibility
Check compatibility before buying an adapter. Confirm that your binoculars have a standard 1/4-20 tripod thread; most adapters attach through this interface.
Then check the adapter’s compatibility list for your binocular model and body style. For example, SVBONY SV111 is listed for roof binoculars such as SA205 and SV202, while other adapters name specific models like “735, 842.” If you have a Celestron 93524-style adapter, verify that it suits roof or porro binoculars with a 1/4-20 thread.
Also confirm your tripod has a 1/4-20 screw. If either device uses a nonstandard mount, such as an Arca-Swiss dovetail or proprietary hardware, you’ll need an additional adapter. Check the mounting specifications before purchase, and don’t force mismatched threads together; doing so can damage them.
Check Tripod Load Capacity
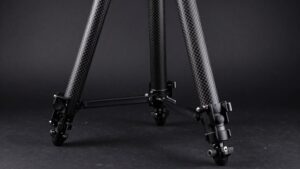
Before mounting your binoculars, compare their combined weight with the adapter, plate, and any other mounting hardware against the tripod’s maximum load rating. Include the quick-release plate; small parts add up. Your setup shouldn’t sit near the limit, especially with 10x-or-higher binoculars; choose a tripod with ample reserve for long sessions.
- Weigh binoculars on a scale.
- Add adapter, plate, and hardware.
- Check for a 1/4-20 screw; never force a mismatched connection.
- Allow for adapter leverage when tilted; select extra capacity for uneven ground.
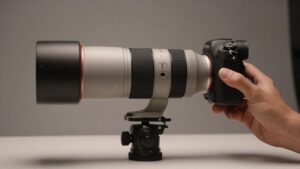
The adapter can shift the load outward, increasing the moment arm when you aim upward or toward distant subjects. That leverage can encourage vibration. If you’re unsure, choose a higher-rated tripod so it stays steadier; verify its rating applies to the complete setup.
Step 1: Select a Distant Target
With the tripod’s load within its rating, aim at a target several hundred feet away, such as a distant bird or shoreline wildlife. Choose a subject beyond your usual walking range; distance makes residual vibration less noticeable and helps preserve crisp detail.
Raptors and other distant birds provide useful practice targets, while higher magnification binoculars, especially at 10x or more, reveal the shake-induced blur that handholding can cause.
Keep the tripod level and scan slowly across the horizon. When your target reaches the center of view, stop panning and let the image settle before observing details. Don’t force a quick correction; make small, smooth adjustments to maintain control and avoid jolting the setup. If your subject moves unpredictably, choose a steadier distant target first.
Step 2: Attach Adapter to Binoculars
Once you’ve identified the binocular’s mount interface, choose a compatible adapter—most attach to a standard 1/4-20 threaded socket or use an Arca-Swiss-style dovetail. Check adapter instructions and match its connection before fitting. For a threaded model, align its stud with the 1/4-20 socket and seat it without forcing the threads. Keep the barrels centered and level to avoid disturbing collimation.
For a quick-release model, position the dovetail or plate against the binocular body and engage the release lock to prevent separation. Use an included rubber grip or ring between contact surfaces to improve friction and help prevent scratches or micro-movement. Support the binocular during installation. After attachment, gently move it as if scanning a distant scene; check for slipping before hands-free viewing. Stop if the adapter shifts or feels misaligned during this check.
Step 3: Tighten the Adapter Screw
After attaching the adapter, thread its 1/4-20 screw fully into the binocular’s mounting hole and snug it by hand to avoid cross-threading.
Tighten until the adapter sits rock-steady, with no visible rocking; a loose screw can cause shake as you scan. If hand pressure doesn’t secure it, use a small tool, applying only enough force to hold the adapter firmly.
Don’t overtighten: lighter adapters can have 1/4-20 threads that strip under excess torque. Then apply gentle side-to-side pressure to check that the quick-release is seated and, if fitted, the anti-drop lock prevents shifting. Hold binoculars steady during testing. This helps prevent unexpected movement during viewing. After you reposition the tripod or change its elevation, recheck the screw; field vibration may loosen an undersnugged connection.
Step 4: Thread Adapter Onto Tripod
Thread the adapter’s 1/4-20 socket onto the tripod’s mounting stud and tighten it snugly to prevent wobble. Keep the threaded surfaces clean and dry; dirt or moisture can reduce friction and allow movement, especially when you’re viewing at 10x or higher. Don’t force the threads. If the adapter won’t turn smoothly, remove it and check for cross-threading or debris before trying again.
Before adding binoculars, confirm the adapter sits fully against the stud and its connection feels secure. A partially engaged thread can introduce shake, even at lower magnifications. If your adapter uses a quick-release or Arca-style plate, attach the plate only after securing the 1/4-20 connection, so the binocular load doesn’t rest on a misaligned joint. Set any drop-proof stud or safety lock, then mount the binocular base and recheck tightness.
Step 5: Adjust the Viewing Angle
With the binoculars level on the adapter, loosen the mounting knob just enough to tilt the body until the view is centered; don’t force or misalign the hinge. Sight on a distant, fixed landmark, then make small tilt and rotation adjustments until the target remains in your field of view with minimal movement. Set the tripod height so your head rests naturally at the binoculars’ pitch; too low or high makes you fight the angle and can add vibration.
For overhead birds, fine-tune the upward view before a long session so you don’t crane your neck; strain can make steady viewing harder. Watch your footing while repositioning the tripod, especially on uneven ground. Pause after each adjustment and confirm the image remains comfortable and stable. Keep your posture relaxed and your eyes aligned.
Step 6: Lock the Tripod Head
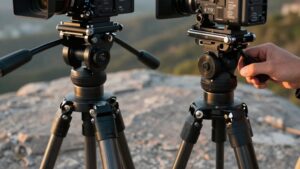
Before attaching the binocular adapter, tighten the tripod head’s pan and tilt locks to prevent drift. Check that your tripod has a standard 1/4-20 threaded screw and that the head sits securely on it; most binocular adapters use this connection.
Level the tripod on firm ground before mounting equipment, then recheck both locks because uneven terrain can shift the head.
If your tripod uses a quick-release plate, seat it fully and confirm its anti-drop latch engages. Keep one hand on the binoculars while you test the locked head. Move them gently through the left-right and up-down range you’ll need for viewing, stopping as soon as you feel firm resistance. Don’t force the head past its locks or loosen a latch under load. Secure first.
Inspect Image for Vibration
At 10x–16x magnification, check the image for fine shaking, or “micro-jiggle,” and note whether it worsens when you gently press the binocular housing. Keep the tripod on firm ground and compare the view with the legs repositioned on softer soil or an uneven surface.
After attaching the adapter, pan slowly left and right; the image should settle quickly without continued oscillation. Wait about 30 seconds, then check the same view for residual shake. Lightly tap the tripod and watch whether the image drifts; movement can reveal play in the head or adapter. Keep your hands clear of pinch points, and don’t test near an edge or unstable footing. If vibration persists, reposition the tripod or inspect the mount before viewing at high magnification again.
Prevent Adapter Screw Loosening
Vibration can gradually loosen the adapter’s 1/4-20 screw, so tighten it securely and fully engage the quick-release safety lock. Before viewing, confirm the screw is snug, the lock seats completely, and the binoculars don’t shift when you gently test the mount.
Recheck the screw after the first few minutes; vibration may settle the connection. Keep any anti-slip ring, such as one on an SVBONY SV111, flat and centered. A stable, non-flexing tripod head also limits movement during long scans.
| Check | What to verify | Why it matters |
|---|---|---|
| Screw | Secure 1/4-20 engagement | Reduces backing out under vibration |
| Lock | Safety lock fully seated | Prevents mount backing off under load |
Stop and reseat adapter if threads resist; never force a cross-threaded screw, and support binoculars while correcting the mount.
Clean Adapter Contact Surfaces
Clean contact surfaces help the adapter seat firmly and reduce shake. Before you attach it, wipe the binocular’s mating surfaces and adapter contact points with a dry cloth. If grit sticks, use a slightly damp microfiber, then dry both areas completely.
Check the adapter’s metal mounting face for scratches, oxidation, or residue; these defects can keep the quick-release or 1/4-20 interface from tightening evenly. If your adapter has a rubber grip ring, confirm it’s clean and seated to limit slipping and vibration. Inspect the 1/4-20 screw hole and threads, clear debris, and start the screw by hand to verify smooth engagement before tightening.
Once mounted, look for any gap between adapter and binocular. Don’t use a loose setup; even separation can amplify shake at distance.
Conclusion
With your binoculars mounted, choose a distant target and confirm the adapter fits securely. Check the tripod’s load rating before you attach anything, then tighten the adapter screw without forcing it. Lock the tripod head and inspect the image for vibration; reposition or steady the setup if needed.
Before each viewing session, check that the screw hasn’t loosened, and keep contact surfaces clean. Don’t exceed equipment limits or leave the rig unattended in unsafe conditions.