How to Connect a Bluetooth Remote to a Phone Tripod (iPhone and Android)
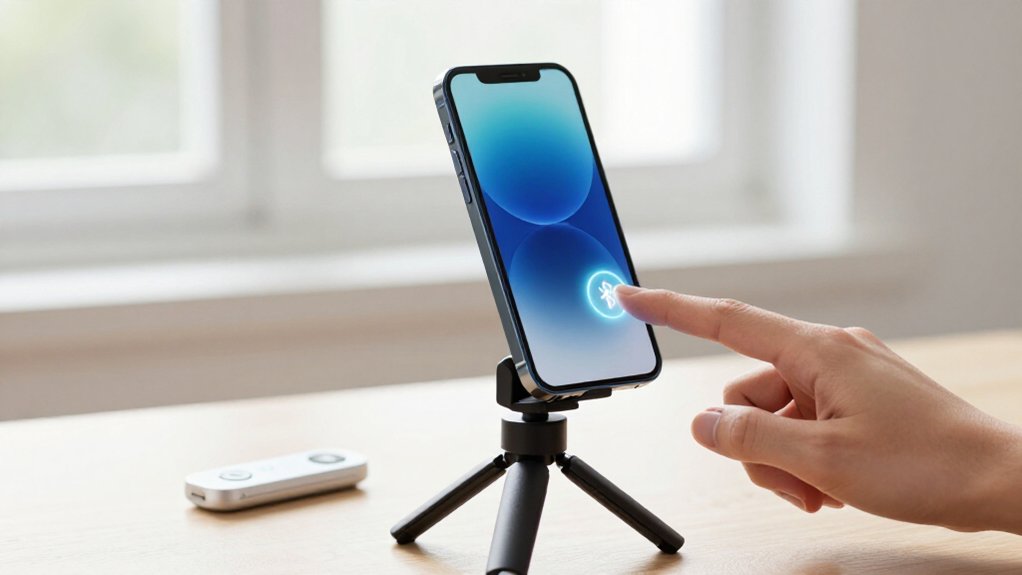
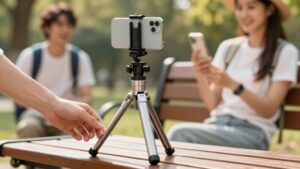
Set your tripod on level ground, extend its legs evenly, and tighten the head.
Fit your phone snugly in the clamp with the camera lens facing your scene.
Turn on Bluetooth and check that your phone supports BLE.
Hold the remote’s power button until its LED blinks, then select its name in Bluetooth settings.
Wait for the light to turn solid.
Open Camera, choose Photo, and press the remote to test a shot.
More help follows.
Pairing Time and Status Lights
When the remote’s LED blinks, it’s searching for your phone; press and hold its power button to enter pairing mode, then open Bluetooth settings, scan for devices, and tap the remote’s name, such as “AB Shutter3.” Pairing usually takes 5–30 seconds, though being out of range can slow it down. Keep the remote near your phone.
The LED should change from blinking to solid when connected. If your screen says “Verifying connection” or “Verification successful, redirecting…,” let the phone confirm the pairing handshake before testing the shutter. If it reports “Invalid connection,” hold the power button to re-enter pairing mode, then select the remote again in Bluetooth settings; a stale attempt can trigger this status. Afterward, your phone will reconnect quickly without repeating steps.
Phone Compatibility Check
Before troubleshooting the pairing, check that your phone and camera app support the remote’s Bluetooth Low Energy (BLE) shutter signal. Then verify these points:
- Confirm your phone supports BLE; most shutter remotes use it for reliable, low-latency control.
- On iPhone, turn on Bluetooth and use pairing mode; standard Bluetooth support usually lets the remote connect immediately.
- On Android, check your camera app’s button or volume-key setting; map it to “Shutter/Take photo” if needed.
- Pair it with a second working phone, if available. If it works there, adjust the first phone or app. Check whether it takes a rechargeable charge or a CR2032 coin cell; replace or charge a depleted battery, since low power can mimic incompatibility.
This isolates device settings from hardware faults more quickly.
Step 1: Position the Tripod for Framing
A steady tripod keeps remote-triggered shots sharp and your framing consistent. Set the tripod on a stable, level surface, then extend each leg evenly to prevent wobble during remote-triggered shots. Check the built-in bubble level, if available, and adjust the legs until the horizon sits straight.
Next, adjust the tripod head and zoom to compose your shot before testing the Bluetooth remote. The remote only triggers the camera; it won’t correct framing, so lock your composition first. Leave clear space around the phone so the remote’s signal isn’t blocked by your hands or tripod. Finally, tighten every tripod knob firmly. This keeps the head and legs from shifting when you press the button, helping you capture the intended composition consistently. Check framing once more.
Step 2: Clamp Phone in Tripod Mount
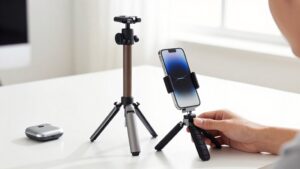
Extend the tripod’s phone clamp and adjust the side grips until your iPhone or Android fits snugly without wobbling, even with the tripod fully extended.
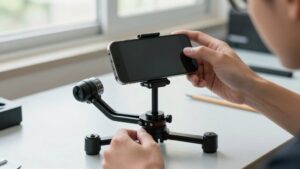
Before tightening, rotate the mount so the camera lens points toward your scene and the volume button side remains accessible to the remote trigger. Aim your phone at the intended shot angle now; this lets you lock the composition before testing the shutter. Tighten the clamp evenly until the phone can’t shift, but stop before pressure strains the case or presses against screen edges.
With the tripod extended, gently tap the phone and mount to check stability. If either moves, loosen the grips, reposition the phone, and secure it again. Check that the camera view stays clear and the framing hasn’t changed after tightening. A stable mount keeps your phone aligned and helps prevent movement from spoiling the shot when you use the remote.
Step 3: Hold the Remote’s Pairing Button
With the phone secured, turn on the Bluetooth remote and press and hold its pairing button for a few seconds, until the LED starts blinking or shows another pairing indicator. Hold it until discoverable mode activates; this usually takes a few seconds. Release the button and check the LED.
Blinking indicates the remote is ready for your phone to find. If it doesn’t blink or show a pairing state, press and hold the button again, giving it time to activate. Once the LED blinks, open your phone’s Bluetooth settings and find the remote in the available-device list. Select its name to complete pairing. The LED changes to a steady light when pairing succeeds. If it keeps blinking, verify the connection in Bluetooth settings before continuing.
Step 4: Trigger the Camera Shutter
Once the remote is paired, open your phone’s camera app and select Photo mode, then press the remote once to take a picture.
First, confirm the remote’s LED has changed from blinking to solid; that usually indicates a Bluetooth connection. Aim at a still subject, press the remote, and confirm the photo count increases. On iPhone, the shutter usually works immediately after pairing.
On many Android phones, open the camera’s settings and set the camera or volume-key action to “Take photo” or “Shutter.” If the button still does nothing, check Bluetooth settings to make sure it’s connected, then pair it again. Restart your phone, and charge or replace the remote battery before testing.
Step 5: Use the Camera’s Gridlines
Before pairing the remote, mount your phone on the tripod, open the camera app, and turn on Gridlines in Camera settings—or Settings > Camera on some phones—to display a 3×3 guide for framing your shot. Use the vertical and horizontal lines to level the horizon and keep buildings or other subjects straight; adjust the phone’s angle rather than touching it after you’ve framed the view. For landscape or portrait shots, place important subjects near grid intersections to apply the rule of thirds and make compositions more consistent.
Once you’ve enabled the grid, pair the Bluetooth remote and refine your framing before pressing its shutter button. If you switch between Photo and Video, return to the mode you’ll use and check that the grid still appears; camera apps may handle grid settings differently by mode. Take a test frame and make small tripod adjustments until the horizon and subject placement look right. Then capture several shots without shifting your phone’s position.
Step 6: Tuck Away the Remote and Strap
After you’ve framed the shot and paired the remote, tuck it into the tripod’s accessory pouch or cup holder so it stays out of frame and clear of the extending legs. Before you extend the legs, confirm the remote sits securely; a loose unit can shift or fall when you reposition the tripod.
If your kit includes a wrist or hand strap, thread it through the remote’s attachment point and fasten it around the tripod handle or your wrist while shooting. Keep the button facing outward in the pouch or strap, where you can reach it without pulling the remote free or waking your phone or tablet. For a rechargeable model, store it charged, but leave it tucked away until you’re ready to shoot to prevent accidental presses. When you pack up, fasten the strap and return the remote to its storage spot so it won’t activate and blink in transit during your next setup.
Check Saved Photo
Take a test shot to confirm the remote actually saves a photo. After pairing, open your camera app and frame a subject. Press the remote once; if your camera supports it, use a half-press to focus before completing the shutter action. Watch for the app’s shutter animation, flash, or sound, but don’t treat that cue as proof that the file was stored.
Check the result. On iPhone, open Photos and view the image in Recents; confirm its timestamp and that the item count reflects your press. On Android, check the camera’s preview thumbnail, or open Gallery or Photos and review Recents.
If no image appears after several presses, the remote may not trigger the shutter in that camera mode. Repeat pairing, then test again.
Remote Disconnects Mid-Shoot
If your test shot worked but the remote disconnects mid-shoot, check its status before taking more photos. First, make sure you paired the remote only once; before shooting, confirm its LED changes from blinking to solid.
Next, open Bluetooth settings and check that it says “Connected,” not “Not connected” or paired but disconnected.
| Symptom | Action |
|---|---|
| Android trigger fails | Check volume/shutter setting |
| Status disconnected | Toggle phone Bluetooth |
| Still dropping | Re-pair by device name |
| Camera behavior | Keep app in photo/video mode |
After toggling Bluetooth off and on, select the remote’s device name to pair again while your camera app remains open in photo or video mode. Take test shot, then watch the LED and Bluetooth status.
If it disconnects again, pause and verify pairing before continuing.
Replace the Remote Battery
When the remote still won’t respond after charging and pairing attempts, replace its battery.
Open the compartment gently, without forcing it. Remove the old cell and check its type: many remotes use a CR2032 coin cell. Insert the replacement with its positive and negative sides aligned to the polarity marks inside the compartment. Close the cover securely.
Turn on the remote and check its LED. A blinking light usually indicates that it’s ready for Bluetooth pairing. Reconnect it to your phone if needed.
If yours has a rechargeable battery rather than a replaceable cell, don’t open it. After long storage, recharge it with the included cable for at least two hours, then try pairing again.
Finally, open your phone’s camera app and press the remote button. Confirm that it triggers the shutter; if not, verify battery orientation and repeat pairing.
Conclusion
You’re ready to shoot once your phone pairs with the remote and you’ve checked a test photo. If the remote disconnects, move closer, reconnect Bluetooth, and try again. Replace the battery if the status light won’t turn on or the shutter won’t respond.
Before each shoot, position your tripod, secure your phone, and keep the remote within reach. These quick checks help you capture steady photos on your iPhone or Android without interrupting your setup.