Are Tripod Screws Universal? What Fits, What Doesn’t and Why
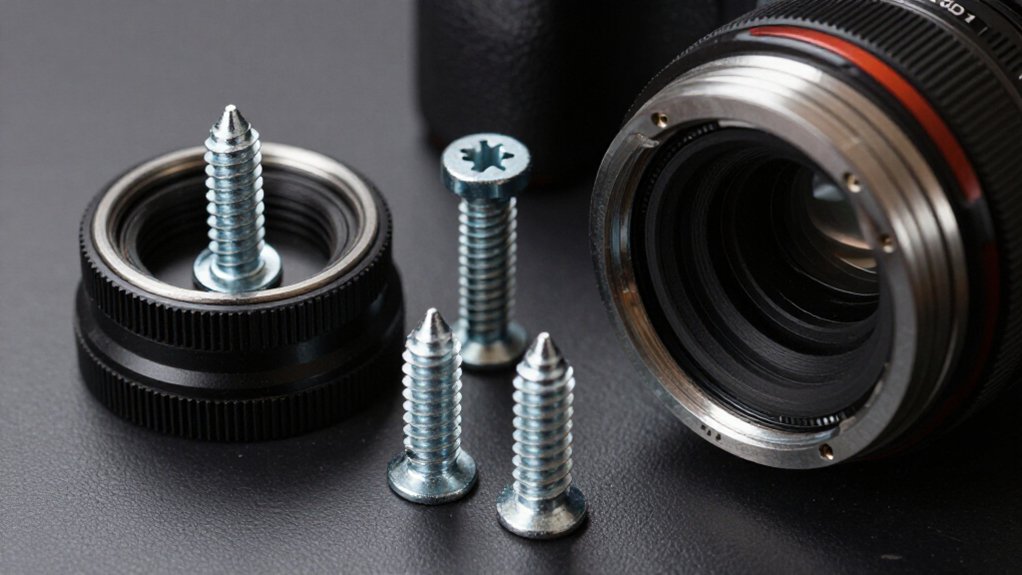
Tripod screws aren’t universal: most cameras use a 1/4-20 UNC socket, but you must match thread diameter, pitch, and screw length. A 3/8-16 stud, often used between tripod legs and a head, won’t fit a 1/4-20 camera socket.
Start the screw straight by hand; stop if it resists, and don’t let it bottom out. Verify your camera and support ratings, since a matching thread alone won’t ensure stability.
You’ll find adapter and mounting details below.
Camera Sockets: Usually 1/4-20
Most cameras use a 1/4-20 UNC socket on the bottom: a 1/4-inch-wide thread with 20 threads per inch. This standard lets you attach a tripod plate or head directly to the camera. When you shop for a tripod, look for a mounting screw marked 1/4-20; that designation describes the screw’s diameter and thread pitch.
Check your camera’s manual or body markings to confirm its mount specification before installation. Seat the plate flat against the camera’s base, then turn the screw by hand until snug. Don’t force it or use a tool to overcome resistance.
If you’re using a quick-release plate, verify that its screw reaches the socket without bottoming out; camera bases vary in depth. Tighten only enough to secure the plate firmly and safely.
Threaded Socket Compatibility
A camera’s 1/4-20 socket fits many tripod plates, but tripod mounts aren’t universally interchangeable. Check both thread diameter and pitch before you attach a plate; matching labels matter.
| Interface | Typical use |
|---|---|
| 1/4-20 UNC | Cameras; small heads and plates |
| 3/8-16 UNC | Heavier head or leg assemblies |
UNC threads are imperial, so a metric socket won’t engage correctly; use a proper converter, not force. Check screw length against socket depth: too short may not engage fully; too long can bottom out before the plate clamps.
Some brands use nonstandard screws or proprietary mounts, so verify camera and plate specifications. Compare thread designation, pitch, screw length, and receiving depth; don’t force a screw that resists, since cross-threading can damage the socket and leave your camera insecure. Check these details before you buy an adapter.
Using a 3/8-Inch Head
With a 3/8-inch tripod head, distinguish the head-to-legs connection from the camera mount: 3/8-16 UNC often secures the head to the tripod, while most cameras take a 1/4-20 UNC screw. That distinction matters when you choose hardware: many tripod systems use 3/8-16 at the platform for a rigid head attachment, but your camera may not accept that thread. Check the head’s camera-facing screw and your camera’s socket specification before mounting.
Don’t force a 3/8-16 stud into a 1/4-20 socket; the threads won’t engage correctly, and you could damage either part. Use the head’s intended camera-mount arrangement. Start the screw straight by hand, then tighten securely without cross-threading. Confirm its length lets it seat firmly without bottoming out, so the camera stays stable during use.
Adapters and Reducer Bushings
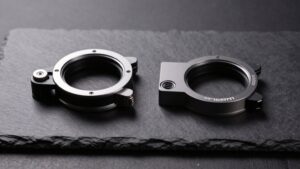
When thread sizes differ, you can use a reducer bushing or adapter, often to convert a tripod’s 3/8-16 UNC thread to a camera or plate’s 1/4-20 UNC thread. Choose a male-to-male or male-to-female type based on the parts you’re connecting. Check thread pitch and fit, then confirm both components tighten securely without the screw bottoming out or engaging too shallowly.
Adapter Types and Uses
Although tripod screws aren’t always interchangeable, a reducer adapter can bridge the common 1/4-20 UNC and 3/8-16 UNC sizes. A typical adapter matches the male stud on one component to the female thread on another, between tripod legs and a head or plate. Choose male-to-male or male-to-female construction according to the ends your setup presents; this can let you keep your head.
Some reducer bushings address fit without adequate engagement depth, even when both parts share a thread size. Check that the adapter seats without bottoming out or leaving play. It only resolves the threaded connection; it won’t provide a compatible quick-release interface.
You’ll still need the plate, such as an Arca-Swiss plate, or a head if your legs can’t mount your camera.
Thread Size Conversion
A reducer bushing can convert a 3/8-16 UNC tripod connection to 1/4-20 UNC, but first check which thread each component has: cameras typically use 1/4-20, while many larger tripod heads or legs use 3/8-16. Use reducer or adapter bushings to bridge these sizes; a male-to-male adapter may suit connections that present two receiving threads, while a male-to-female adapter can accommodate differing thread diameters or receiving depths.
Match both ends to the actual UNC threads rather than assuming a screw is interchangeable. Confirm that the head or plate stud and camera base use imperial UNC, not metric threads, which generally won’t mate correctly.
Then check physical fit and engagement: the screw must enter far enough to hold securely, but mustn’t bottom out before the parts clamp together. A screw that’s too short may catch only a few threads and loosen under load. Tighten securely, and don’t force threads that resist turning by hand.
Choosing the Right Bushing
Choose a reducer bushing based on the UNC threads at both ends: a common 1/4-20-to-3/8-16 adapter bridges a camera or plate’s smaller thread and a larger tripod-head connection, and reverse adapters are available too. Before you install it, verify both sides use the UNC standard: 1/4-20 or 3/8-16, not a metric thread. Never force a bushing; mismatched diameter or pitch can cross-thread and permanently damage your camera’s socket.
A bushing changes thread diameter, but it can’t correct screw length or receiving depth. Check how far the thread extends into your camera or plate, then choose a screw that engages without bottoming out.
Many universal adapters address only thread size, not quick-release compatibility. You may still need an Arca-Swiss plate and clamp or proprietary parts.
Camera Weight and Load
A 1/4-20 or 3/8-16 screw confirms thread fit, not load safety. Add your camera, lens, grip, flash, and accessories, then compare their combined weight with the tripod’s published payload limit, leaving a capacity margin.
Wind and movement can add dynamic forces, so choose a sturdier tripod for heavy lenses or exposed shoots to prevent shake or slipping.
Match Screw to Load
Even with the correct 1/4-20 UNC or 3/8-16 UNC screw, your tripod must support the combined weight of the camera, lens, grip, and accessories.
A matching thread confirms the screw can engage the camera socket; it doesn’t mean the head and legs can carry your complete setup. Add the body, lens, battery or grip, and all attached accessories when judging the full load. An entry-level tripod may flex when you fit a DSLR and large telephoto lens.
Movement can affect framing and, under excessive load, lead to failure. A flash, monitor, or stabilizer adds weight and leverage, increasing stress on the support. Professional systems often use 3/8-16 connections for stability, but a larger thread can’t compensate for a support system unsuited to your camera configuration.
Check Mount Weight Limits
Thread fit doesn’t confirm that a tripod can safely support your setup. Check the manufacturer’s maximum load rating, then weigh your complete camera kit: body, lens, battery grip, and flash. Compare their combined weight with the tripod’s stated capacity, not just the camera body’s weight.
A matching 1/4-20 or 3/8-16 screw thread doesn’t guarantee adequate support; load capacity can still be the limiting factor. If your setup exceeds the rating, you may notice more vibration, slower settling, and reduced stability, particularly with a telephoto lens. Heavier professional kits generally need sturdier tripods than light DSLR or mirrorless setups.
When uncertain, choose a tripod rated comfortably above your kit’s weight. For video or windy outdoor use, leave a substantial margin below its maximum load rating.
Account for Dynamic Forces
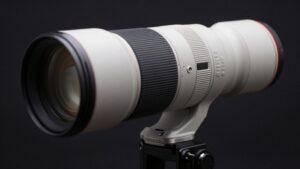
Account for the forces your setup creates, not just its static weight: a telephoto lens, flash, or battery grip can increase torque and make the camera wobble during panning or after adjustments.
Your camera body, lens, and accessories together determine the load; weigh the complete setup rather than relying on the body’s listed weight. Match that total to both the tripod’s maximum rating and the head’s rating. The head must resist the load and movement, especially when you start or stop a pan. A matching screw can’t compensate for an overloaded support.
Heavier cameras may use a 3/8-16 mount instead of 1/4-20 because the larger thread and head suit higher forces. Still, thread size alone doesn’t guarantee stability. Keep the setup within ratings to limit shaking, slow settling, and wear or damage caused by repeated dynamic stress. Check ratings before mounting, and tighten connections securely; never force mismatched threads or rely on fit alone under load.
Monopod Mounting
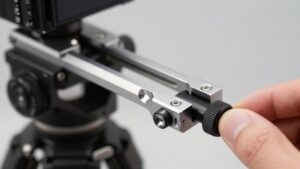
A monopod fits most cameras when its top, or the head attached to it, has a 1/4-20 UNC screw that matches the camera’s bottom socket. That’s common, but it doesn’t make every setup interchangeable.
Many monopods use 1/4-20 mounts for lighter cameras; larger or professional video models may use 3/8-16 UNC. Use a 3/8-to-1/4 adapter if they differ. Check whether the monopod requires a ball or tilt head: legs alone may attach, yet won’t give you the rotation or tilt control you need.
Quick-release systems are less universal; an Arca-Swiss plate must match the clamp, regardless of the screw beneath it. Verify the monopod’s load rating for your camera, lens, and accessories. A telephoto lens or flash adds weight, so choose support rated for the complete setup.
Plastic Socket Thread Damage
Plastic tripod sockets can strip if you start the screw at an angle or overtighten it, since their threads are more vulnerable than metal inserts.
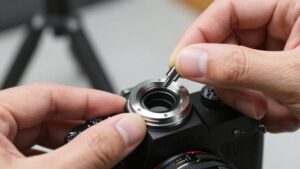
When you mount a camera, hold the screw square to the socket and turn it by hand. If it feels resistant early or won’t start smoothly, stop and realign; forcing it can chew up the plastic threads. Tighten only until the camera is secure; excess torque can deform or strip the socket, leaving the connection loose.
Don’t rely on a damaged thread for a vibrating setup; it may fail unexpectedly. Arrange a replacement mounting insert or repair, or use a proper thread adapter designed for the socket. Check the mount’s stability before use, especially after repair, and confirm it holds.
Misreading Thread Pitch
Although a tripod screw may look right by diameter, you must match its thread pitch too: 1/4-20 UNC means a 1/4-inch diameter and 20 threads per inch.
A close fit isn’t proof of compatibility: metric M6/M8 threads won’t properly mate with UNC, even when their outside diameters look similar. A bolt can also start in the socket, then bind or cross-thread if you confuse 1/4-20 with 1/4-28. Check both diameter and pitch before turning further.
- 1/4-20 UNC means 20 threads per inch.
- 1/4-28 UNC shares diameter, but has finer pitch.
- 3/8-16 UNC changes diameter and pitch.
- Gauge pitch, or count threads over a known length.
Stop if resistance rises: forcing the screw can cross-thread and permanently damage the camera or tripod.
Check Your Camera Manual
Once you’ve confirmed the thread diameter and pitch, check your camera manual for the exact mount type and approved screw length. Most cameras use a 1/4-20 UNC thread, but don’t assume yours does. Find the “tripod/accessory mount” or “accessory shoe/connection” section and verify the standard, receiving depth, and maximum screw length. A plate screw that’s too long can bottom out and damage your camera, even if its thread fits.
If the manual lists both 1/4-20 and 3/8-16 UNC compatibility, directly or through an adapter, use a matching head or plate; never force a thread. Check whether the maker recommends a ball head, pan-tilt head, or video head for your setup. If details are missing, choose the manufacturer’s plate or an exact-standard adapter. UNC and metric threads aren’t interchangeable.
Conclusion
Before you mount your camera, check its manual and confirm the socket’s diameter and thread pitch; most cameras use 1/4-20, but don’t assume. Match the screw directly, or use a correctly sized adapter when your head has a 3/8-inch stud.
Keep the camera’s weight within the mount’s rating, especially with a monopod, and tighten only until secure. If threads bind or feel loose, stop: forcing them can damage a plastic socket or strip the mount.