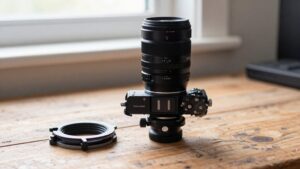
How to Stop an Arca-Swiss Plate From Twisting Under Heavy Lenses
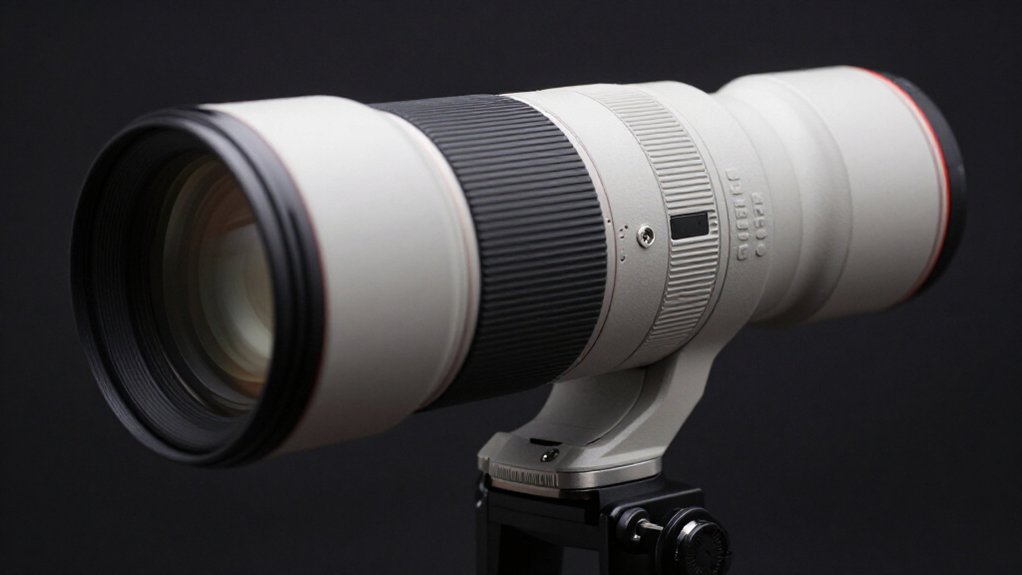
To stop an Arca-Swiss plate twisting under a heavy lens, secure the lens foot to a compatible anti-twist plate with a lip or two screw positions.
Inspect the foot for play, clean the mating surfaces, and seat the plate flat and fully in the clamp.
Tighten screws to the specified torque, fit pins if available, then test through full tilt.
If movement persists, inspect the collar and dovetail before adjustment.
Further checks can pinpoint the cause.
Preventing Lens Plate Rotation
To prevent a heavy lens from twisting on an Arca-Swiss clamp, choose a plate with a rear anti-twist lip or mounting points for two screws rather than relying on a single screw alone. On long or heavy lenses, favor a lens-foot and plate combination built for gimbal use. A longer Arca-style foot lets you position the lens for balance while its interface resists rotation under torque.
If your foot has two mounting holes, use a plate that accommodates both; a slotted plate can sometimes provide a second attachment point. Secure the hardware firmly, but don’t over-tighten it, because excessive force can damage threads. If the fitted plate still shifts, apply a few drops of removable blue thread locker to the threads; don’t use permanent red compound.
This combination helps keep the lens aligned in the clamp during handling and tracking. Choose a profile that seats fully in your clamp and maintains broad contact across the foot, especially when the lens shifts position. This reduces leverage at the attachment and helps preserve stable framing as you pan or tilt smoothly.
Inspect the Lens Foot and Screws
Inspect the lens foot for a locating lip or other anti-rotation feature, and check for fore-aft or sideways play under load. Replace a generic single-screw foot if it moves under load; a locating lip or rear edge resists rotation. Check how many mounting holes the foot provides: one-hole designs, including some Sigma 150–600 setups, offer less resistance than two-hole feet.
- Confirm the screw length matches the foot, then seat and tighten it firmly; don’t crank it down, or you may strip the threads.
- If the foot accepts two screws, install both and tighten them evenly; a single screw can loosen and let the plate twist over time.
- Remove and reseat the plate to check for wear or debris at the interface; mismatch promotes rotation.
Step 1: Clean the Lens Foot Surface
With the plate removed, wipe the lens foot and the plate’s mating face with a dry cloth. If oils or powder remain, use a solvent or alcohol wipe; don’t soak either surface. Inspect the foot for burrs, paint, or oxidation. Gently remove residue so the metal-to-metal contact stays flat.
Uneven buildup can increase micro-slipping and produce twist under a heavy lens. Check screw holes for grit. Debris can stop a screw from seating flush and create uneven clamping. Dry the surfaces after cleaning; trapped liquid can reduce friction and encourage twisting with setups like a 70–200 f/2.8 or 300mm f/2.8.
Then install the plate and hand-tighten it for a dry-fit check. Confirm it can’t shift or twist easily before using locking solutions.
Step 2: Center the Plate Under the Lens
Center the Arca-Swiss plate directly beneath the lens foot or collar, not to either side, so the lens’s weight loads the clamp evenly.
On a long lens, align the plate’s centerline with the foot’s center before tightening the clamp’s locking knob. Check that the 45 mm dovetail sits equally deep on both sides; unequal overlap concentrates load at one edge and can let the assembly rotate.
If the foot has two mounting holes, secure the plate with two screws so force spreads across both points instead of stressing one screw location. Tighten the clamp, then you’ll apply torque to the lens while watching the plate against the clamp. If it shifts or walks off-center, loosen the clamp, reseat the plate symmetrically, and tighten it again.
Step 3: Install Anti-Twist Pins
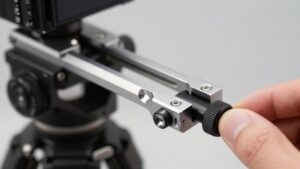
Install anti-twist pins or dowels so the plate can’t rotate in the clamp if it loosens slightly under a heavy lens. Choose a plate with a rear anti-twist lip or a second screw position; single-screw plates are more likely to loosen and twist over time. If your lens foot accepts two screws, align the plate so both screws engage its mounting pattern.
Use an available slot for the second screw when needed, as with some Nikon feet. Fit the pins or dowels fully into their intended holes before tightening. Partial seating can leave enough play for a long, heavy lens, such as a 300mm f/2.8, to rotate despite the added hardware.
Tighten the plate normally; you don’t need to crank it down ultra hard. Then check for movement again in the field. The pins should prevent rotation that could otherwise develop into wobble or slippage.
Step 4: Engage the Lens-Foot Shoulder
Engage the lens-foot shoulder with a compatible Arca plate so the raised lip physically blocks rotation instead of relying on screw tension alone. Choose a plate whose back lip or channel matches the foot’s extended shoulder; the parts should seat together without a gap or rocking. That positive contact carries rotational load and reduces dependence on clamp friction.
If your setup has one mounting hole, including some Sigma 150–600 feet, select a foot-and-plate pairing that still provides shoulder engagement or another anti-twist feature; don’t depend on one screw alone. Seat the shoulder fully before locking the clamp, then snug the mounting screw firmly without over-cranking and risking stripped threads. If you feel movement, use the correct Arca-style foot or plate for your lens family.
Step 5: Verify Screw Length
Even with the lens-foot shoulder engaged, the plate can shift if its screw doesn’t fit the foot. Measure the screw and compare its thread and length with the plate and lens-foot specifications. A camera-bottom 1/4-20 screw isn’t correct for every lens foot, which may use a different thread size or depth. If the screw’s too long, it can bottom out or distort the foot; if it’s too short, it may not engage threads fully to hold the plate.
Check that the screw spans the plate thickness, including an anti-rotation lip, while leaving a margin before the threaded hole ends.
For Nikon 70-200mm f/2.8 or 300mm f/2.8 lenses and Sigma 150-600 lenses, match screw length to the one-hole or two-hole foot. Hand-test engagement; threads should turn smoothly without binding.
Step 6: Torque Screws to Spec
Tighten the plate’s 1/4-20 screws to the manufacturer’s torque specification; if none is available, use firm, consistent pressure without cranking hard enough to damage the foot’s threads. Use a torque wrench when the maker provides a value. Otherwise, repeat the same screwdriver pressure each time; don’t use extra leverage or keep turning after the plate feels seated.
Before tightening, make sure the plate sits flat against the lens foot, not cocked on an edge. A gap or angled fit can create twisting force and encourage movement, regardless of screw tightness. If your plate has a second screw point or an anti-twist lip, engage it correctly and tighten both related screws evenly to specification.
If the plate still shifts, correct your tightening method first. Thread locker won’t restore threads damaged by over-tightening, and compromised threads can’t hold a dependable clamp. Use enough force to clamp the plate firmly and evenly in place.
Test Through Full Tilt
Mount the fully secured lens and plate on the gimbal, then cycle through the heaviest expected load: level, fully down, fully up, and back to level. Watch the plate-to-clamp seam throughout each movement; any rotation means the setup hasn’t passed.
Lock the gimbal at a fixed camera position, then apply light-to-moderate side torque by gently touching the shutter release in Live View. Confirm the plate stays aligned relative to the clamp.
Repeat the test before and after engaging the plate lip or back stop, or fitting both lens-foot screws when available, and note any change. If you use a small amount of Blue Loctite on the mounting screw, cycle the load several times again and verify that movement remains absent. When twisting occurs only at extreme angles, shift the plate slightly along the 45 mm dovetail to re-center and balance the lens, then repeat until it stays fixed in every orientation.
Inspect Collar Clamp Play
With the gimbal head unloaded and the plate installed, try twisting it fore/aft and left/right in the clamp. Watch the collar and dovetail for wobble. Check the lens foot interface: a single-hole foot may permit micro-rotation before the clamp grips. Confirm the plate’s anti-rotation lip seats against the foot; if the foot accepts two screws, use both.
| Check | Finding | Action |
|---|---|---|
| Twist | Movement | Locate play |
| Foot | One hole | Improve engagement |
| Lip | No support | Choose lip |
| Dovetail | Grit or burr | Clean, reseat |
Check clamp faces and screws for grit, burrs, or partial dovetail engagement. Retighten the clamp and test again. If movement remains, treat it as structural clearance, not loosening. Don’t crank tools harder: choose a better-fitting plate with screw engagement and anti-rotation support to avoid stripped threads or uneven loading.
Recheck After First Shoot
After your first shoot, check whether the plate shifts or rotates by hand, then confirm the dovetail sits fully in the clamp and the clamp closes in the same position each time. Re-torque the lens-foot-to-plate screw or screws, and verify that the foot uses enough mounting holes. A single-hole foot needs a careful anti-twist design or thread-locking.
Check for a back lip or second-screw provision; plates without these features can twist under lenses.
Perform a live-view wobble test: touch the shutter release and watch for movement. This helps isolate the lens-foot-to-plate interface from the gimbal/head connection. If you saw slippage, carefully apply some blue Loctite to screw threads, never red, and retest on subsequent trips. Confirm no movement after several outings.
Conclusion
Before you trust a heavy lens on an Arca-Swiss clamp, inspect the foot and screws, clean both contact surfaces, and center the plate beneath the lens. Fit anti-twist pins where the foot supports them, then tighten screws to the maker’s torque specification; don’t guess.
Tilt and rotate the rig through its full range, watching for movement; check the collar clamp for play. After your first shoot, recheck screw tightness and plate position before heading out.