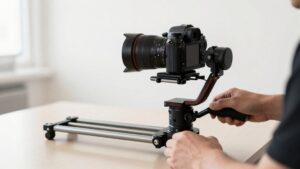
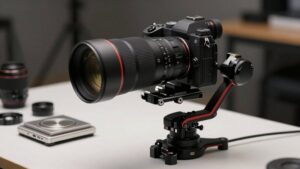
Can a Gimbal Be Used as a Tripod? Mini Legs, Timelapse and Limits
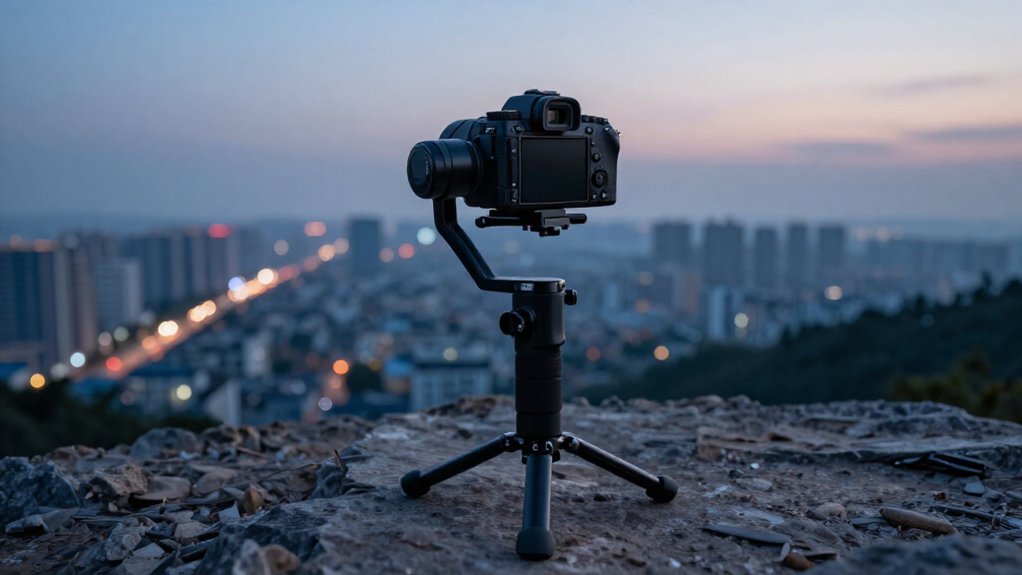
You can use a gimbal as a tripod for low-angle static shots, table B-roll, or group selfies, but its mini legs usually raise it only about 10–20 cm.
Set it on a stable surface, balance your phone within the gimbal’s payload rating, and lock the axes for time-lapses.
Tracking corrects movement, not an unstable base; wind or uneven ground can tip it.
Check remote shutter support and interval controls before you start.
Next, see setup limits.
When Mini Legs Work
Mini legs work well with a gimbal for static, low-angle shots that need just 10–20 cm of height, such as table B-roll, floor-level views, or nearby group selfies. You can place the setup on a stable surface and compose the frame without holding the handle. This works for very short distances and fixed viewpoints where movement isn’t part of the shot.
For a timelapse or hyperlapse, lock pitch and roll to reduce framing changes; use tracking mode only if your subject needs to move within the frame. The legs help limit hand vibration during setup and support a level horizon. They don’t provide standing-height elevation, so you shouldn’t rely on them for eye-level talking-head footage. For that composition, choose an extendable gimbal tripod instead.
When Motors Stay Powered
When you mount a gimbal on mini legs, you can keep its motors powered so tracking modes correct small shifts without relying on your hands. Many phone gimbals, including some Hohem models, have a 1/4-20 base thread, letting you secure the handle to tripod-style legs while the motors hold orientation. Start your time-lapse from the phone or a remote control, then select a locked or fixed-pan mode when you want limited movement.
These modes reduce follow response, so the motors make fewer corrections than they would in full follow. Their stabilization can preserve a consistent horizon and reduce micro-jitters between frames, especially with static or near-static subjects. The setup still lacks a tripod’s rigid support, but powered motors can improve steadiness compared with leaving the gimbal off. Check battery level and motor status before recording, and avoid touching the rig once capture begins for the full planned capture duration.
Time-Lapse on Uneven Ground
On uneven ground, level the gimbal’s base as much as possible; its tracking is designed to stabilize smooth movement, not correct for constant tilt. Lock the axes for the interval so motors don’t react to changing support. Open the mini legs to their widest stance and engage each lock; short supports can amplify flex on rocks or grass.
If the surface rocks, set the gimbal-tipped tripod on a stable platform, such as a flat stone or leveling pad. Before you start, test for vibration at the interval and check an exposure.
| Check | Action |
|---|---|
| Base | Level it |
| Axes | Lock them |
| Legs | Widen and lock |
| Surface | Add stable platform |
| Interval | Test first |
Retest after repositioning; settling or contact can shift framing between exposures on soft ground.
Built-In vs. Detachable Feet
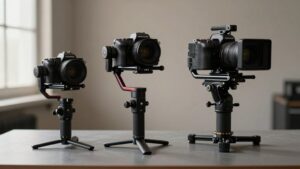
Built-in feet deploy quickly and stay attached, but they usually provide only short-term tabletop support. Detachable feet can improve stability or let you fit a tripod adapter, though you’ll need to attach and store them separately.
Use either design as a temporary stand, and choose a tripod for repeatable framing with minimal vibration.
Integrated Leg Design
Some phone gimbals include mini legs or stand feet, letting you set them down without a separate mount. These integrated feet keep setup simple for desk-level shots and table-top timelapses. Unlike detachable legs, they usually don’t extend the camera much higher, so check the working height before framing a scene.
If you need a raised viewpoint, add a compatible tripod adapter or taller base rather than expecting the built-in stand to reach. For a static sequence, lock the gimbal’s axes when the model allows it; this reduces unwanted motor movement during timelapse or hyperlapse capture. Also confirm your phone’s weight, including accessories, stays within the gimbal’s rated payload.
Treat integrated feet as compact support for low placements, not a full-height tripod substitute. Choose detachable legs when you need more setup height or flexibility.
Detachable Foot Stability
For a wider, steadier stance than compact built-in legs provide, detachable feet can turn a gimbal into a low 10–20 cm desktop stand. Built-in legs stay compact; detachable feet let you spread the base for stability. Secure the 1/4-20 mount, center it, and check that the loaded setup doesn’t wobble. Phone gimbals often weigh about 230–390 g before you add the phone.
For timelapse or hyperlapse, a wider base and locked angles usually reduce vibration. Test stability at full load before recording a long sequence.
| Factor | Comparison |
|---|---|
| Stance | Compact vs. wider |
| Timelapse | Wider base reduces vibration |
| Mount | Secure and centered |
| Load | Check for wobble |
Choose detachable feet for broader support; use built-in legs when their compact stance remains stable under your full load.
Setup and Storage Differences
When setup speed and storage matter, folding legs keep a mini gimbal self-contained: extend them, level the base, and start recording without handling extra parts. Built-in feet suit time-lapse or hyperlapse work, where each setup step can delay capture.
You can unfold the legs, check that the base sits level, and begin without searching for loose hardware. Many fold flush beneath the gimbal, keeping the packed unit compact; a package around 40–50 cm can avoid separate accessories.
Detachable feet offer more placement options. Choose tabletop feet or a slightly elevated stance, then reattach and align them before each use. Wider contact pads may help on uneven ground, but only when the feet lock firmly and remain wobble-free after tightening.
Store them in the same case to prevent loss and keep the kit together. Choose built-in legs for speed and simpler packing; choose detachable feet for height or wider pads.
Payload and Motor Balance
Check your gimbal’s payload rating, including your phone, case, and accessories. Balance the load before powering on so the motors aren’t fighting gravity.
If you notice strain, drift, or hunting, reduce the payload or reposition it.
Check the Payload Rating
Before using a gimbal on mini legs, confirm the legs’ load rating safely exceeds the full rig weight, ideally by about 2×, and check the gimbal’s payload limit. Count your phone or camera and every mount accessory against that limit; a support rating doesn’t raise the gimbal’s capacity.
| Example | Loaded rig |
|---|---|
| Phone gimbal | 230–390 g |
| MT3 Pro camera setup | 1.5–2 kg |
Treat these as examples; check your exact model’s specifications. Rate the legs well above the complete rig, ideally at about twice its weight. Time-lapse movement can add changing forces, and undersized legs may flex or tip. Even within payload limits, an offset center of balance can strain motors and disrupt tracking. Confirm both ratings before placing the setup on mini legs for time-lapse sequences safely.
Balance Before Powering On
Even with correctly rated mini legs, balance the complete rig before powering on the gimbal. Confirm that your phone or camera, mount, and accessories stay within the gimbal’s rated payload; many Hohem phone models support 230–390 g. With the rig on its mini legs, position the heaviest side, such as the lens, phone, or cables, directly over the pivot.
Make adjustments until the setup remains level without support. On a 1/4-20 setup, tighten the tripod adapter or base before locking the axes for a time-lapse, so the rig can’t shift. Recheck balance whenever you change the height, add or remove a quick-release plate, or switch to portrait orientation. Each change can move the center of mass and may put it outside the gimbal’s balancing range.
Watch for Motor Strain
Motor strain often starts when the rig exceeds the gimbal’s payload rating or isn’t balanced over its pivot.
You should use a gimbal-on-tripod only when your camera and accessories stay within spec. Hohem phone gimbals typically carry 230–390 g loaded; choose a tripod rated to hold 1,000 g.
Before locking the tripod legs, center the gimbal over its pivot. Poor balance makes motors counteract the load instead of resting.
Avoid heavier phones or accessories that exceed capacity, since excess weight increases strain and can weaken tracking stability. For time-lapse, choose a gimbal with tracking modes that don’t require constant correction. If you hear motor noise, see shaking, or notice overheating, reduce weight, rebalance the rig, or switch to a tripod rated for the combined load.
Hands-Free Framing for Group Shots
For hands-free group shots, mount the gimbal on a mini 1/4-20 tripod and use fixed tracking to keep faces centered without letting the frame wander as people shift.
For seated groups, choose a tabletop tripod about 10–20 cm tall, then tilt the gimbal to eye level for framing. Lock the relevant axis and confirm fixed tracking before everyone takes position; this limits reframing when people move.
Start recording or set the timer, then trigger capture with a Bluetooth or app remote so you can join the group. Check that your phone, 230–390 g, stays within the gimbal’s payload, and that the tripod supports 1 kg. Place its legs on a level surface and use wide, non-slip feet when available. Test composition and tracking before capture.
Wind-Induced Tipping Risk
A mini tripod that works for hands-free group shots can tip outdoors when wind pushes against the phone or camera. Raising the center of gravity while keeping a narrow leg footprint reduces restoring torque, so even light gusts can overturn the rig. The small base lacks the area and rigidity to resist force on the device.
Active follow or lock modes may correct minor camera motion, but they can’t prevent the whole setup from moving.
Keep the base low, such as at desk or table height, and spread the legs fully. Place the heaviest battery or phone configuration low. In gusty conditions, choose a heavier tripod or add a ballast bag; a full-size tripod’s wider foot contact generally gives you more resistance to tipping.
Forgetting to Lock the Axes
On a mini tripod, an unfastened gimbal can keep reacting to tiny bumps, causing the frame to drift or jitter during a long take. A 1/4-20 mount won’t stop this: you must set the gimbal to axis lock before recording. Simply placing it on tabletop legs doesn’t disable stabilization, and follow modes may keep moving the camera.
- Lock roll, pitch, and yaw for a fixed timelapse or hyperlapse.
- Disable AI tracking; its yaw or pitch corrections can appear as micro-movement.
- Confirm the selected mode, rather than assuming mounting locks the axes.
Check the preview after locking, then watch for framing changes during an interval.
If the image still shifts, verify axis lock and tracking settings. This prevents corrections from turning a sequence into jitter.
Check Remote Shutter Compatibility
Before buying tripod legs, verify that your gimbal can trigger your camera’s shutter over Bluetooth, Wi-Fi, or a compatible cable. Check the exact method your phone or camera supports: a gimbal app, a receiver, or a dedicated shutter cable. DJI, Moza, and Hohem apps may offer shutter controls, but compatibility varies by model.
If your camera uses infrared, a cable, or its own app, you may need a matching adapter or cable.
For timelapse, confirm that the gimbal or app can set an interval, or that your camera can shoot intervals reliably while triggered remotely. Don’t assume remote shutter support includes interval control. Before a long shoot, test a short interval and review the frames.
An unstable connection or delayed trigger can cause timing gaps or uneven motion in the sequence.
Conclusion
You can use a gimbal as a tripod when its feet provide a stable base, but don’t treat it as a replacement. Keep motors powered when required, balance the payload, and check whether your model supports time-lapse, remote shutter release, and hands-free framing.
On uneven ground, adjust detachable legs and watch for wind or tipping. Before setting a shot, lock the axes if needed and verify the setup; limits determine whether your gimbal stays reliable.