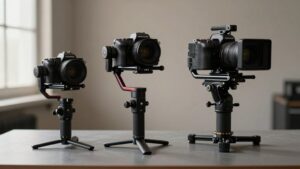
Shoulder Rig vs Gimbal: Which Handheld Setup Suits Your Shooting?
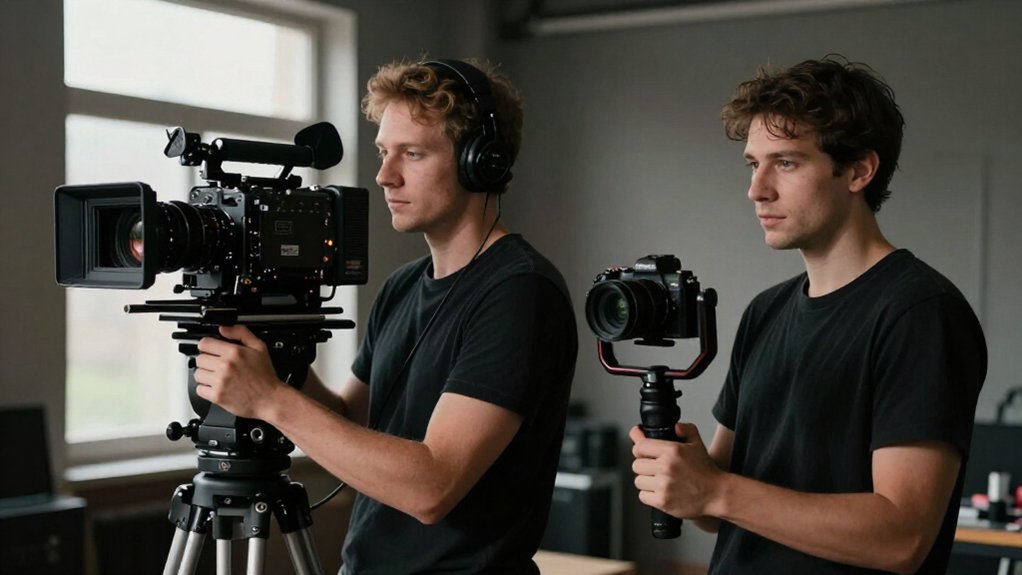
Choose a shoulder rig when you need a ready-to-roll, eye-level setup for interviews and close B-roll. Its pad and rails transfer camera weight to your shoulder and torso, damping breathing jitters without motors or batteries.
Choose a gimbal when you’re walking: powered axes correct pitch, roll, and yaw, smoothing footstep bob and drift.
You’ll trade quick deployment and passive reliability for balancing, charging, and clearance checks. The details below help match setups to your conditions.
Shoulder Support and Gimbal Movement
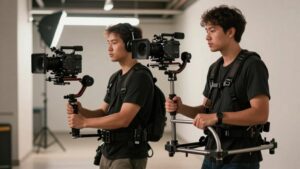
A shoulder rig steadies the camera by transferring its weight through a shoulder pad and forward rails into your torso, reducing small breathing- and heartbeat-driven jitters as your body and camera move together. For interviews and B-roll, keep your eyeline comfortable and let natural sway carry the frame.
A planted stance smooths the image; shifting your feet mid-move can jar it. A gimbal suits walking shots, correcting footstep bob and lateral drift in real time, though hurried steps can still make footage floaty yet bouncy. On location, shoulder support switches simply; gimbals demand balance, trim, charged batteries, and mode changes.
| Setup | Strength | Feeling |
|---|---|---|
| Shoulder | Planted | Close |
| Gimbal | Smooth | Fluid |
Choose by shot: grounded presence or smoothness while moving through tight spaces.
Pads vs. Motorized Axes
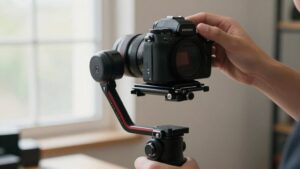
Beyond how each setup moves, their support works differently: foam or rubber shoulder pads press the rig into your torso, letting your skeletal structure carry its weight, while a gimbal’s motorized axes use sensors and control loops to correct pitch, roll, and yaw. With a shoulder rig, you seat the pad against your shoulder and brace the camera with your hands; the contact creates a stable platform without electronic setup.
You still guide every adjustment yourself. A gimbal adds powered joints and requires calibration, balance, and correct operating settings. If its tuning or your technique is off, motors can introduce visible artifacts. Choose pads for simple, mobile support that transfers load to your body; choose motorized axes for active correction across several directions. Check pad fit and gimbal balance before committing to a full day’s setup.
Footage Smoothness and Motion
When you move, the two setups smooth footage in different ways. Gimbal motors and sensors counteract unintended shake, often erasing micro-jitter even when your walking cadence varies. But each step can still drive vertical bounce, leaving a level frame that rises and falls. Keep your stride soft and balance the camera.
A shoulder rig transfers camera weight to your shoulder and torso, reducing arm movement and heartbeat or breathing shake. Its added mass resists shifts, so the camera can feel locked to you, like a backpack. Choose a gimbal when you’re tracking a subject through space; it handles continuous movement and intentional parallax well. For eye-level interviews or steadier B-roll drifts, a shoulder rig often looks more natural. Both setups reward practice.
Battery and Power Needs
Because a shoulder rig has no motors or sensors, it draws no power of its own; you only need batteries for the camera, monitor, and other gear.
On a long museum or event interview, that simplicity removes one failure point: no rig electronics can drain or cut out mid-take. You can focus your spare batteries on the camera, monitor, wireless video system, and accessories.
A gimbal changes the plan. Its motors and stabilization electronics need their own charge, so check runtime before a shoot and pack extras for longer takes.
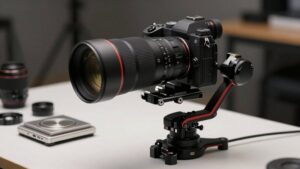
With a Canon C200 and Crane 2-class setup, you may be powering the camera, gimbal, wireless video, monitors, and accessories at once. Track each battery level and build charging breaks into your schedule.
When you switch from a shoulder rig to a gimbal, you move from camera power alone to coordinated charging and battery management throughout your shooting day.
Camera Cage Clearance
Battery planning is only part of the setup; check that your camera cage clears the shoulder rig’s or gimbal’s mounting hardware. Fixed baseplates and rod layouts can catch a top handle knob, side rail, cage wing, or accessory as you slide a Canon C200-class camera into place. A snag may force the body higher or lower, shifting shoulder-rig balance or the gimbal’s center of gravity.
Check the rig’s nose, where batteries and monitor brackets may crowd the plate; clearance problems can block tightening or leave the camera angled. Test each cage mount through pan and tilt travel, watching for contact with a gimbal’s tilt frame. Before buying, measure cage width and height against the clamp footprint and adjustment travel. Don’t assume shims or tightening will solve interference.
All-Day Shooting Comfort
Over a long interview or B-roll session, a shoulder rig transfers much of your C200 kit’s weight from your arms to your shoulder and upper body. With a fitted pad, rods, and handgrips, an eight-pound setup rests more like a backpack than a load held at arm’s length.
Your hands steer the camera instead of carrying its full mass, so eye-level framing stays manageable through hours of coverage.
Multiple contact points help the camera move as one unit, reducing micro-shake you’d otherwise correct by eye. That steadier support can ease physical strain and fatigue.
Compared with a gimbal, the rig’s lighter build and setup mean fewer batteries and calibration steps. You’ll spend less time adjusting gear and more time holding a comfortable shooting position.
Lens Changes and Rebalancing
When you change lenses on a C200 shoulder rig, rebalance the camera so its center of gravity sits over the shoulder pad and the front rails stay steady. Lens swaps change weight and can turn a neutral build front-heavy. Slide the camera plate along the base, then reposition rods or handles until the mass rests naturally over your shoulder contact point.
If you skip this check, you’ll fight the rig and your point of view may drift.
On a gimbal, reset the balance rings after each lens change; you may also need to redo height and roll-axis settings. An off-balance payload makes the motors work against you, producing floaty drift or unwanted pitch and roll corrections. Repeat the check whenever you add or remove accessories, including a follow focus or batteries.
Even a C200, 24mm f/2.8 and Crane 2 can weigh about eight pounds, so another lens still deserves a careful rebalance.
Low-Angle Shooting Access
For ground-level C200 shots, a shoulder rig lets you lower the camera and keep its pitch steady as you shift your stance. You’ll absorb small height changes through your shoulder and torso, while a gimbal can show more step-by-step bobbing.
Use the rig for quick low-angle interviews or B-roll, and save the gimbal for controlled tracking where you can maintain consistent ground clearance.
Ground-Level Camera Access
At floor level, a shoulder rig keeps the camera supported by your body as you crouch, brace, and move, helping maintain a consistent shooting height. That body support makes it easier to track a subject near the ground without asking motors to counter every rise and fall in your steps.
With a gimbal, the frame may stay level, yet your camera can bounce vertically; you’ll need to soften each footfall and feather your movement to keep the shot composed. In tight museum aisles, a shoulder rig also lets you reposition around visitors or displays while your body provides a stable platform.
With a C200-class kit weighing eight pounds, shoulder mounting gets you shooting faster than rebalancing and calibrating a gimbal after each floor-height move.
Tilt Range and Positioning
For a low angle, camera near waist or chest height, tilted upward, a shoulder rig keeps the camera supported close to your body as you lower the lens, without requiring gimbal recalibration. Shoulder rigs let you roll pad position and adjust baseplate height, so you can set a comfortable upward tilt while keeping the lens steady.
With many gimbals, mounting geometry and tilt limits can stop the camera; at low positions, arms may hit clearance limits or the frame may meet crop or boom interference, especially with bulky rigs. If you move while tilting, your posture drives height changes. A gimbal may resist pitch or feel as if it’s correcting you.
With an eight-pound C200-class setup, the rig’s support lets you swing low quickly, without gimbal delays.
Run-and-Gun Interview Coverage
With an 8-pound C200-style kit, you can shoulder the rig and frame at eye level without waiting on motors or balance checks. It steadies interview shots while letting you reposition quickly and retain a natural hint of movement.
On long shoot days, carrying the weight on your shoulder can ease your arms; save the gimbal for shots that follow a speaker through the room.
Quick Camera Readiness
When an interview moment opens up without warning, a shoulder rig gets your roughly 8 lb C200 ready to shoot faster than a gimbal: the rods and handgrips are already in place, so you can frame at eye level without switching modes or recalibrating.
That speed matters when a subject steps into a museum doorway or answers between takes. With the C200’s roughly 8-pound load supported by your torso and shoulder, rather than your arms, you can stay ready through a long exchange with less fatigue.
Keep the rig assembled on its rods, bring the handgrips up, and roll; you won’t spend those seconds balancing axes or choosing a gimbal mode. In tight spaces, you can move directly from b-roll to a fresh answer quickly.
Interview Framing Stability
During a run-and-gun interview, a shoulder rig keeps the C200’s roughly 8-pound setup steadier at eye level by transferring its weight to your shoulder and torso. That support lets you frame the subject’s eyes consistently without asking your arms alone to hold the camera, lens, and Crane 2, about 6.8 pounds before a two-handed grip brings the setup near eight.
Shoulder mounting also makes the camera and your torso move as one unit, limiting micro-shake from breathing and heartbeat; the subject’s head stays steadier than during handheld walking. If you mostly hold position or reposition slowly, choose the rig for repeatable eye-level framing. Choose a gimbal when you must walk around people or approach the subject: motors help, though rough steps still cause vertical bounce.
Long-Day Operator Comfort
Across a long interview day, a shoulder rig shifts the C200 setup’s weight from your arms to your shoulder and torso, much like a backpack feels easier to carry than bags held at your sides. With a Canon C200, 24mm f/2.8, and Crane 2, you’re carrying 6.8 pounds, or closer to eight with a two-handed grip. Shoulder mounting cuts arm effort, helping you hold eye-level interview shots steady for hours.
Its shoulder pad, rails, and handgrips lock camera and operator into one platform, damping movements from breathing and heartbeat. A gimbal suits follow shots, but static framing and frequent angle resets favor the quicker, less cumbersome rig. Gimbal days add balancing, mode changes, battery checks, and camera stripping; bounce with each step can undermine comfort and stability.
Weather Sealing and Durability
Because a shoulder rig relies mostly on passive parts, metal rods, handles, and a padded support, it generally tolerates rain, dust, and condensation better than a motorized gimbal.
You can keep shooting through light splashes, but choose closed-cell foam or rubberized contact points; they won’t soak up sweat and lose their cushion. Its weight and inertia may also steady your frame in wind. A gimbal’s bearings, motors, and sensors face greater risk from grit and moisture, while battery and control electronics add vulnerable points.
Even weather-resistant models need a rain cover and prompt drying after exposure. Protect ports and battery compartments to limit water intrusion, corrosion, and motor or sensor faults.
In mixed conditions, wipeable, grippy rig pads are simple to maintain; use dedicated gimbal protection.
Conclusion
Choose a shoulder rig when you need fast lens changes, long interview takes, or dependable power in rough weather. Its pads transfer weight to your body, and its cage leaves room for accessories.
Pick a gimbal when smooth motion, moving shots, and low-angle access matter more than setup speed. You’ll need to balance each lens and monitor battery life.
For run-and-gun coverage, match the tool to your route, camera build, and shot list before you roll.